Contact labels
To save time in sales, it is great to have an easy reference as to what sort of customer or prospect you’re speaking to.
Using Pipedrive’s contact labels, you’re able to categorize your contacts as needed for your company and know immediately how to approach them based on that information.
Assigning and creating contact labels
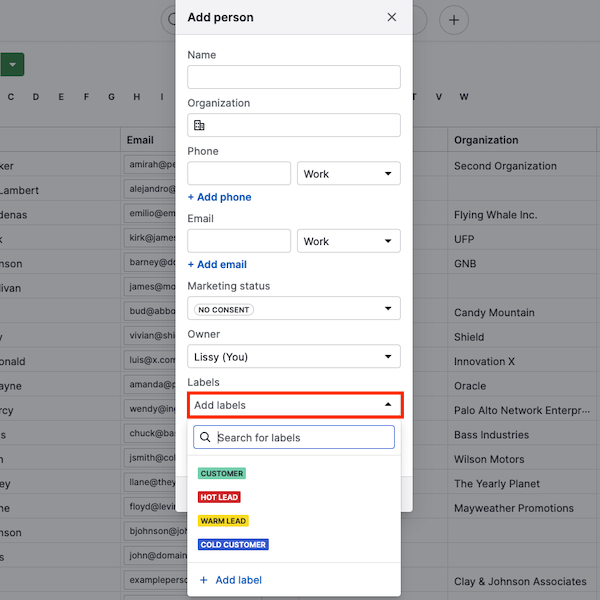
When adding a new person or organization to Pipedrive through the “Add person” or “Add organization” button, you’ll see a dropdown to easily assign one of the labels to your contact as it is being created.
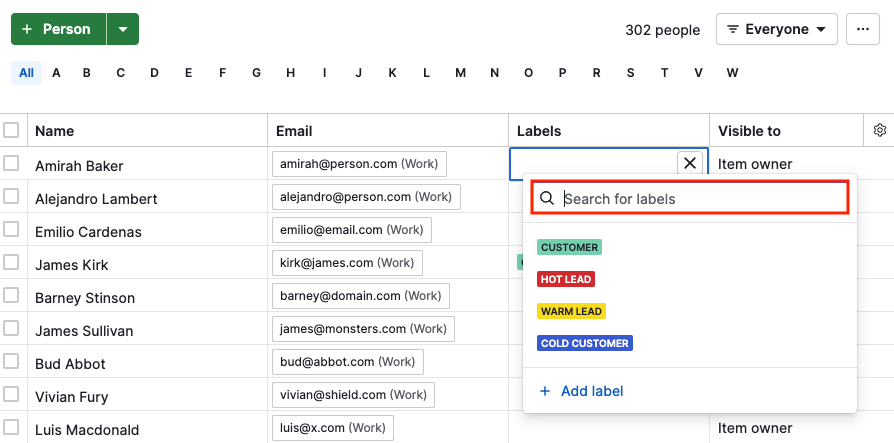
You can assign contact labels for existing people or organizations directly in the list view after applying the labels column:
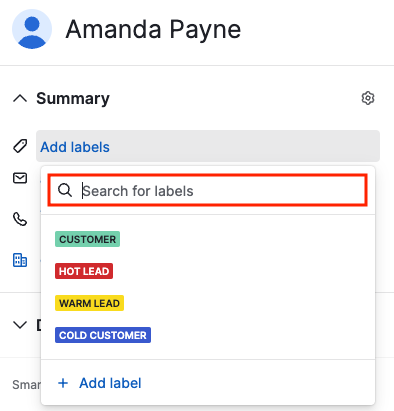
Or in the detail view by clicking on the labels field.
How can I add new contact labels?
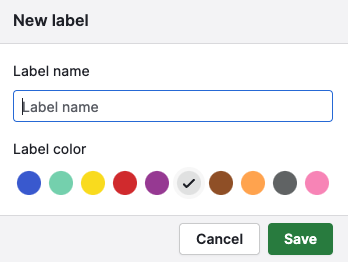
Pipedrive provides a set of default contact labels, but you can add a custom label to this list by clicking on the label button in the list view or detail view of any contact and selecting “Add label”.
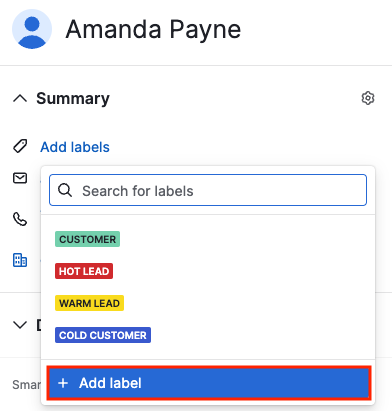
When prompted, provide a name and color for your new label and click “Save”.
Editing or deleting contact labels
Edit labels
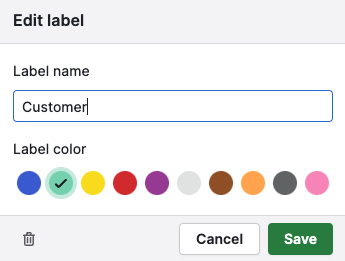
To edit or delete any default or custom contact labels, click on the label icon in the detail view or list view of any contact and click the pencil icon next to the name of the label you wish to edit.
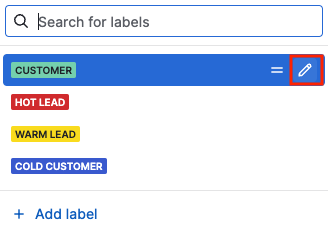
You can then provide a new name for that label or select a new label color from the options shown and click “Save”.
Delete labels
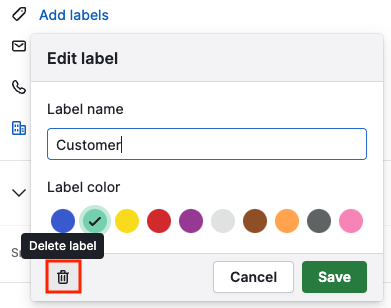
To delete a selected label, click the trash can icon.
Viewing contact labels
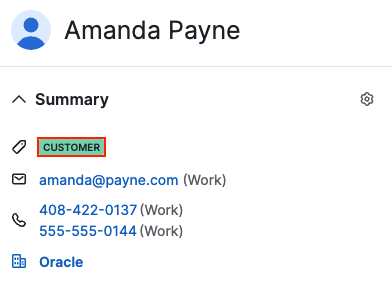
The label is visible in the contact detail view, in the summary section below the name of the contact.
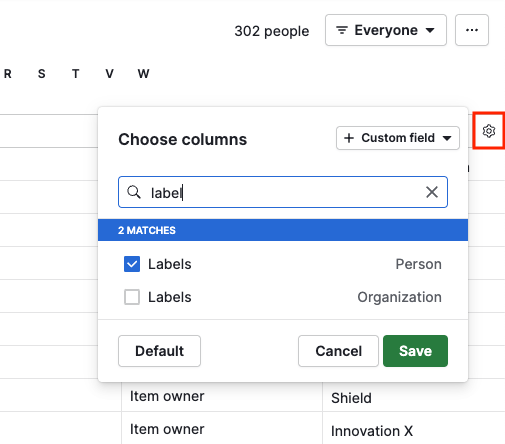
You can also view a contact’s label in the list view of your company Pipedrive account. To view the label column, click the gear icon on the right side of the list view table, select the label field to be displayed and click “Save”.
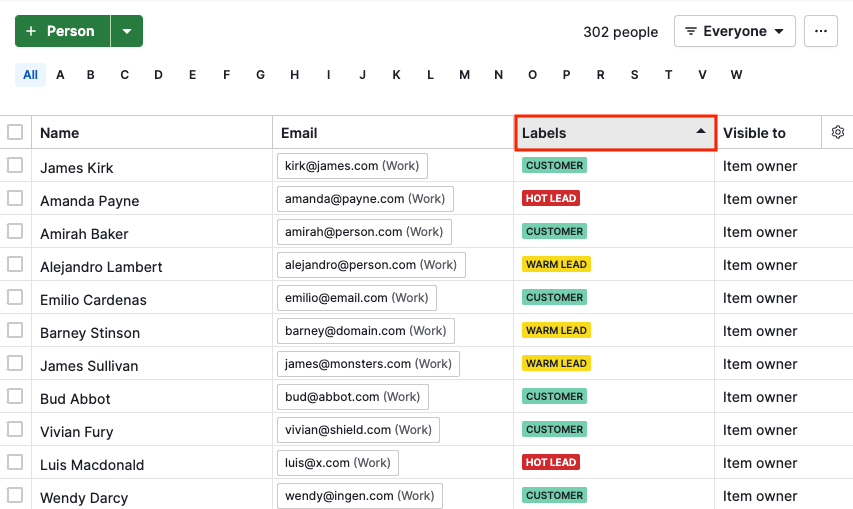
That label column will then appear in the list view, and that column can be moved, sorted, or filtered as needed.
Was this article helpful?
Yes
No