Installing your Web Visitors tracker script
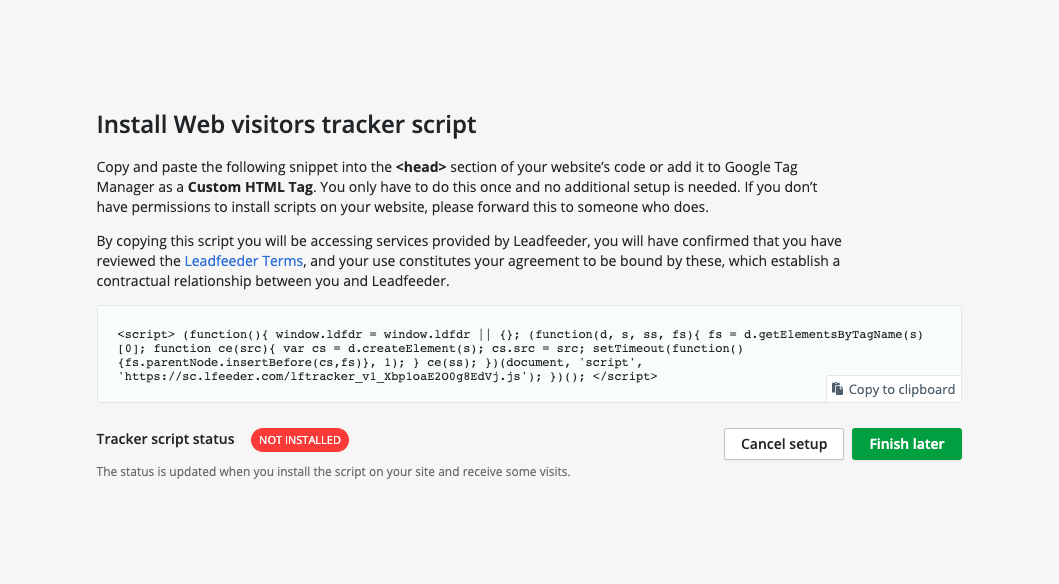
To set up your Web Visitors tracker, go to Leads > Web Visitors and then click on "Set up Web Visitors". You will be prompted to set up your Web Visitors feature by embedding a tracker script into your website.

Once you copy the tracker to your clipboard, you can follow the following directions to install the script into your website depending on what you use to host your website.
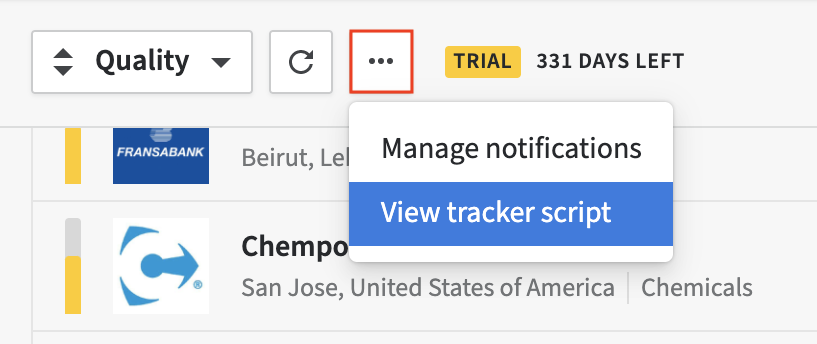
You can still access your tracker script with an active Web Visitors account by clicking on the '...' button in the top left corner > View tracker script.
Adding the tracker script directly to your website template
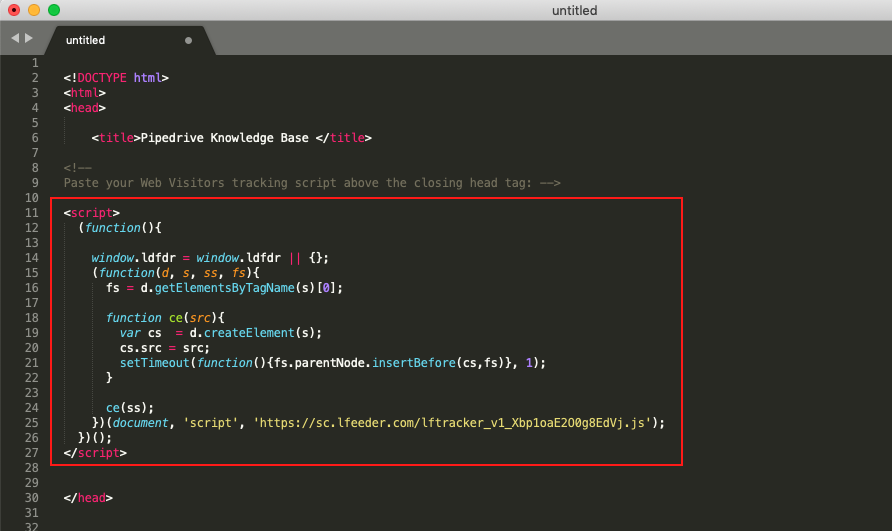
To add the tracker script to your website template, go into the <head> tag of your HTML file and paste the script right before the closing </head> tag.
Adding the tracker script using Google Tag Manager
You can also use install the tracker script with Google Tag Manager. To do this, go to your Google Tag Manager Console and click on Tags > New to add a new tag.
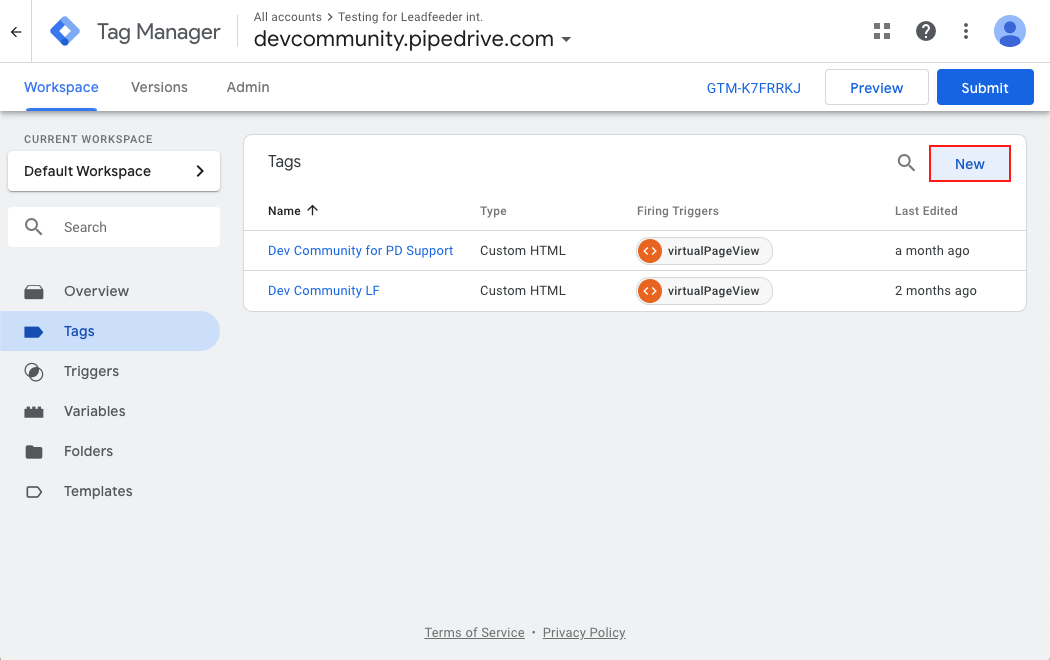
From there you can name, configure and set up the trigger for your Web Visitors tag.
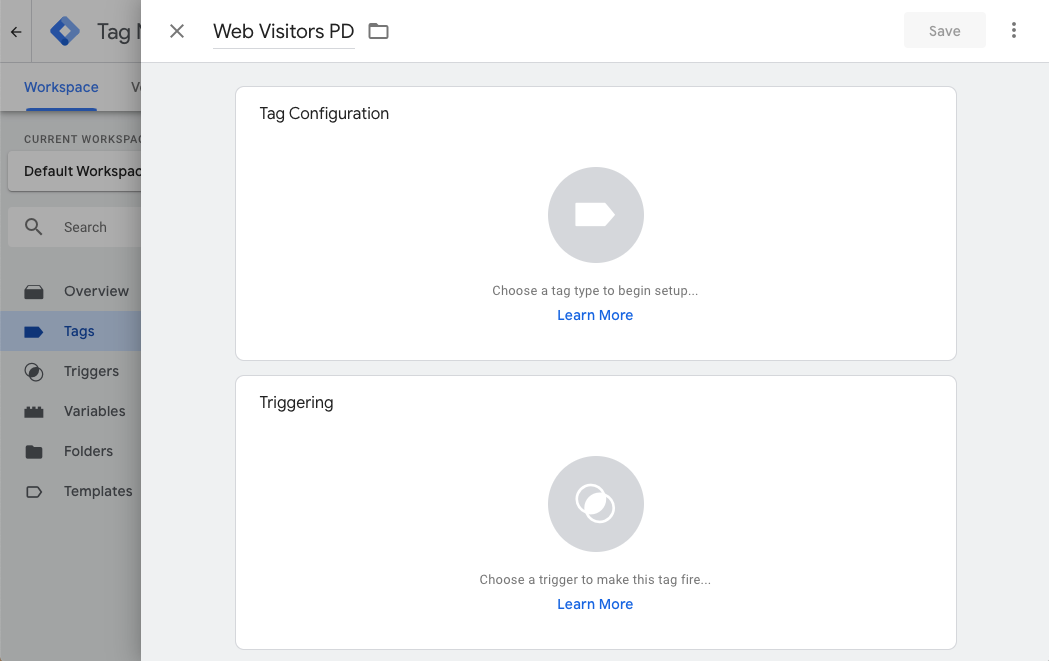
Tag configuration
To configure your Web Visitors tag, click on Tag configuration > Custom HTML and paste your tracker script into the HTML window.
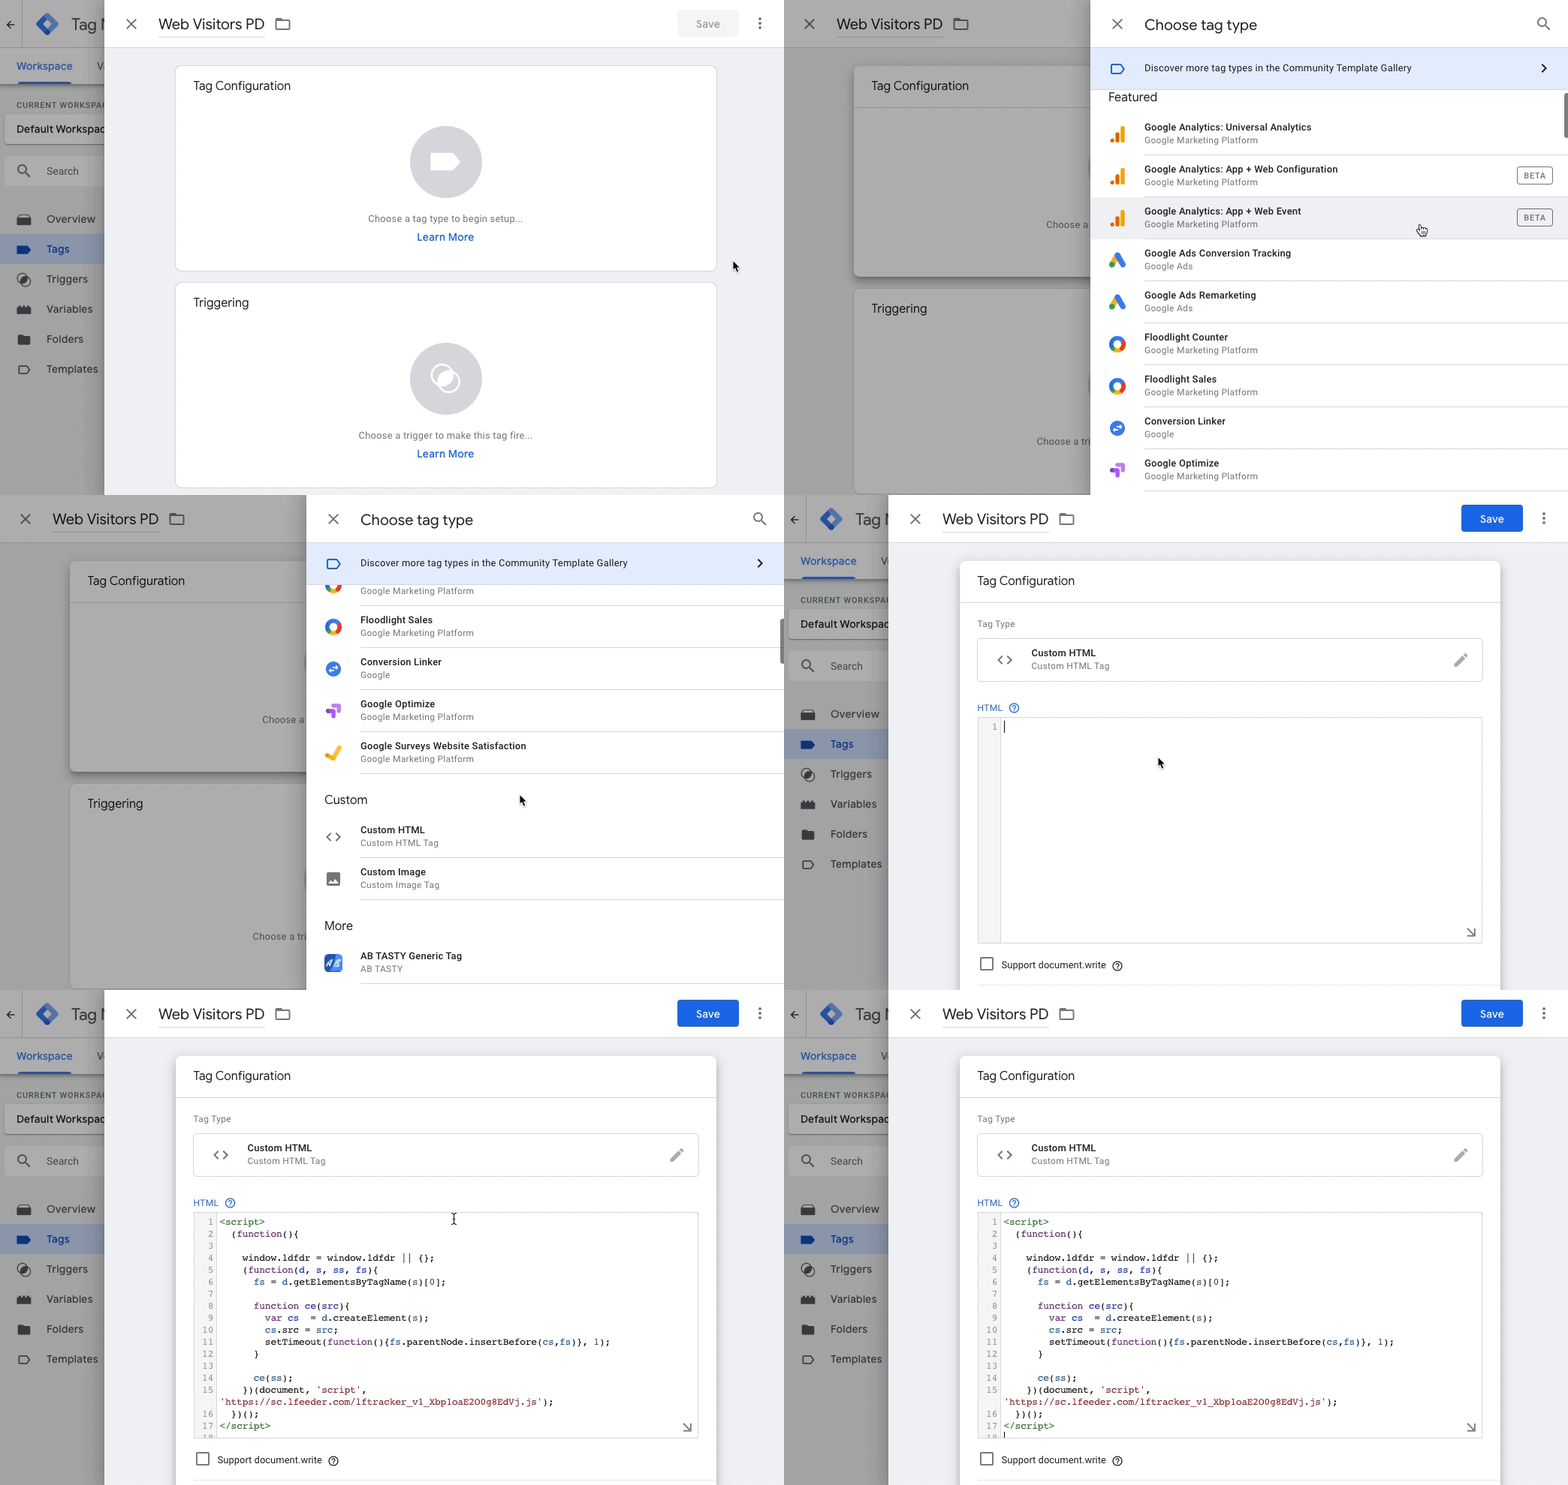
Triggering
The trigger you choose will be the same one set up for your Google Analytics. Most of the time it will be "All Pages".
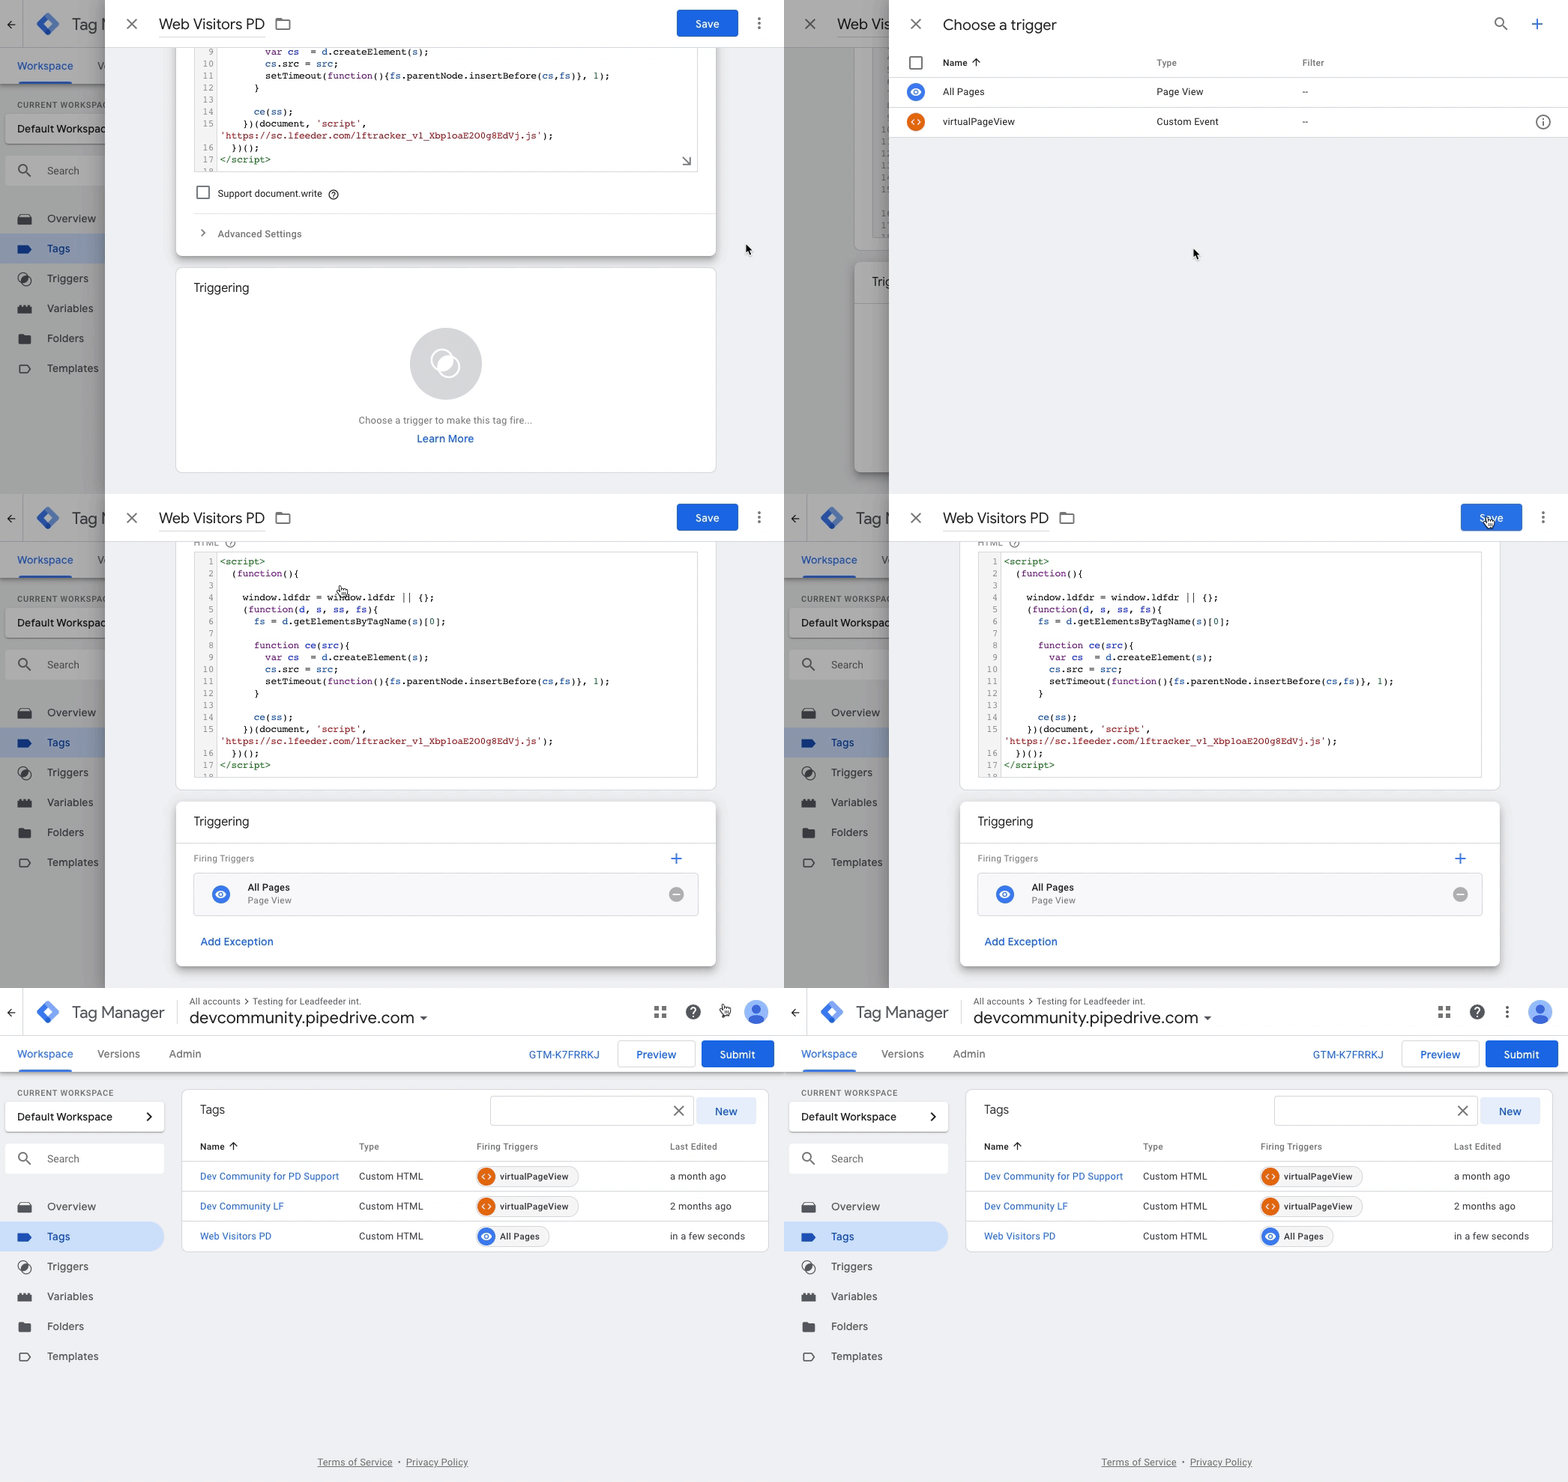
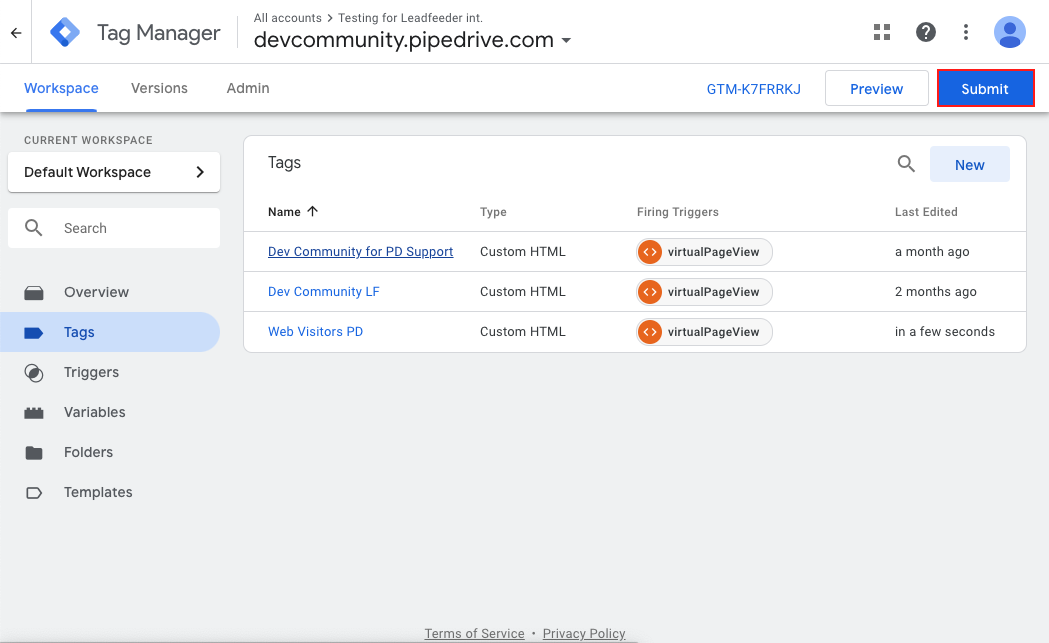
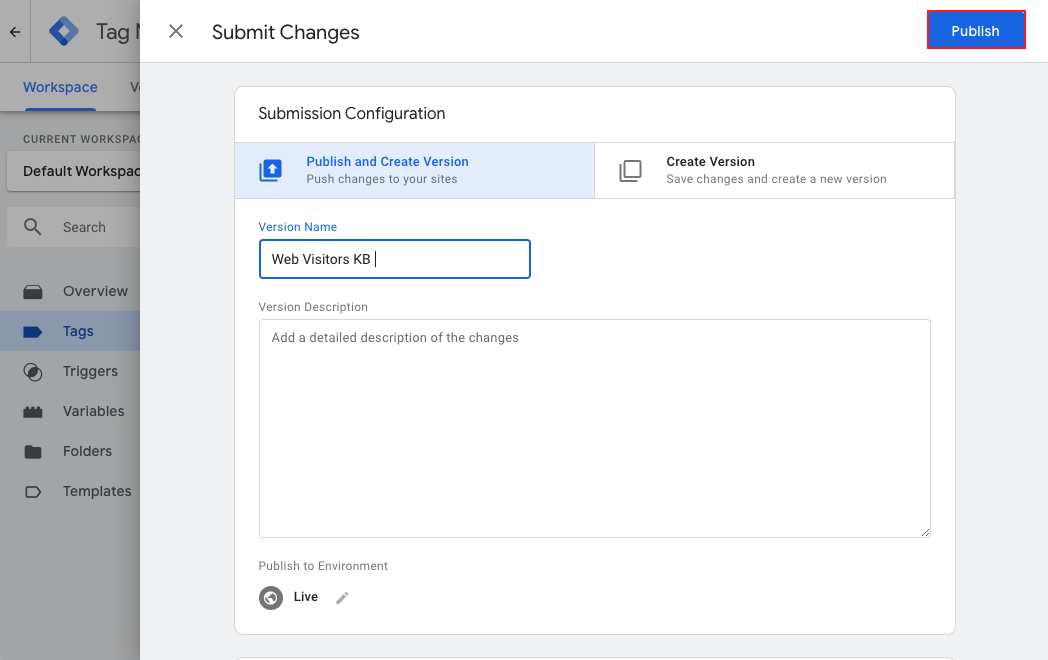
After saving your new tag, make sure to submit and publish your changes.
Adding the tracker script to your WordPress website using a plugin
To add the tracker script to your WordPress website, you will need a plugin that will allow you to add code to your website.
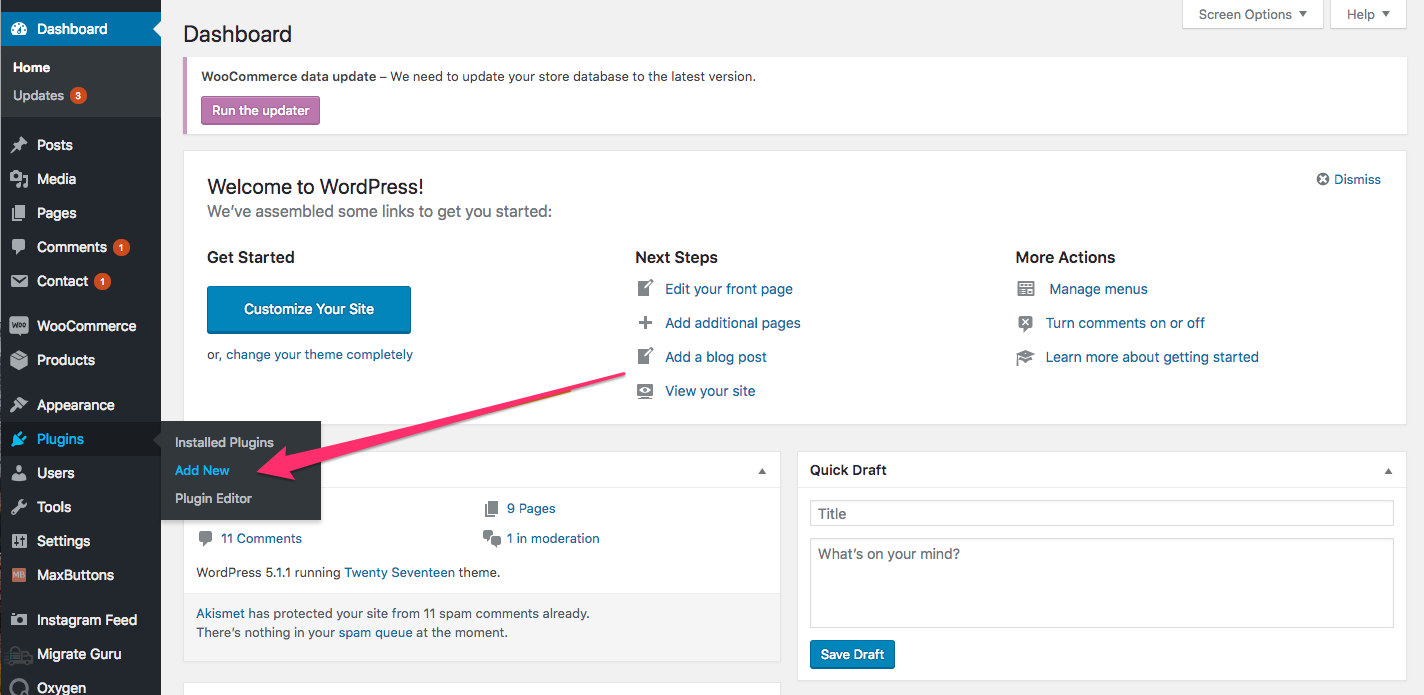
To find and install a plugin, go to Plugins > Add new and search for a plugin that will allow you to add custom code to the header, body and footer of your WordPress website.
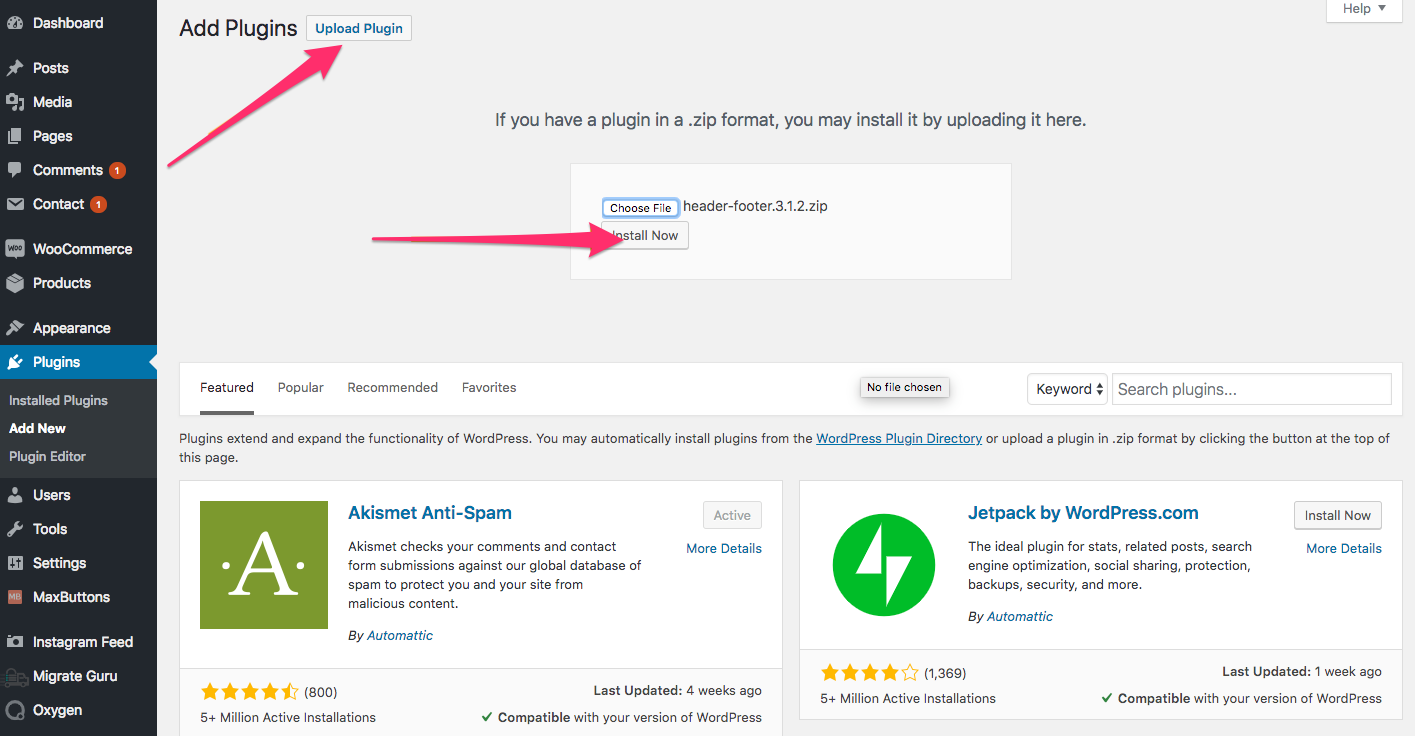
You can also upload your own plugin if you have one in a .zip format.
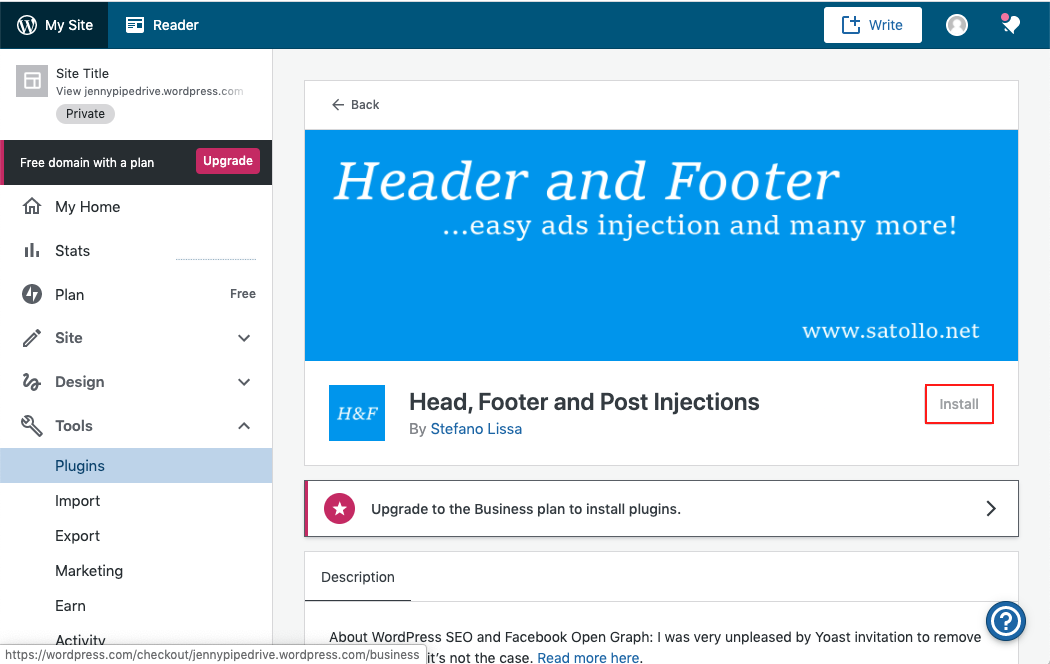
Once you find a plugin, you can click on "Install". There are a lot of plugins to choose from but we are using one called Head, Footer and Post injections in this example.
The plugin will have to be activated once it has been installed.
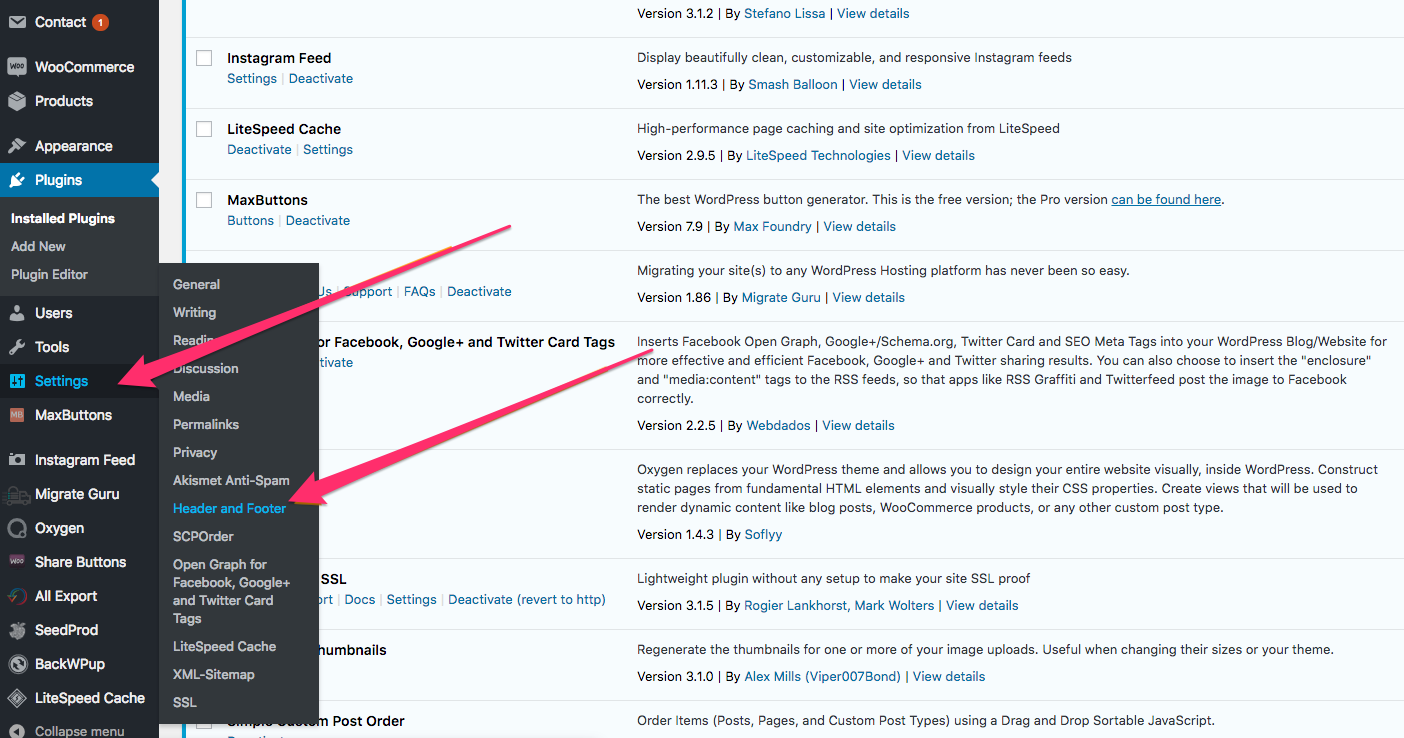
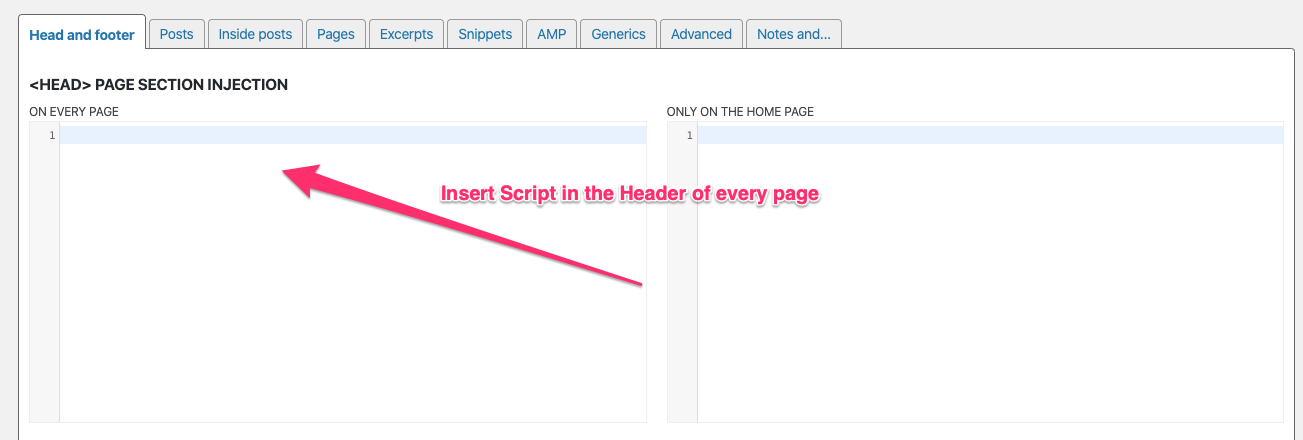
Once the plugin has been activated, you can then access the plugin settings and paste your Web Visitors tracker script into the header section of every page before saving.
Adding the tracker script to your Wix website
You can read this article to learn how to add the tracker script to your Wix website.
Adding the tracker script to your Squarespace website
You can read this article to learn how to add the tracker script to your Squarespace website.
Activating the tracker script
Back in Pipedrive, the tracker script status will only show as Installed once your website receives some visits after installing the tracker script.
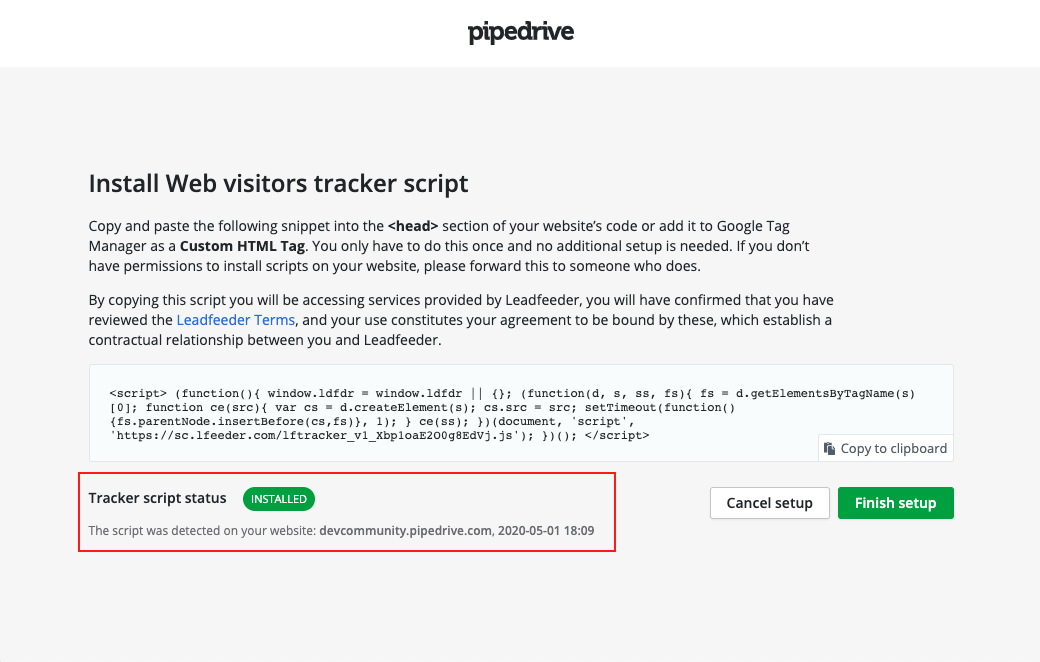
Once the tracker script is active, you can now sort through your visitors and add them as leads, deals and organizations in Pipedrive. You can read more about how to view and manage your Web Visitors in this article.
Was this article helpful?
Yes
No