Lead labels
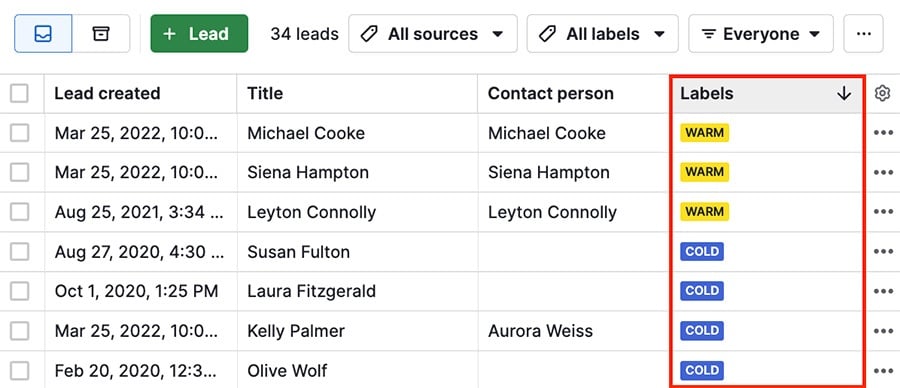
Your Leads Inbox can get cluttered with potential sales, so adding color-coded lead labels lets you visually categorize your leads as you qualify them.
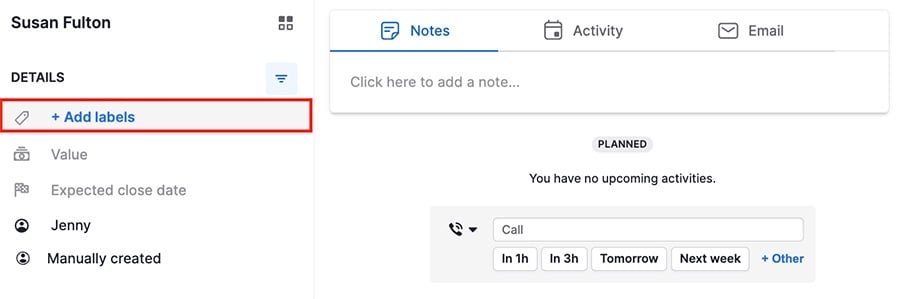
Add labels to a lead
To add a label to a lead, select a lead from your Leads Inbox and click ”+ Add labels“ in the details section.
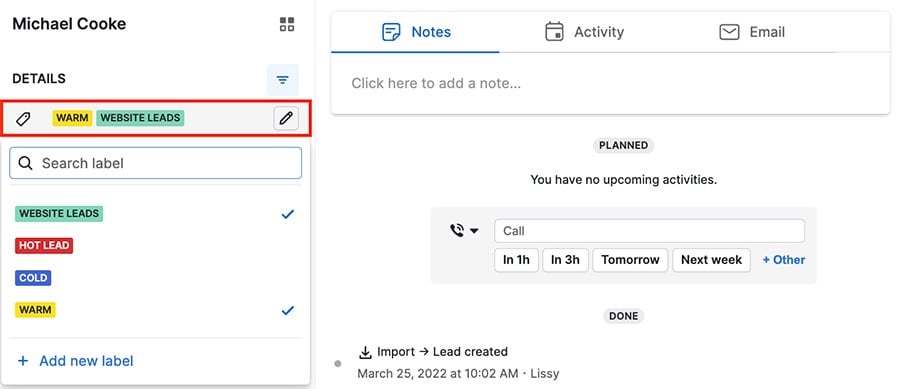
Since your leads may not always fall into a single category, you can assign multiple labels at once.
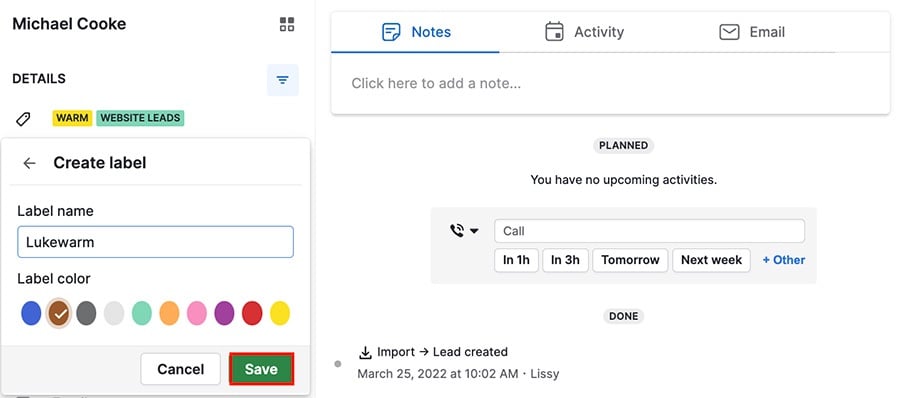
Create new labels
To create a new lead label, go to the labels section in your details and click ”+ Add new label.“
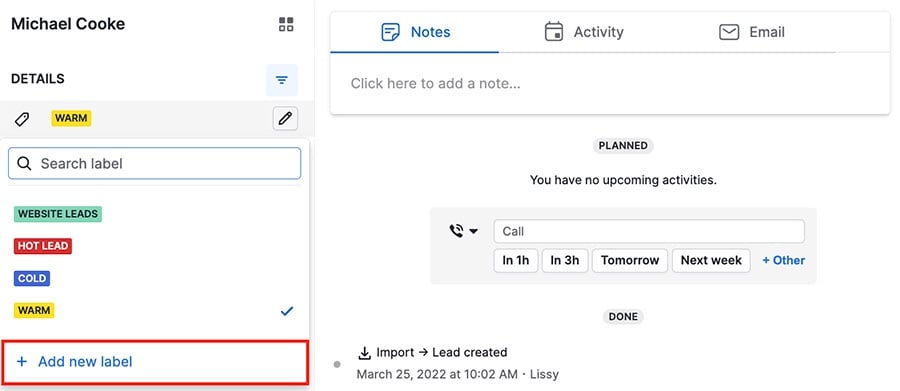
Choose a name and color for your lead, then click ”Save“ to confirm.
Edit lead labels
You can edit existing labels by clicking the pencil icon next to one.
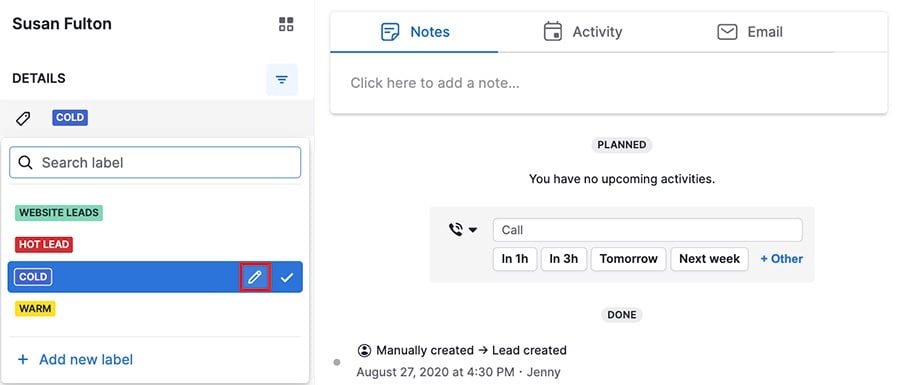
You can alter the name and color, or delete the label by clicking the trash can icon.

Click ”Save“ to confirm the changes.
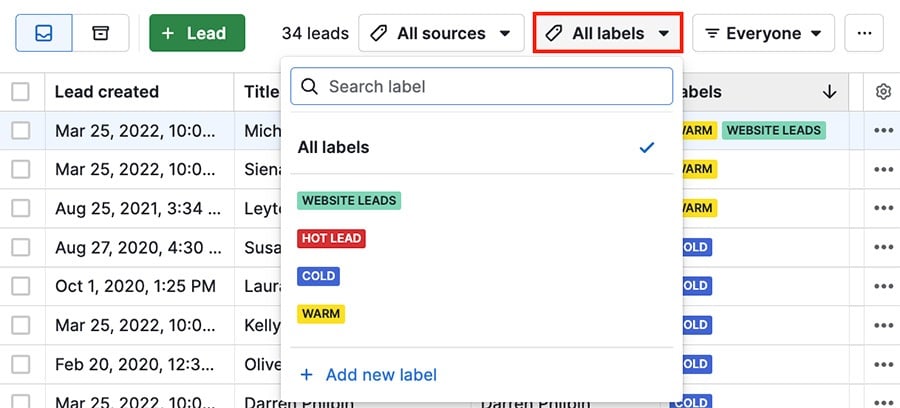
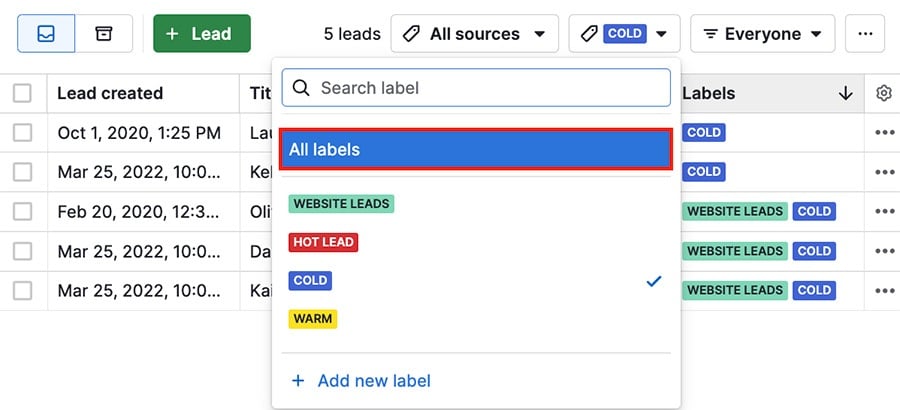
Filter by lead labels
On the top right corner of your leads page, click the labels dropdown to view your existing labels and select one or multiple labels to filter by.
When you filter for one label, you‘ll see leads that include that label even if the leads have additional labels.
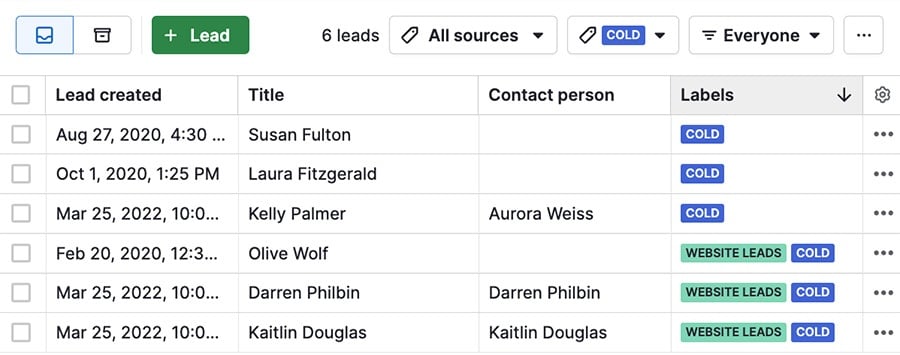
You can reset the filter by clicking ”All labels.“
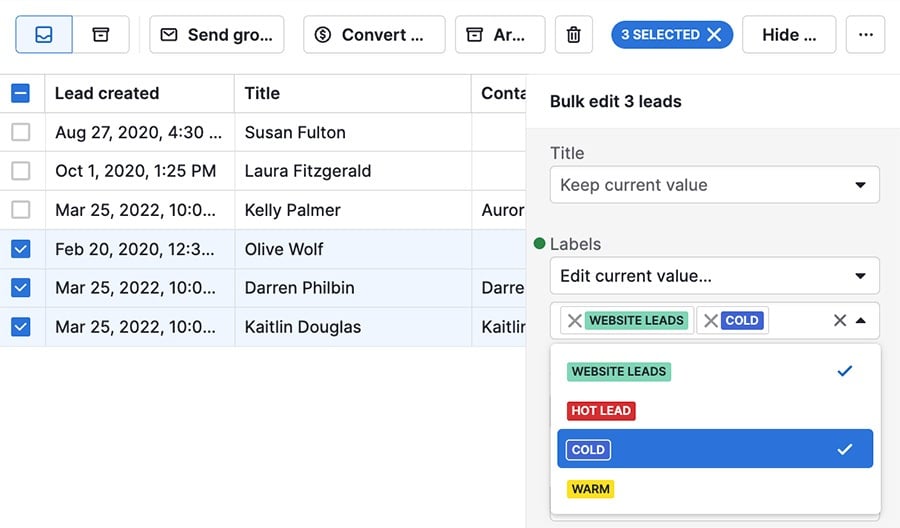
Bulk edit lead labels
You can add labels to multiple leads by selecting them in the Leads inbox to open the bulk editing menu.
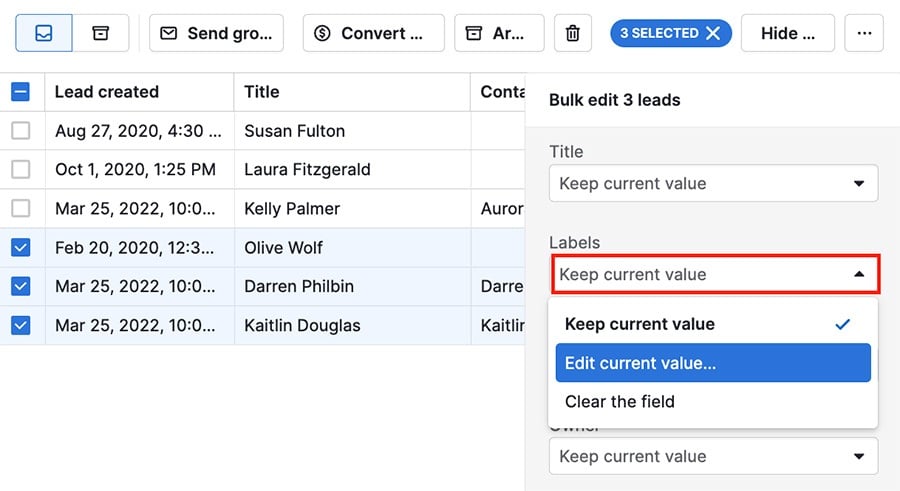
You can select one or multiple labels to add, and click ”Update“ in the bottom right corner to confirm the changes.
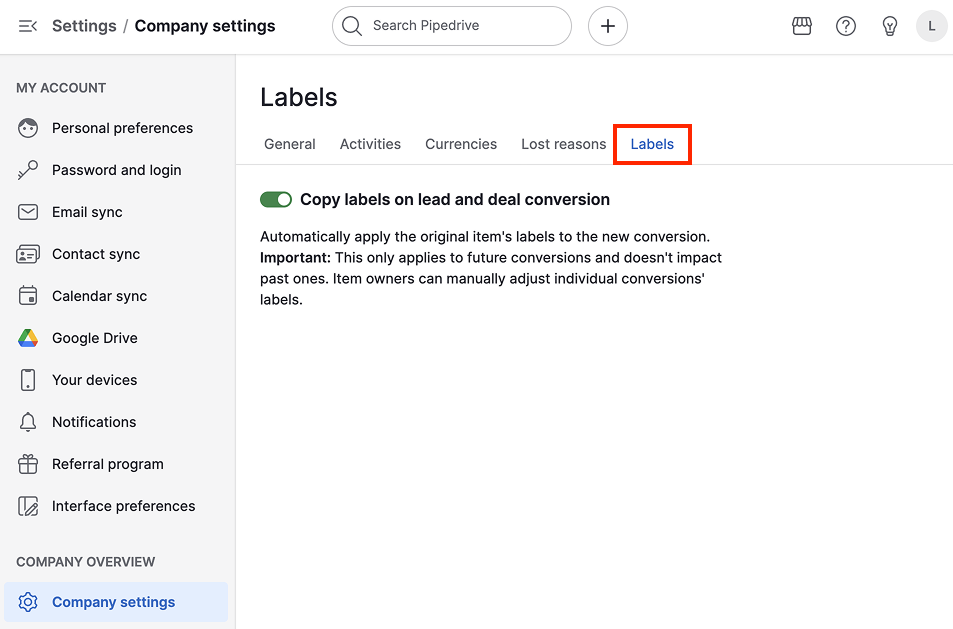
Copy labels on lead and deal conversion
When you convert a lead into a deal or a deal into a lead, you can choose to automatically copy the labels.
When you enable label copy on conversion, any labels attached to a lead or deal will automatically appear prefilled in the conversion modal and carry over to the new lead or deal record, ensuring those labels are immediately available in the lead or deal label list.

How to enable label copy on lead and deal conversion?
Go to Settings > Company Settings > Labels and toggle the copy option.
Was this article helpful?
Yes
No