Using Pipedrive single sign-on (SSO) with Okta
Pipedrive's single sign-on (SSO) feature integrates with Okta to ensure that your team can access Pipedrive easily using your identity provider.
Install the app
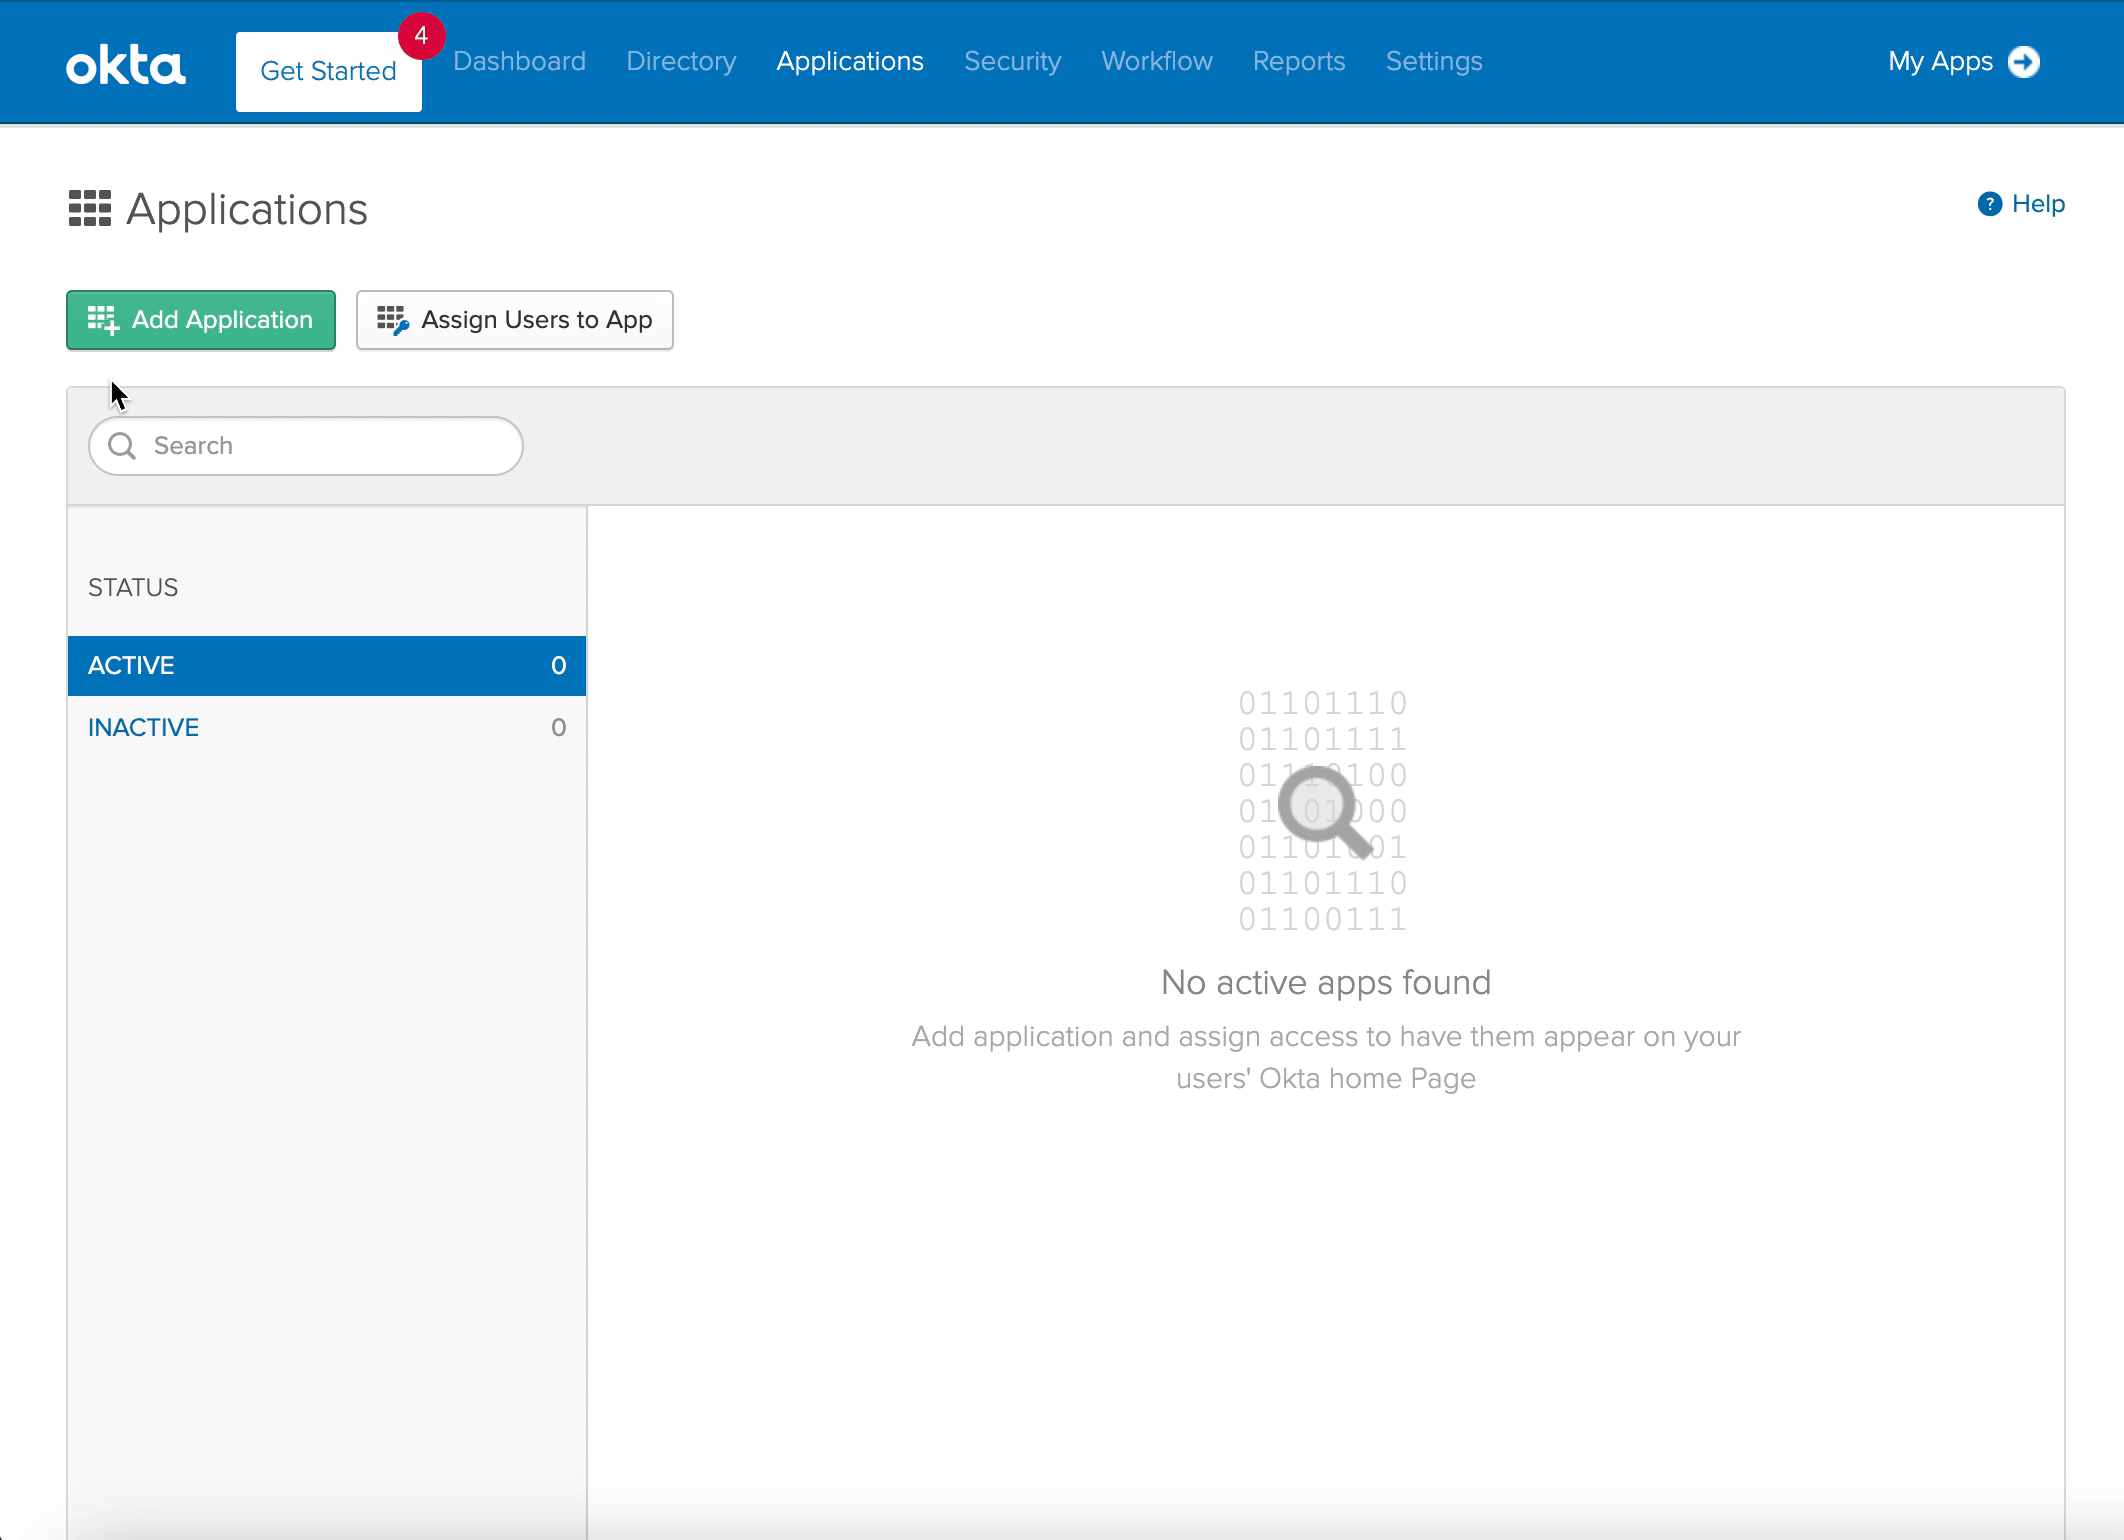
To begin, install the Pipedrive app from your Okta administrator dashboard. An admin user can select Applications, search for Pipedrive and click "Add".
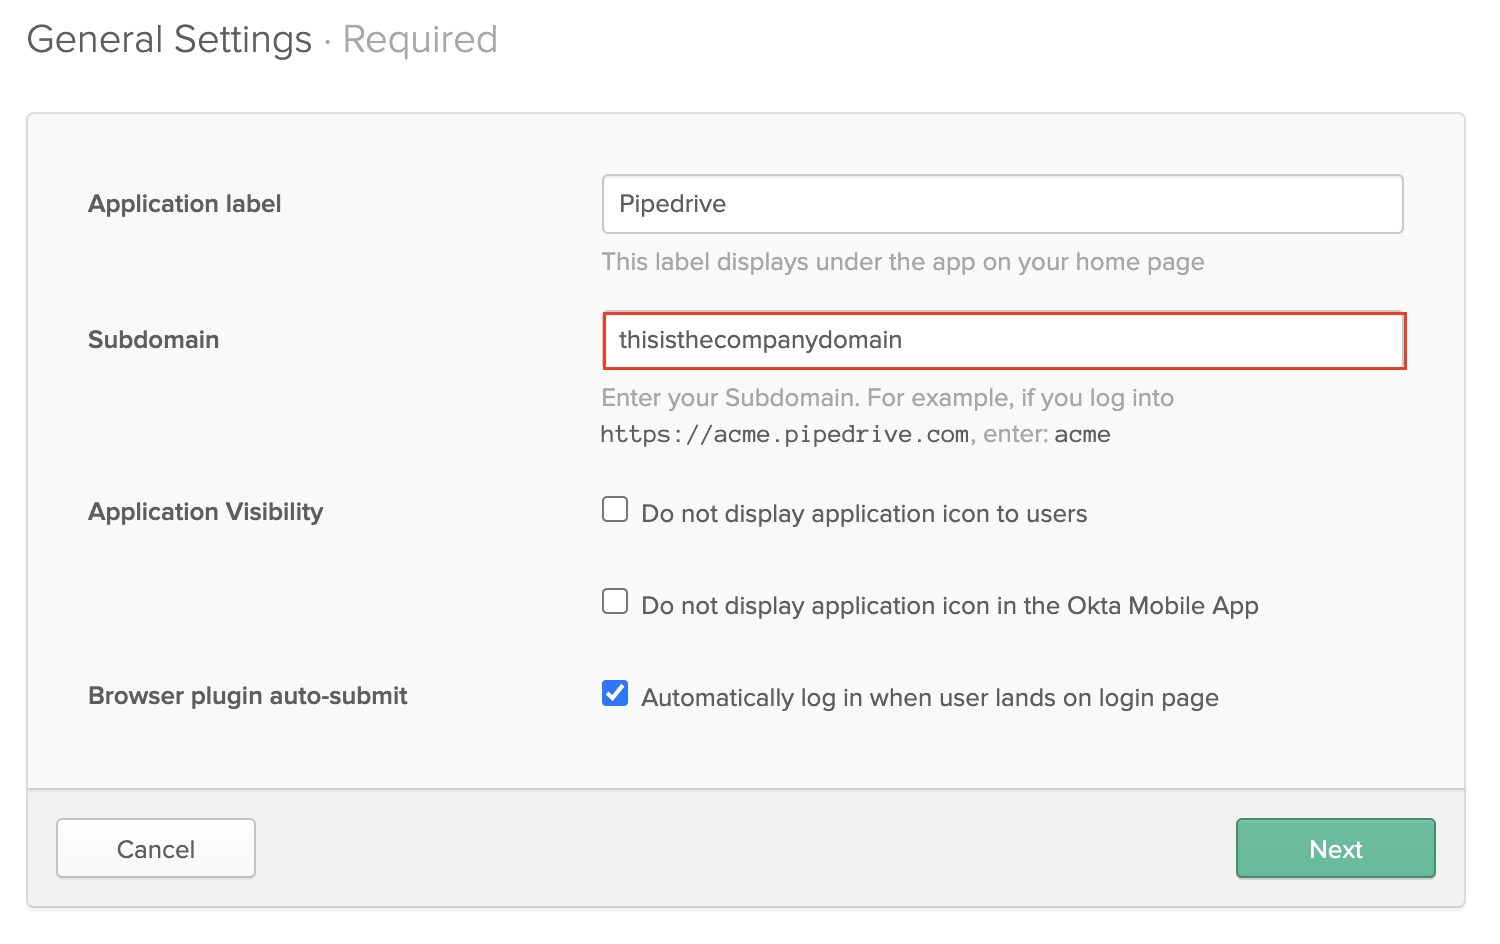
Enter the subdomain of your Pipedrive account into the corresponding field before clicking "Next" to confirm.
Configuring SSO
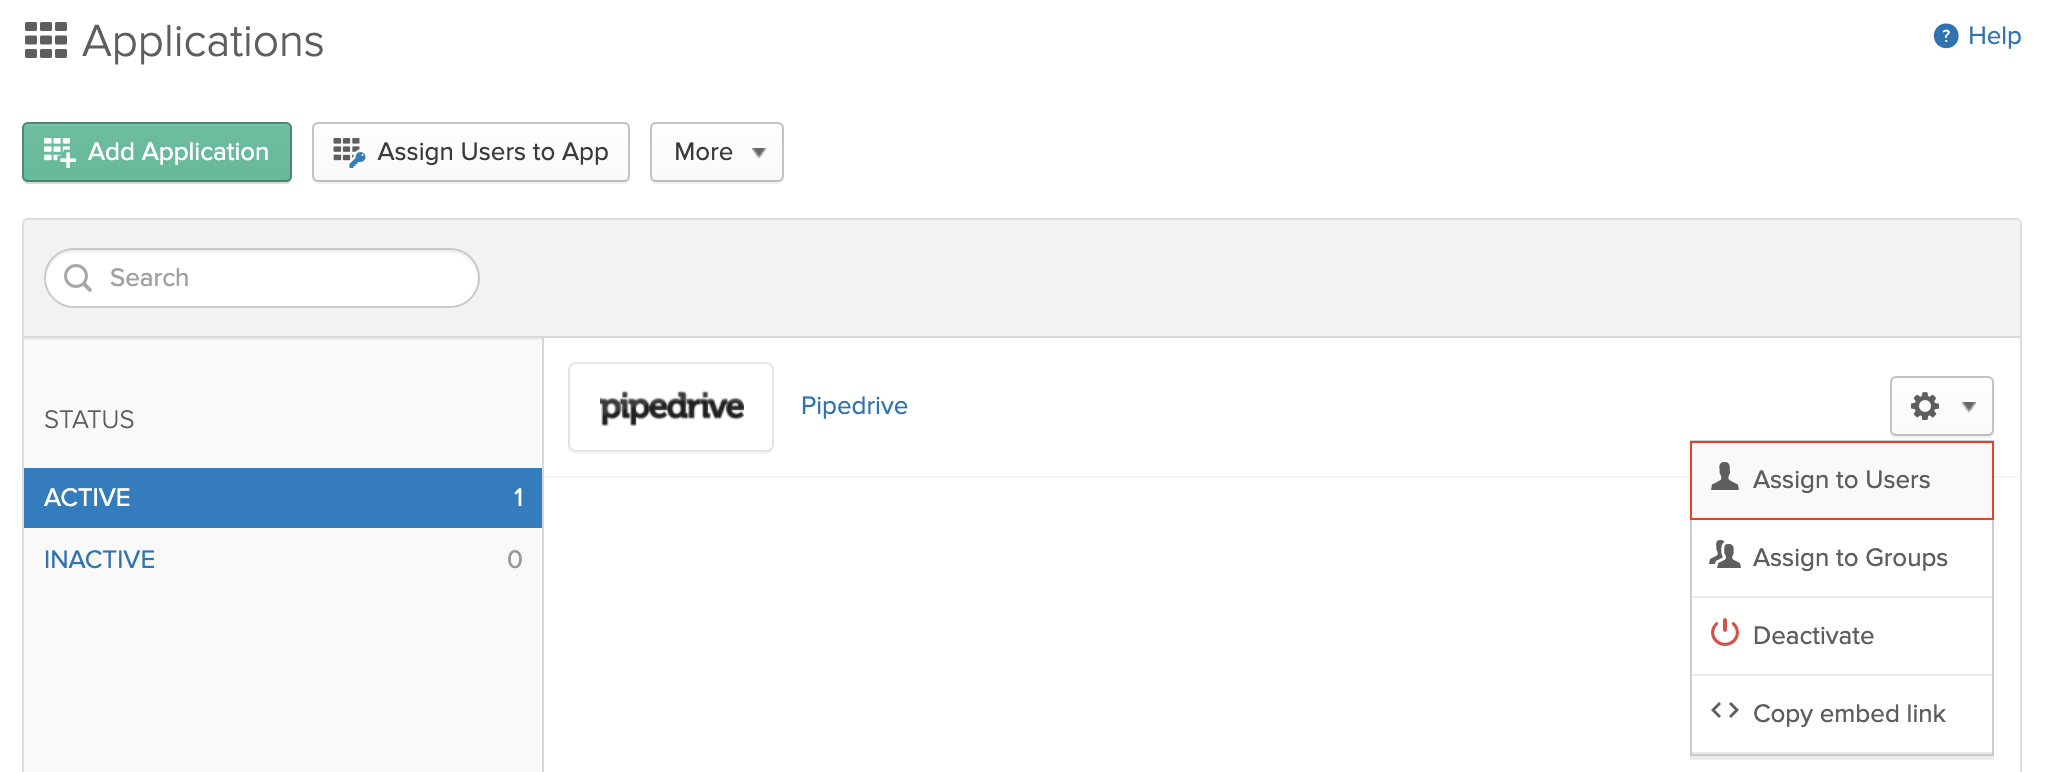
Make sure to assign your users to Pipedrive from Okta before testing the single sign-on. Under "Applications", click the gear symbol, and "Assign to Users".
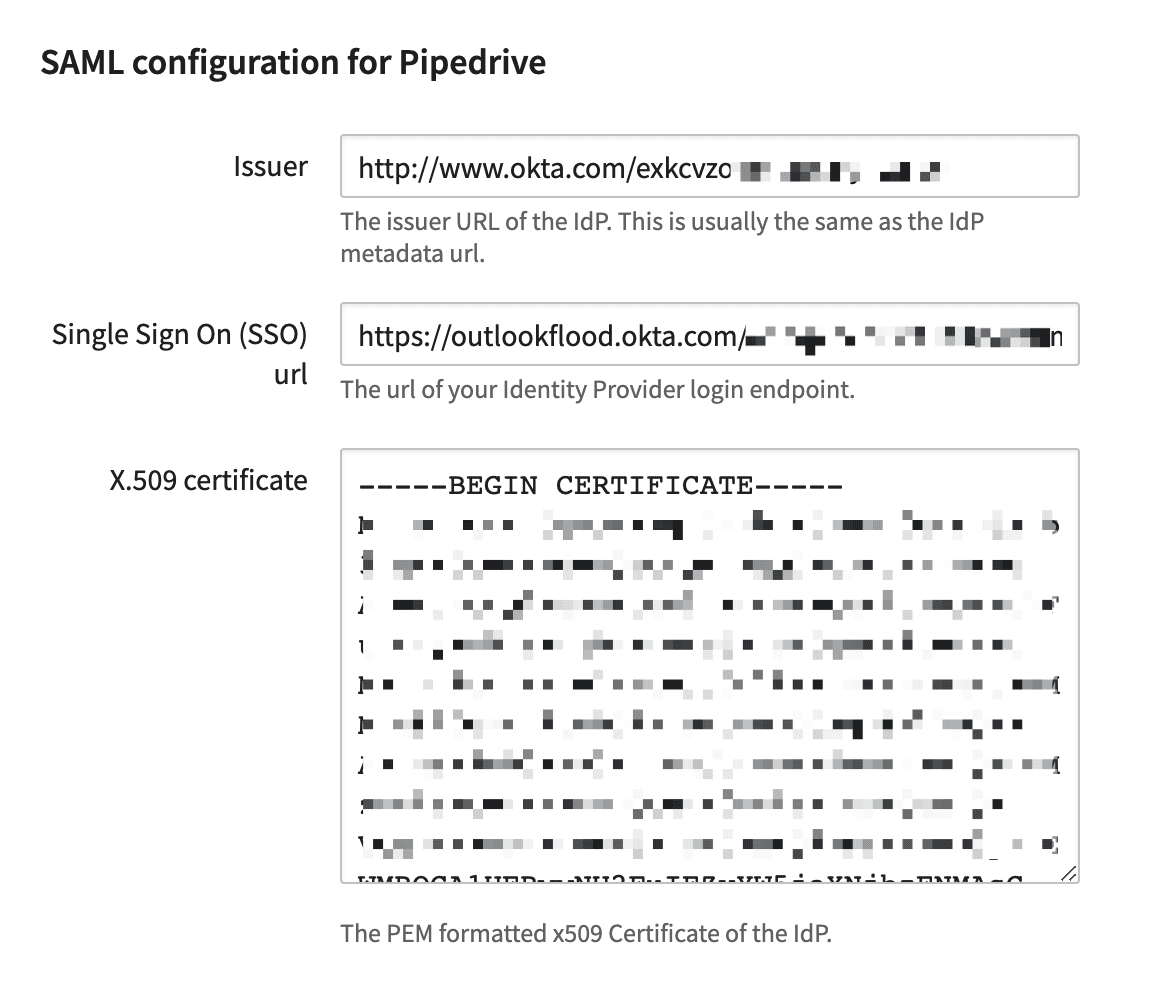
To start configuring single sign-on, select "SAML 2.0" under Sign-on methods and click "View setup instructions".
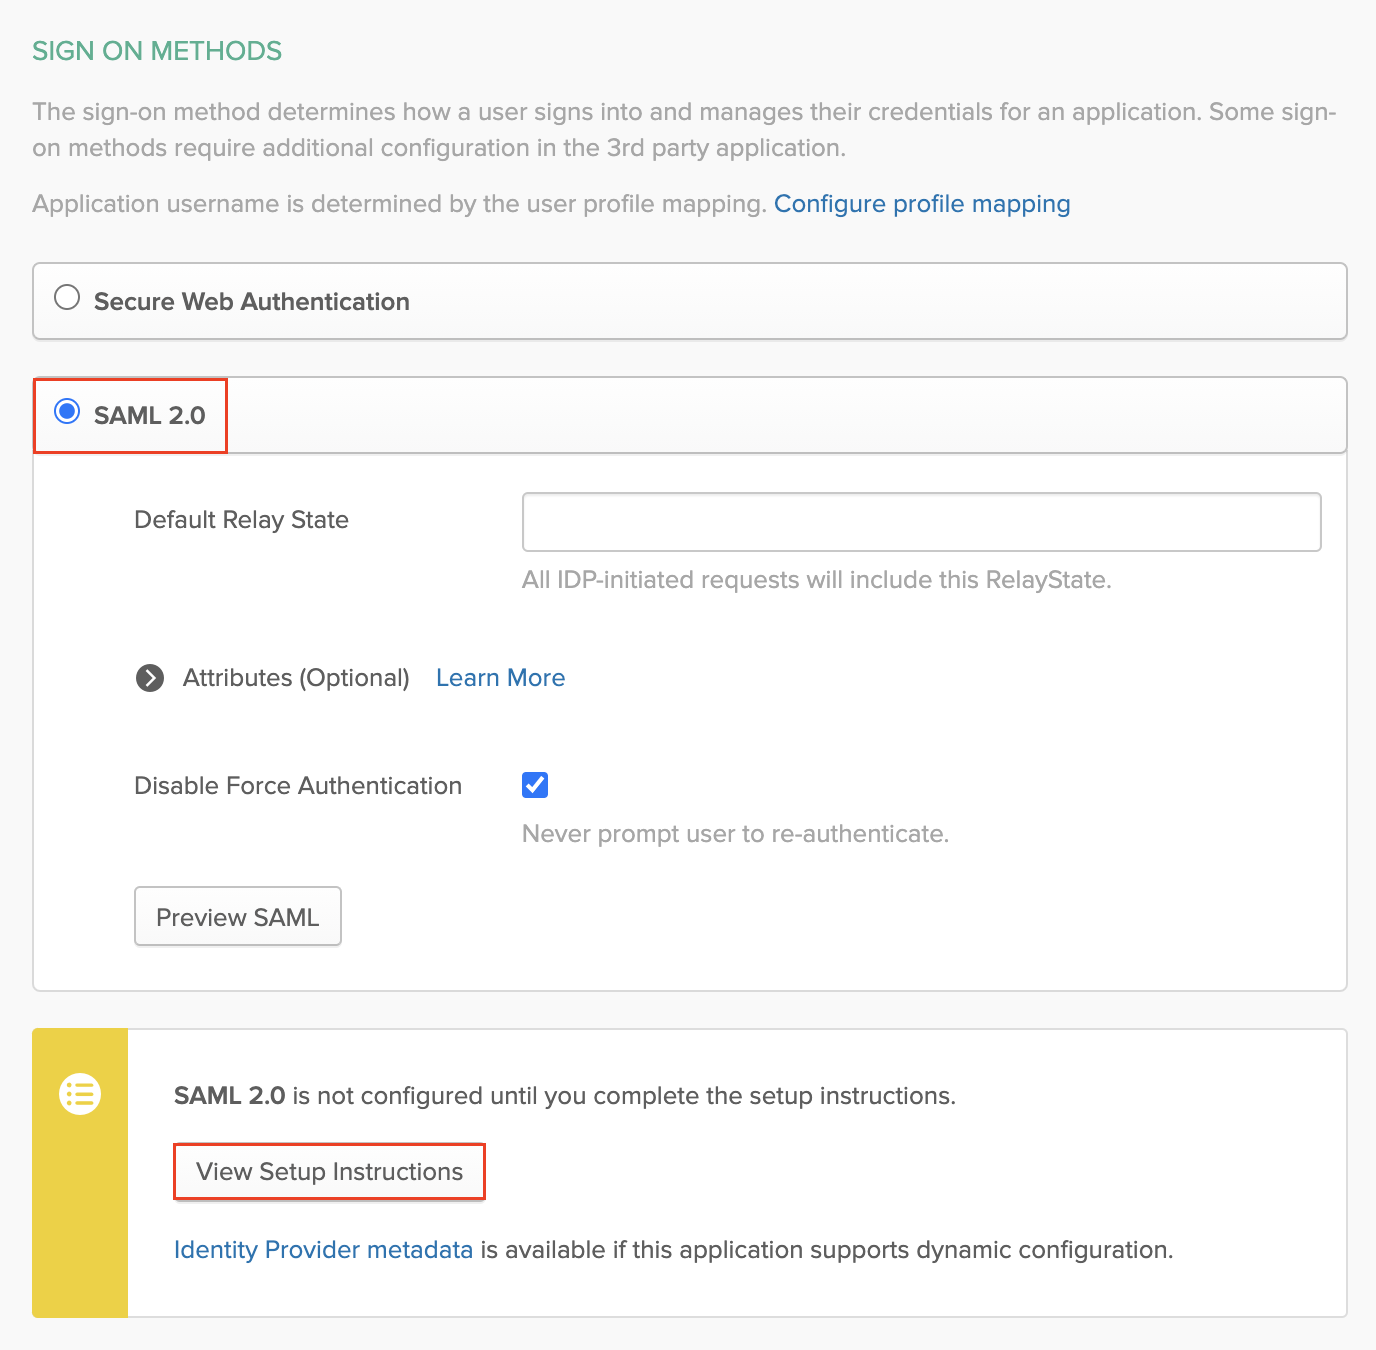
On the Setup Instructions page, you will find values for Issuer, Single sign-on (SSO) URL and X.509 certificate that you need to enter in your Pipedrive SSO settings page. Your Pipedrive SSO settings page can be found by going to Settings > security center > Single sign-on.
You can copy and paste all of these fields directly to their corresponding fields in Pipedrive.

Testing the SSO setup
Once you have copied and pasted the values, click "Save and test". If everything has been configured correctly, you should see a success message.

You can then enable SSO for your users by clicking the toggle at the bottom of the page.

Was this article helpful?
Yes
No