Web Forms
Pipedrive Web Forms allow you to create your own personalized, embeddable forms for your website to collect your website visitors' information and funnel them into Pipedrive as deals or leads.

Creating a Web Form
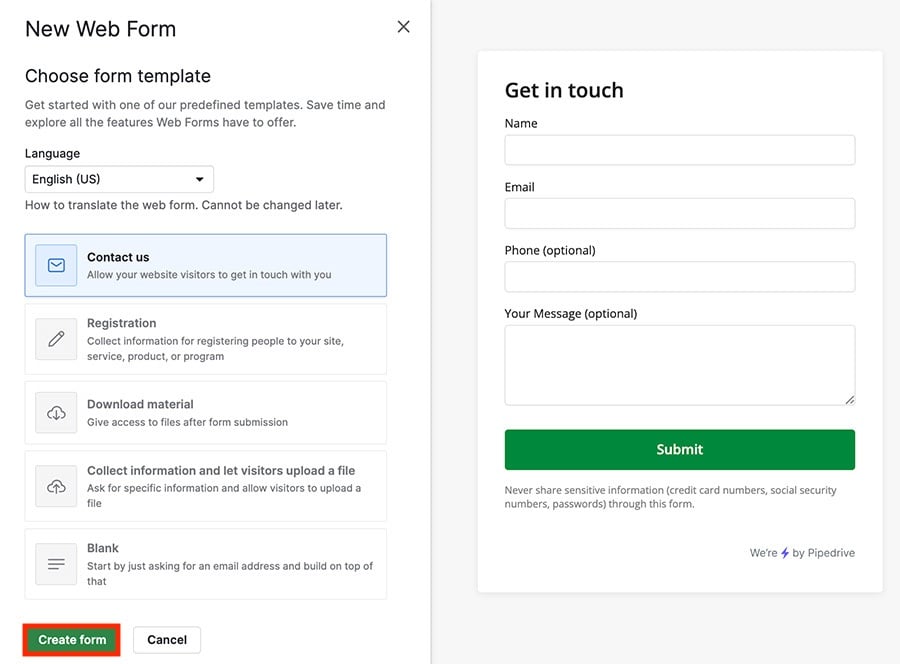
To create a Web Form, go to Leads > Web Forms > “New Web Form.”

Select a starting template and click “Create form.”
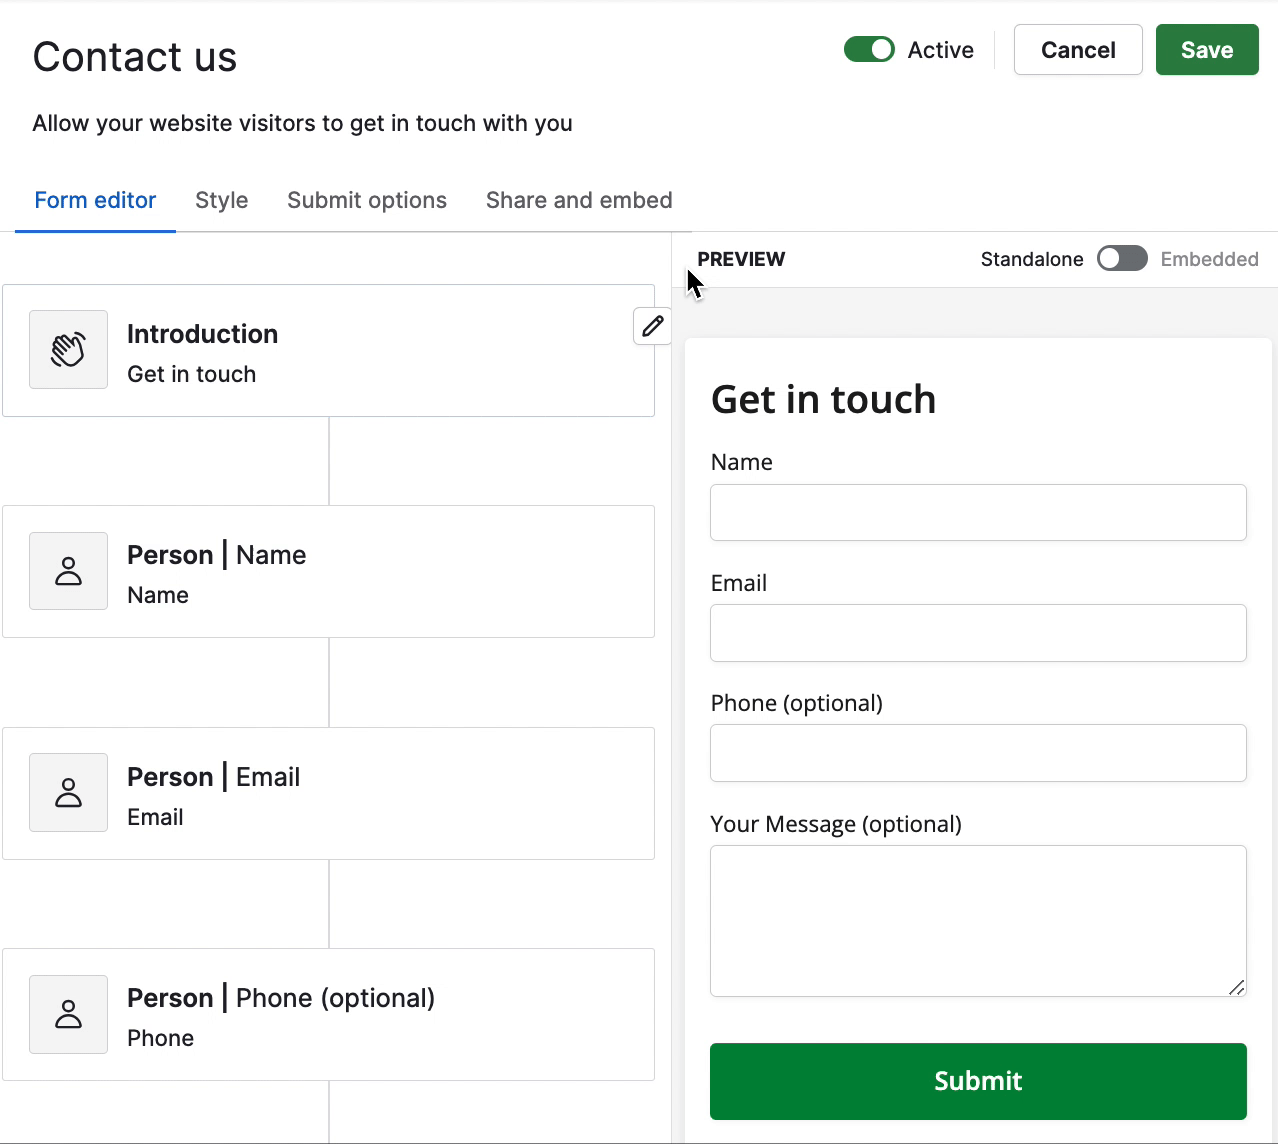
Form Editor
The form editor is where you build and customize your web forms. You can add different blocks depending on what information you want to collect.
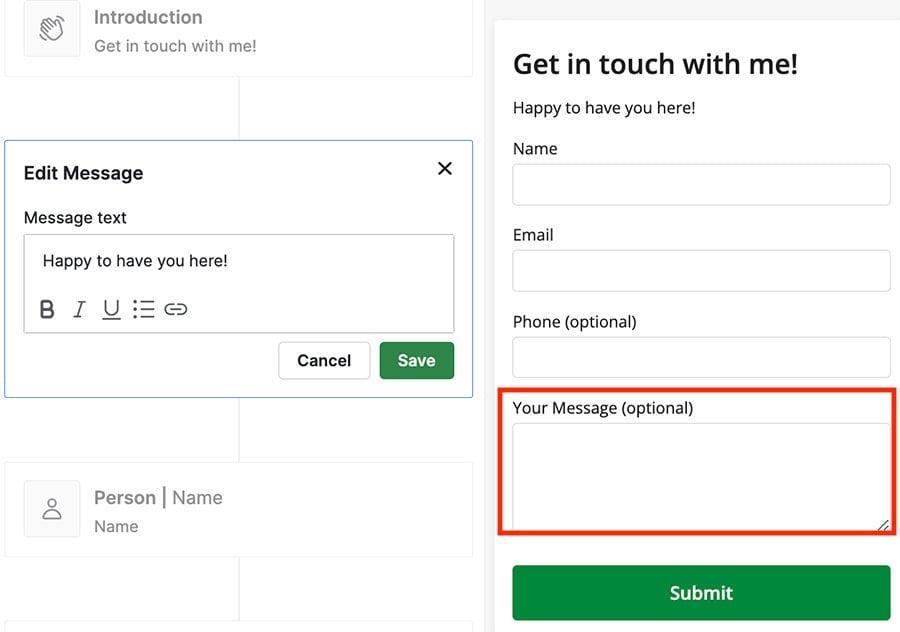
The introduction block is mandatory for all web forms. To edit a block, click the pencil icon to expand the block.
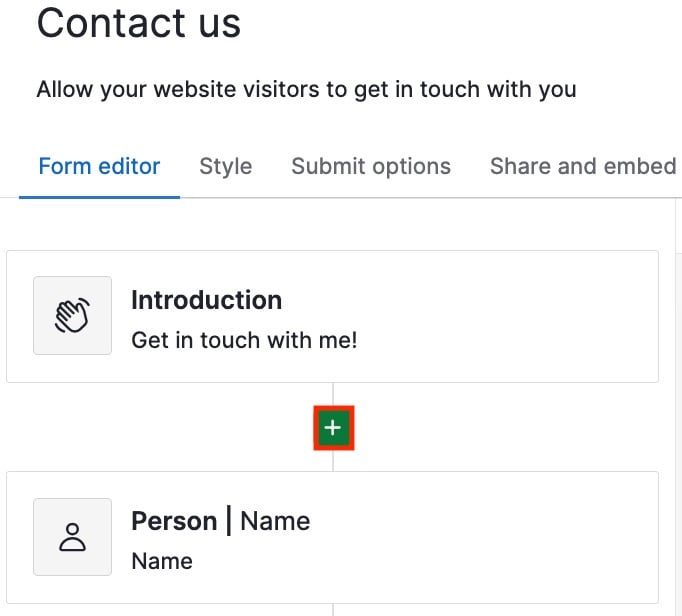
To add a new block, hover over the form editor and click the “+” where you want the next block to be in the form.
Block Types
There are two block types you can use: Input field or Message.
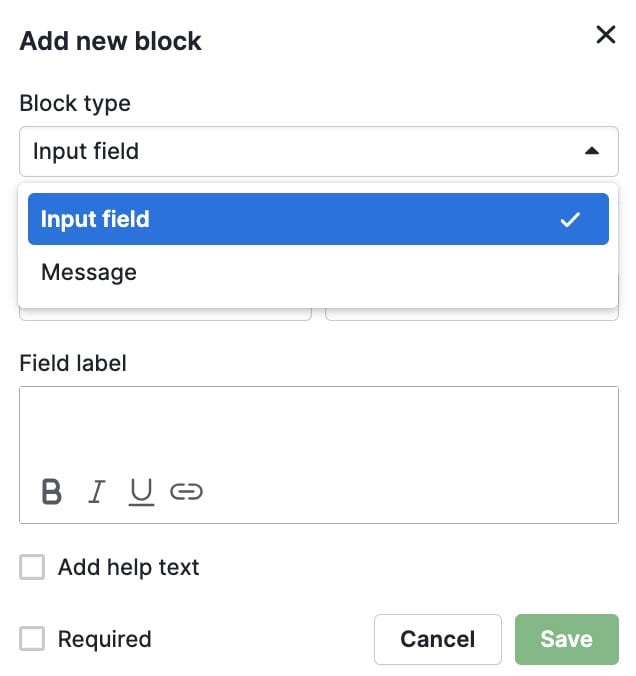
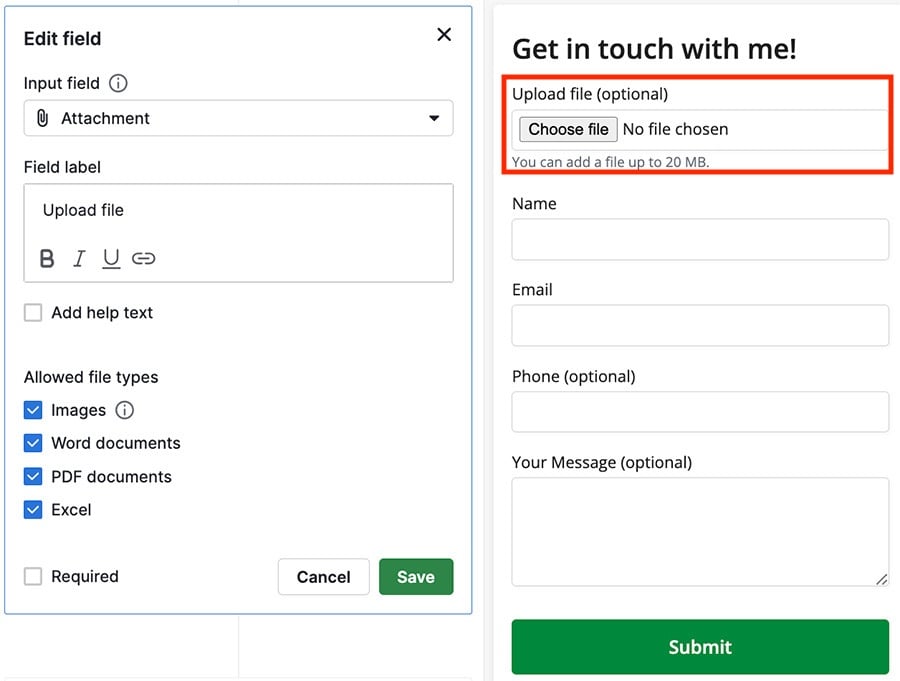
Input field
This block type lets you collect information from website visitors such as name, phone number, email address, marketing status and various custom fields from your account. You can also decide if this block is needed for the form using the “Required” box.
Currently, our web forms support the following custom field types:
Text
Large text
Single option
Multiple option
Date
Address
Monetary
Numerical
Phone
Message
The other block type is Message, where a user can add text to the form.
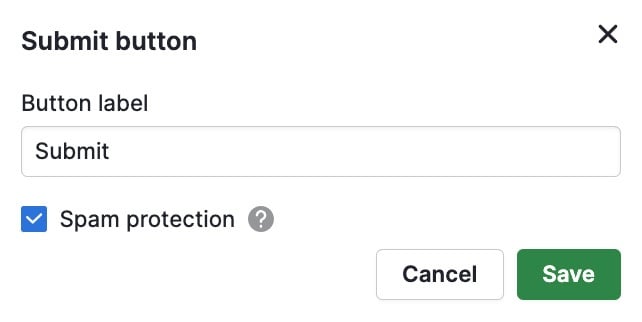
The last block in your form is the Submit button, which is mandatory. This block lets you choose the text on the button and whether the form is spam-protected.
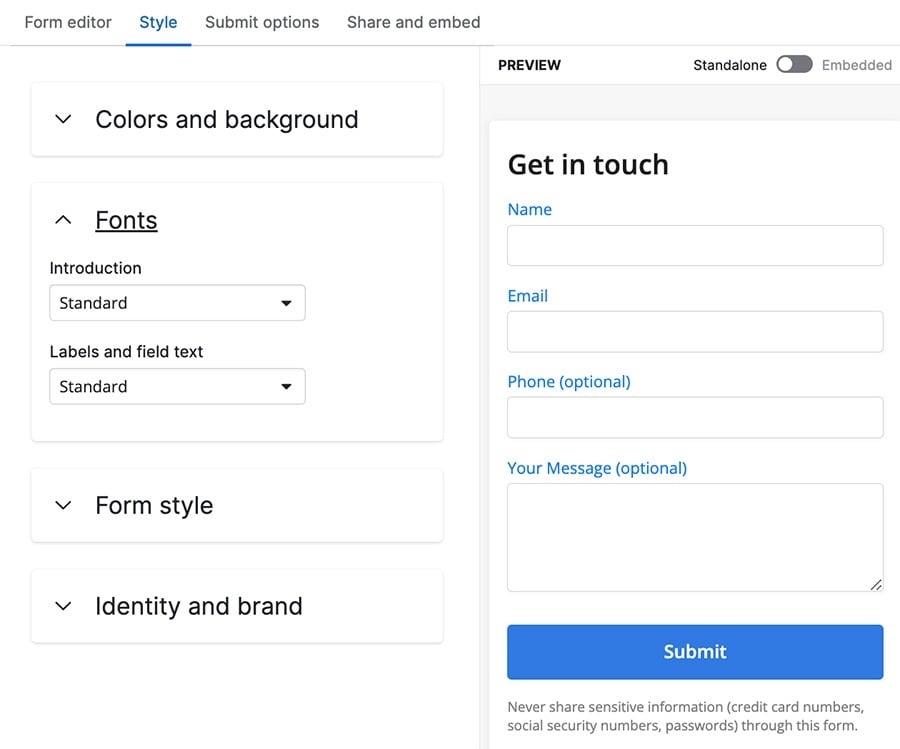
Style
The Style section lets you customize the appearance of your web forms in four different ways.
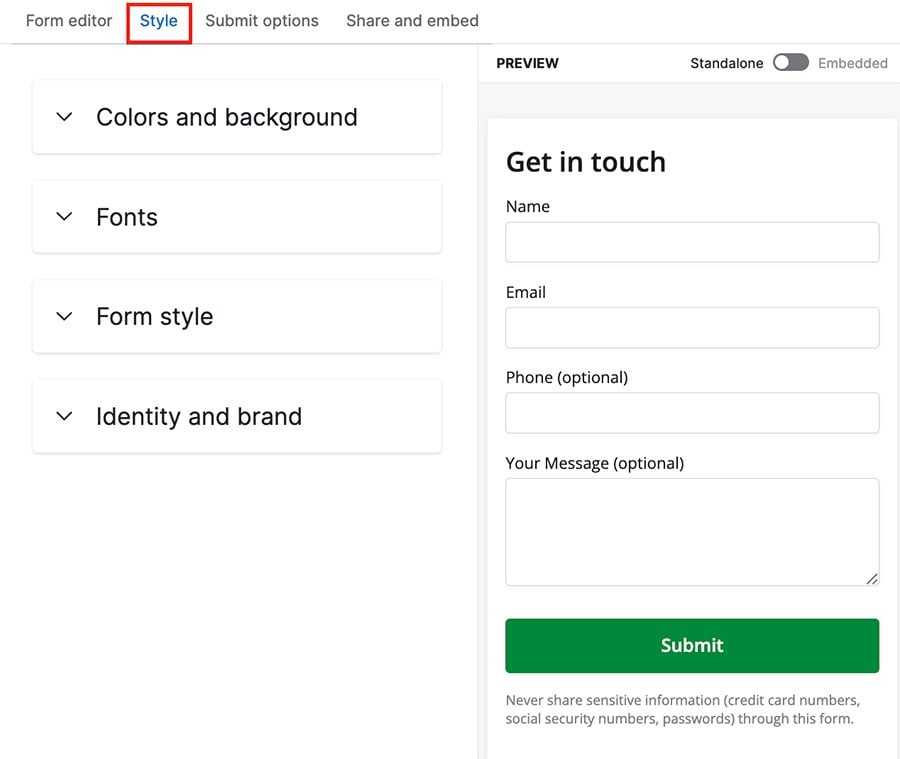
Colors and background
You can pick colors for the background, foreground, submit button and labels.

Fonts
Choose between dozens of custom fonts and adjust the size and weight of the lettering.
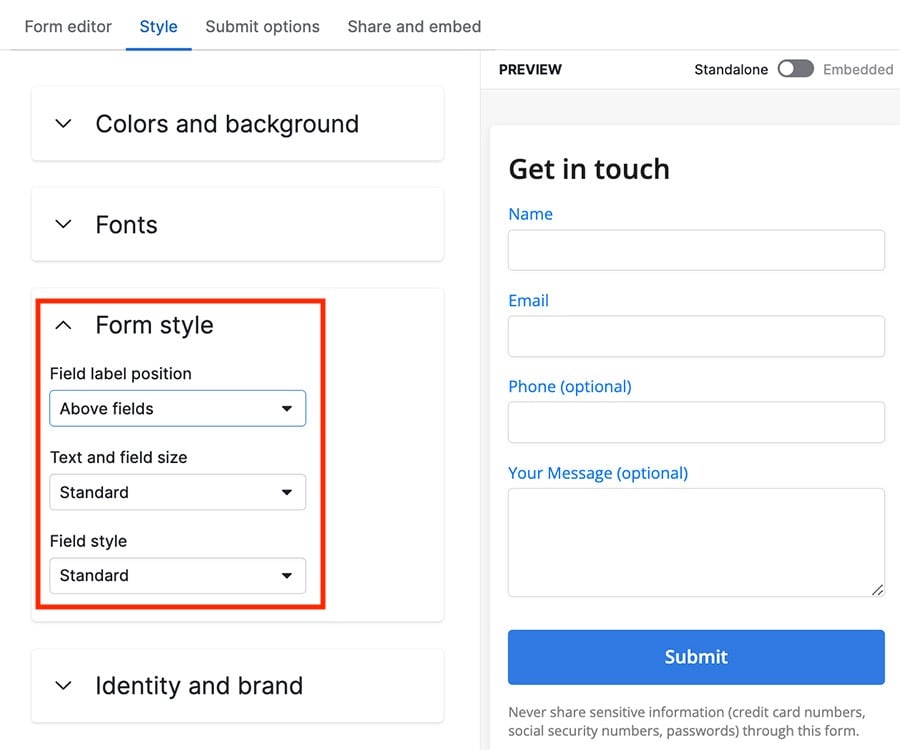
Form style
You can also choose your form style, which includes the size, shape and position of your web form’s input boxes:
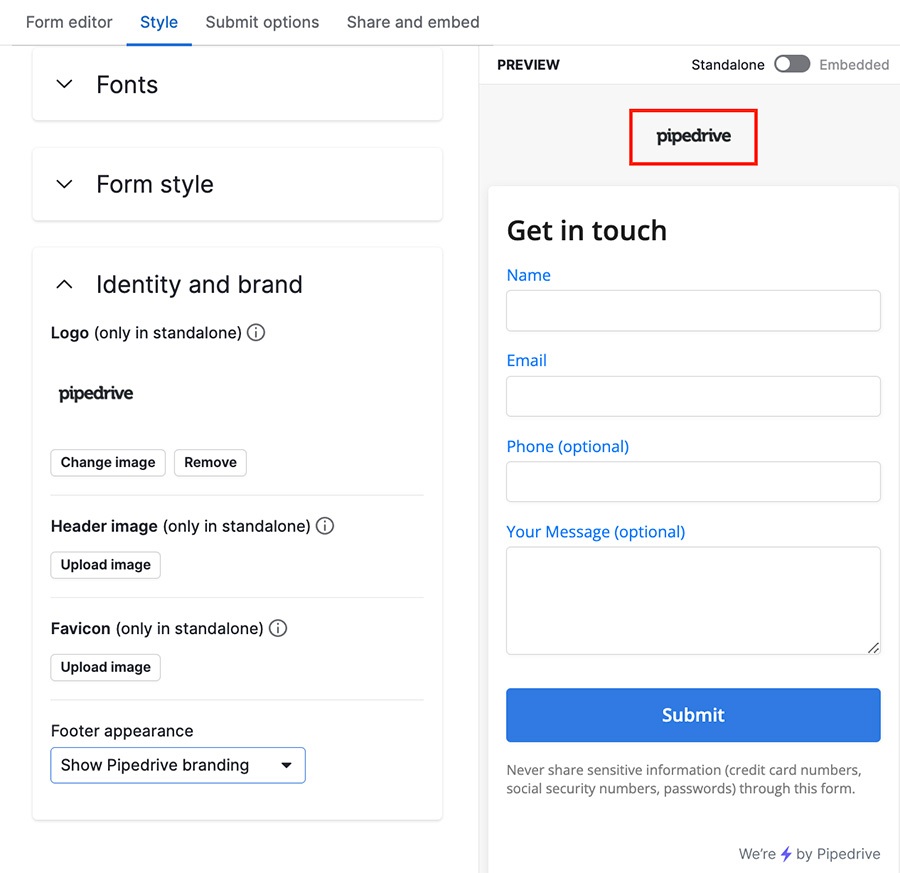
Identity and brand
Finally, add images to your web form and toggle Pipedrive branding on or off.
Submit options
Next, you’ll choose how you want submissions from your web form users to be entered into your Pipedrive account.
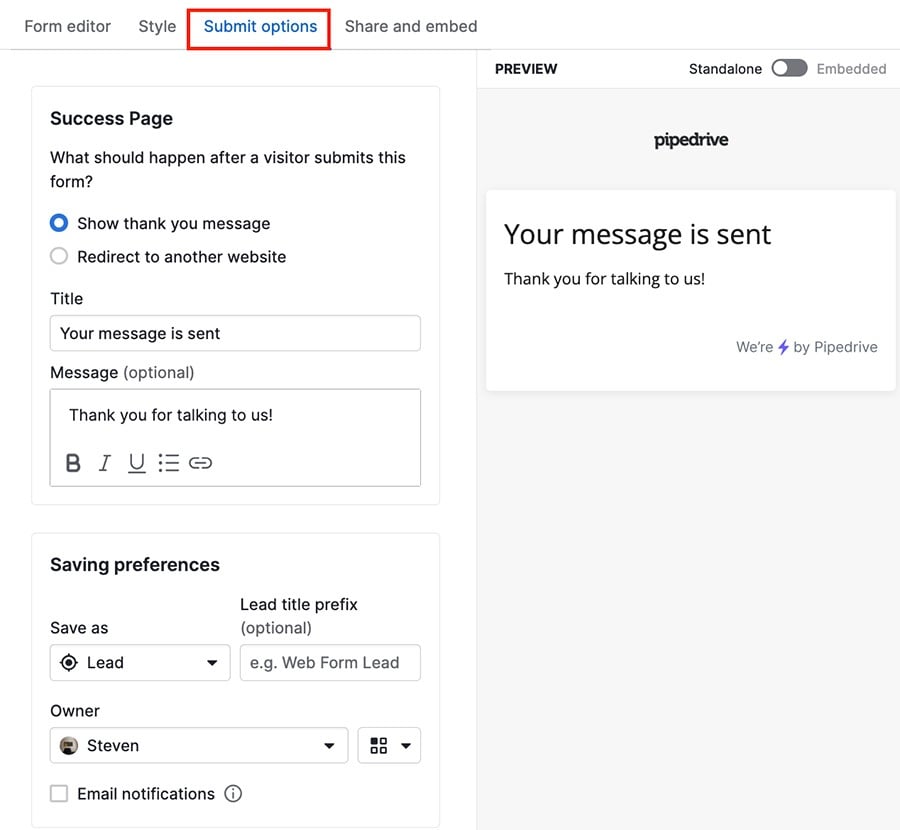
You can choose how the data is saved to your account, the thank you message sent after submission and whether you want to redirect them to another website.
Share and embed
You have two options for sharing your web form link: Share as link or Embed the form on your website.
Click “Copy to clipboard” under either section to get the link for your web form.
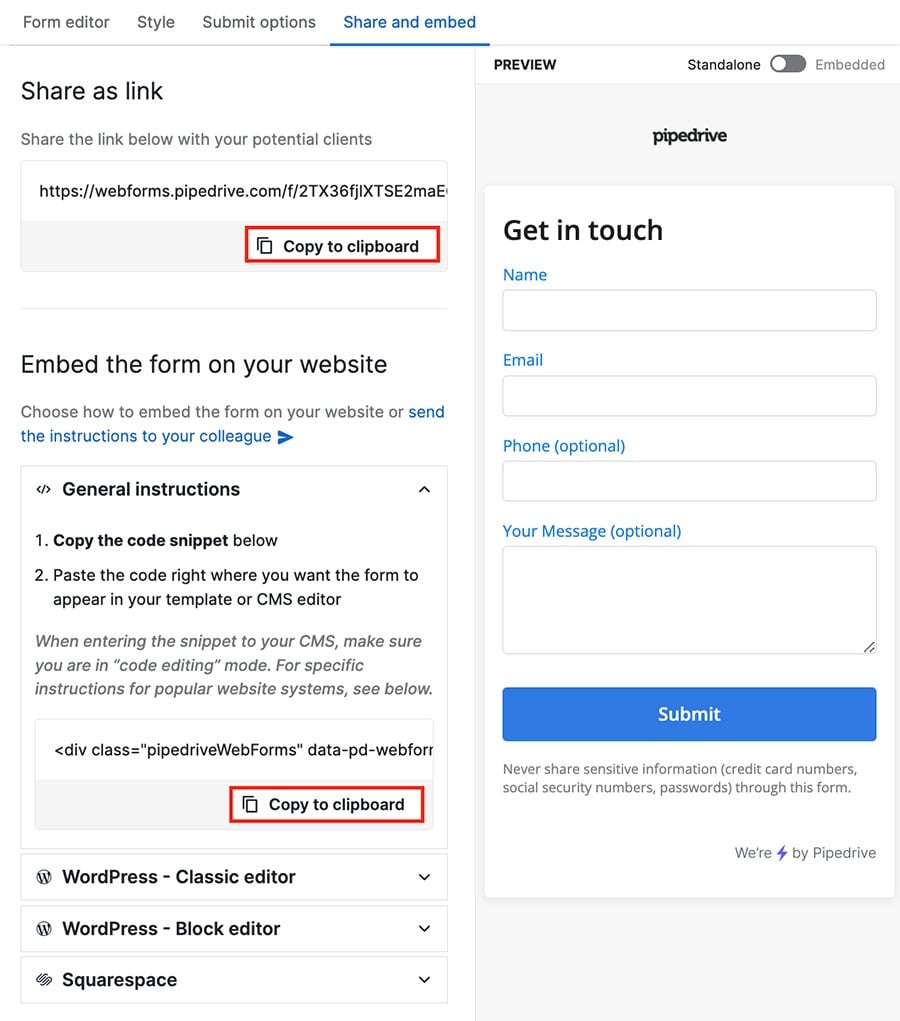
You can send the Share as link URL directly to your clients for them to submit, or follow the steps under your chosen website and paste the URL into your web page.
Consent fields for Web Forms
Pipedrive doesn’t have a default consent field for your web forms, but there’s a workaround so you can create a checkbox where your contacts mark their consent.
- Create a single-option custom field, with options for Yes and No
- Select this field in the input field for your submission block
- Check the “Required” box
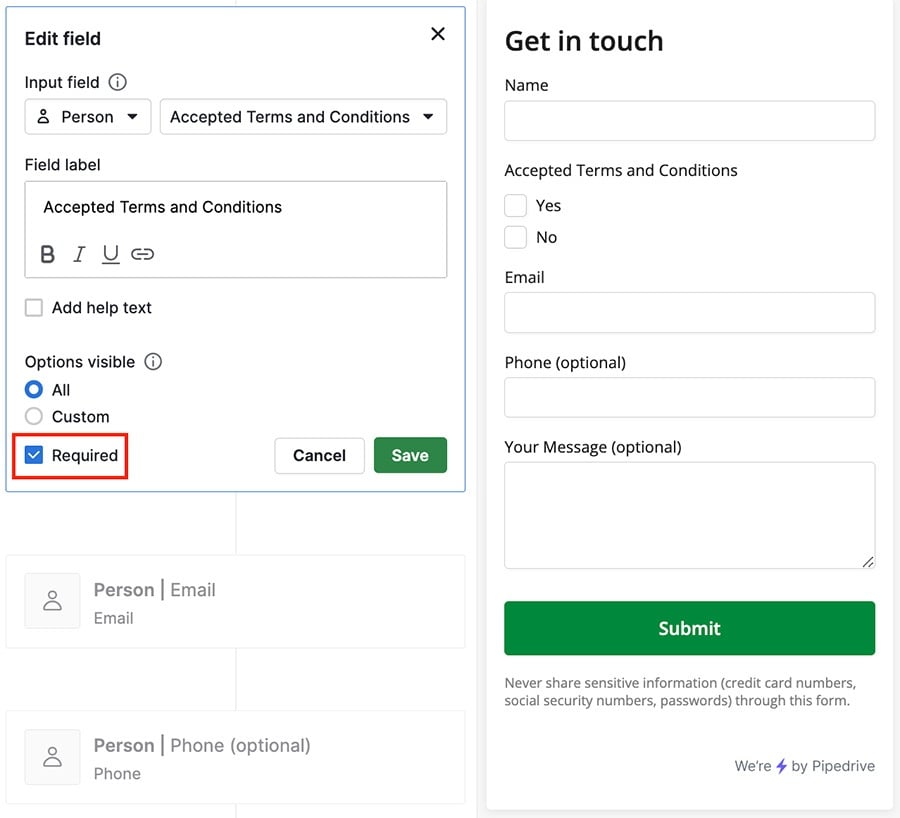
Now a client won’t be able to submit their web form responses without filling out this block.
Was this article helpful?
Yes
No