Automations: Slack notifications
If your team uses Slack to stay updated, you can use the automation feature to easily forward notifications to Slack according to actions in your company Pipedrive account.
To set up a Slack automation, you must first install and authorize the Slack app from the Marketplace.
To install, go to Tools and apps > Slack > Authorize Slack account. To learn more about how Slack integrates with Pipedrive, you can look at our Marketplace page here.
Custom Slack notifications
Once the app has been connected, head over to your automation page to get started.
To create a custom Slack automation, you can create a custom automation and select the Slack option when setting up your action.
From the action page, you’ll see the option to send a notification to a Slack channel or as a direct message.
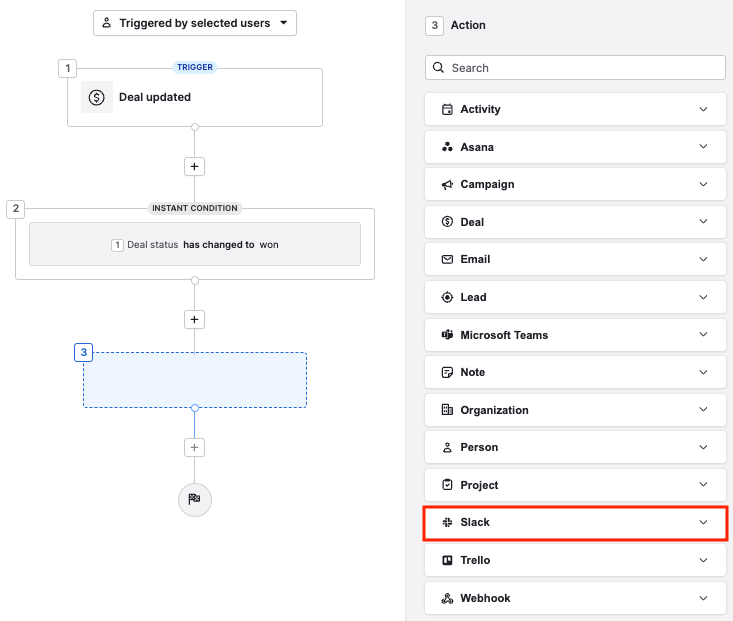
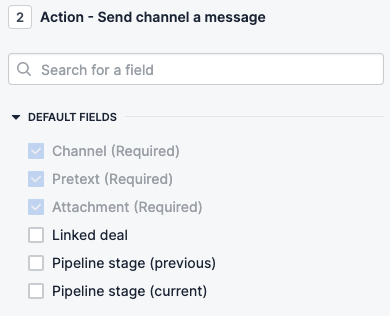
After you click on the “Next Step” button, you’ll be brought to a page where you can select additional field data to include.
After that, you’ll be able to select the recipient channel for your Slack message:
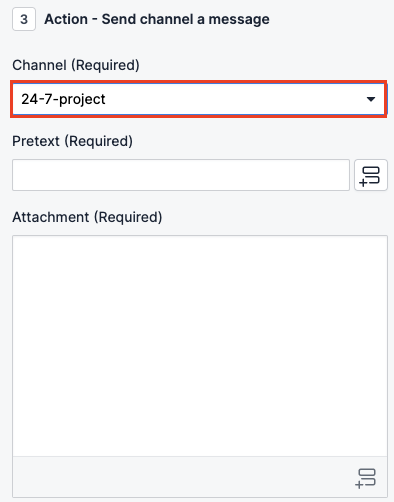
Then, for the Pretext and Attachment fields in your action, you’ll be able to select field data to include in your Slack notification.
To select a field, click the Merge fields icon, and select from the available options.

Pretext
- Information that appears before the Attachment block in your Slack notification.
Attachment
- Description or information related to the trigger event that occurred in your Pipedrive account.
Once saved and activated, your new automation should now automatically send notifications to your Slack account.

Slack notification templates
To quickly get started, you can choose from two existing Slack automation templates that will allow you to send deal-related information to your Slack channel or as a private message.
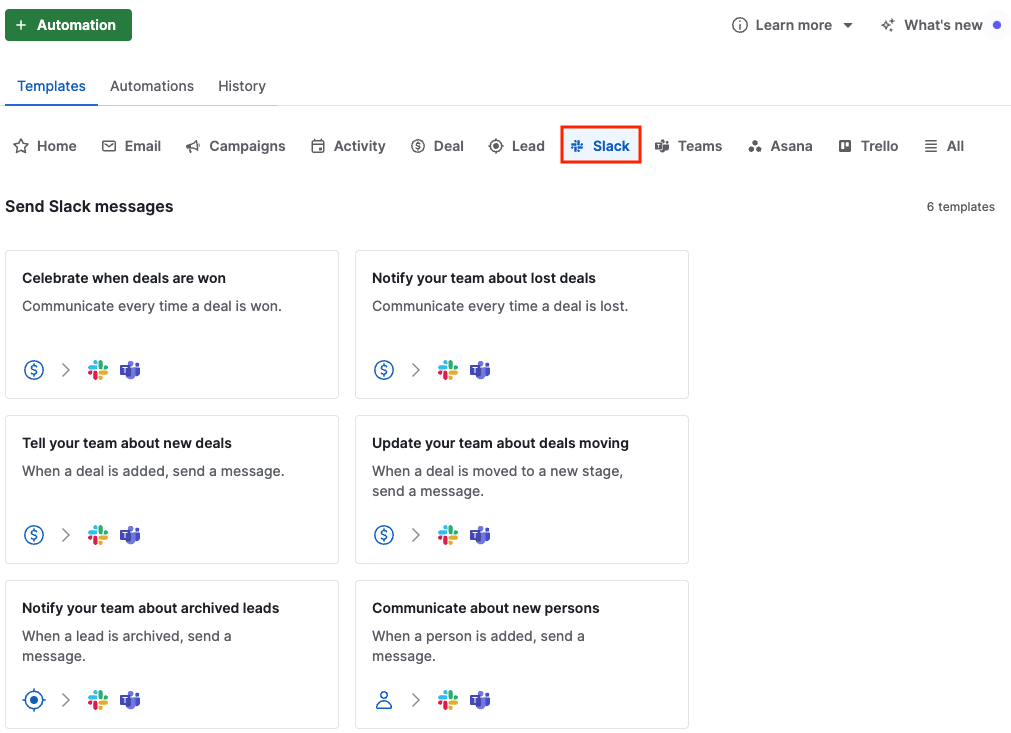
After selecting a template, you’ll be prompted to specify the trigger you want for your automation.
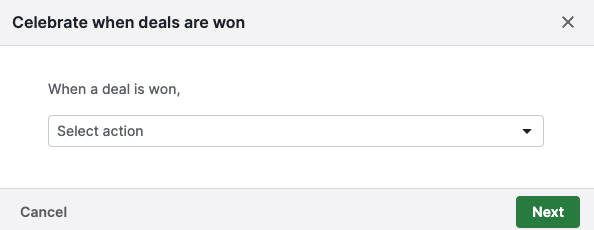
Once set up, you can go to your Created by me tab to further customize your templated Slack automation.
Was this article helpful?
Yes
No