How can I create activities in bulk?
If you want to add more than one activity to your account at a time, you can do so directly from the deals, contacts, leads and Sales Inbox list views or using a spreadsheet import.
Adding activities in bulk from list views
You can create activities in bulk directly from supported list views in Pipedrive. This lets you select multiple items and schedule activities for all of them in one action.
Bulk activity creation is available in the deals, contacts, leads and Sales Inbox (sent folder) list views.
In each view, select the items, use the bulk option to schedule activities and define the details in the activity composer.
Let‘s look into each of them in detail.
From the deals list view
Navigate to the deals page and switch to the list view.
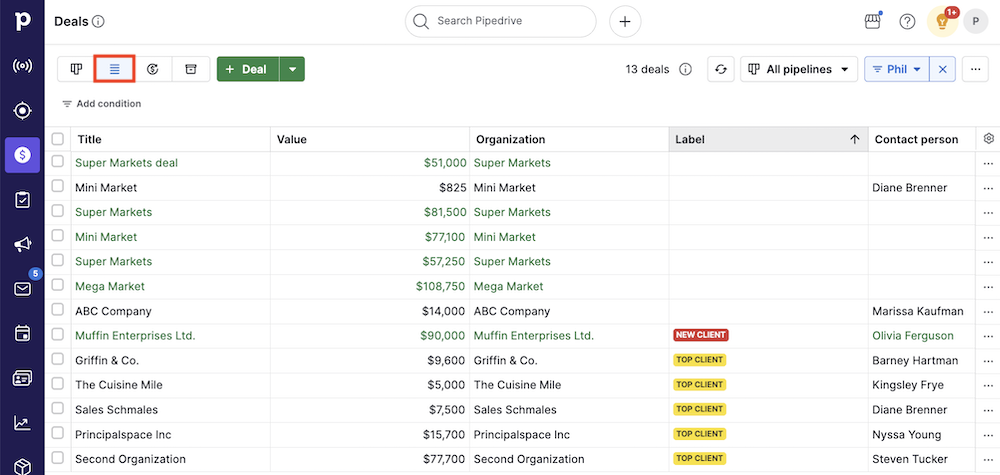
You can use quick filters to display the deals you‘d like to create activities for. You can also filter by stage to target all deals in a specific part of your pipeline.
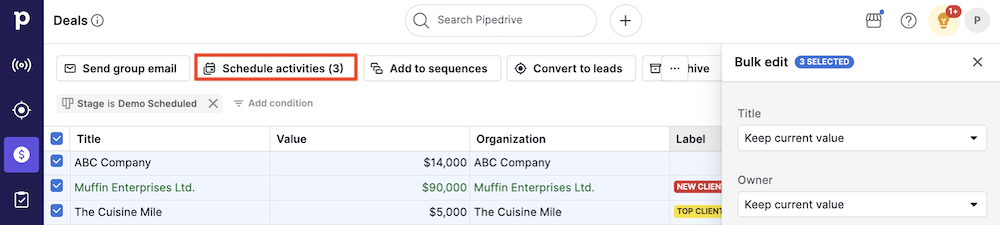
Then select the deals you want to update, and click “Schedule activities”. The parentheses show the number of selected deals.
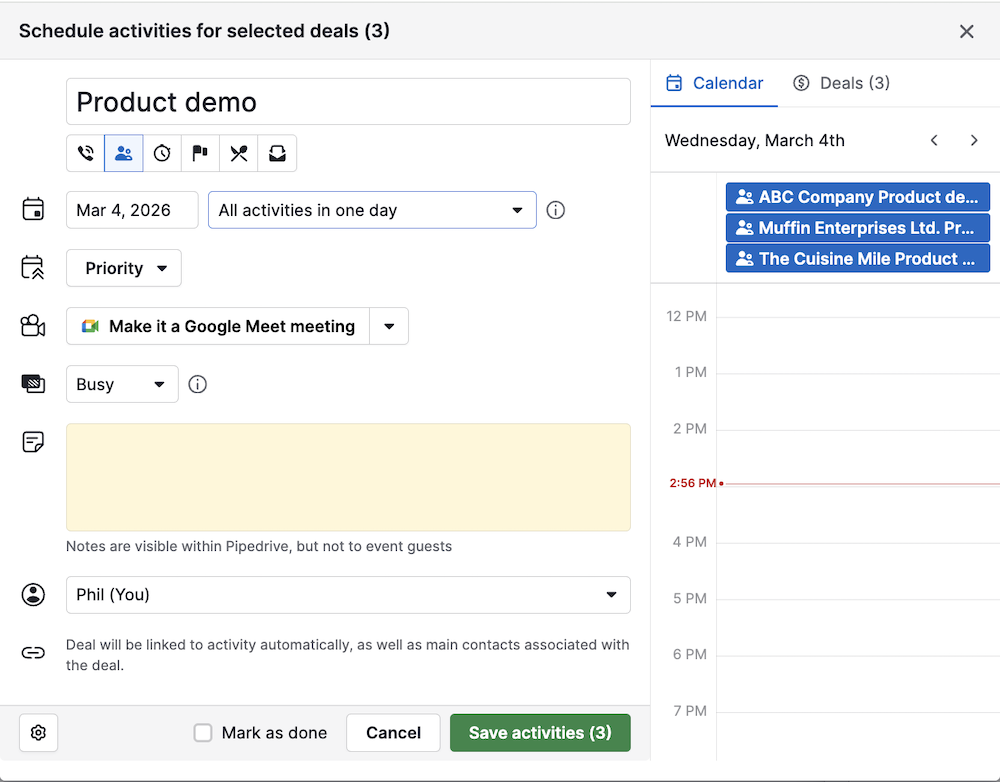
In the activity composer, you can define the activity details, such as the date, priority, and notes, then click “Save activities”.
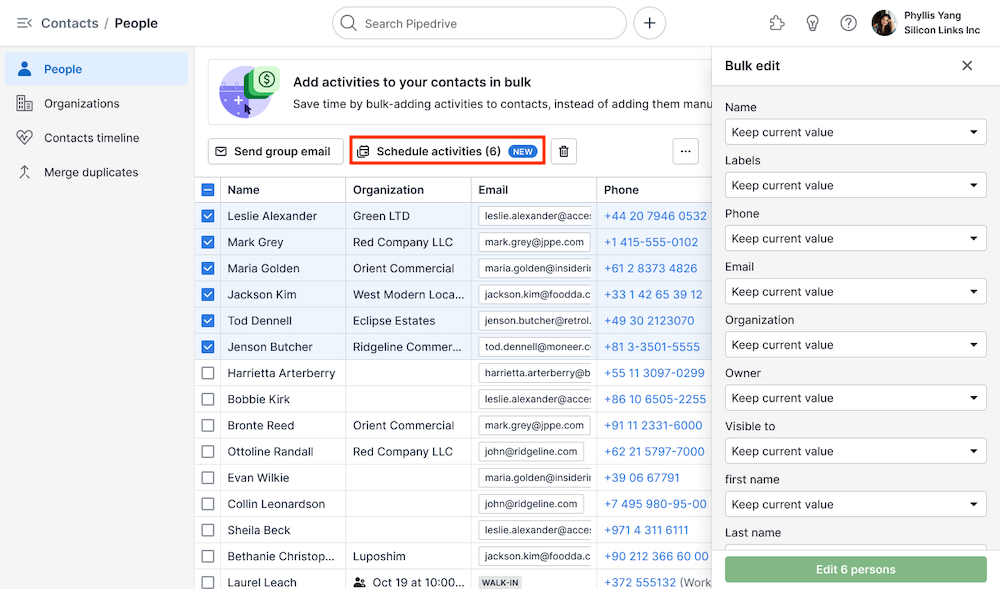
From the contacts list view
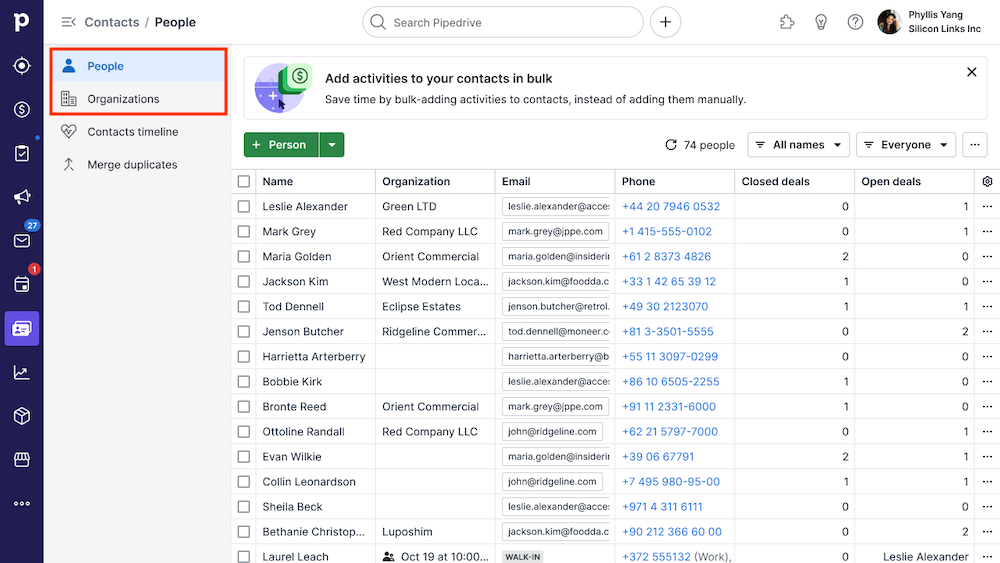
In the contacts list view, you can choose to schedule activities for people or organizations. The process for both is essentially the same.
Navigate to the contacts page and select either people or organizations.
Select the contacts for which you want to create activities and click “Schedule activities”. The parentheses show the number of selected contacts.
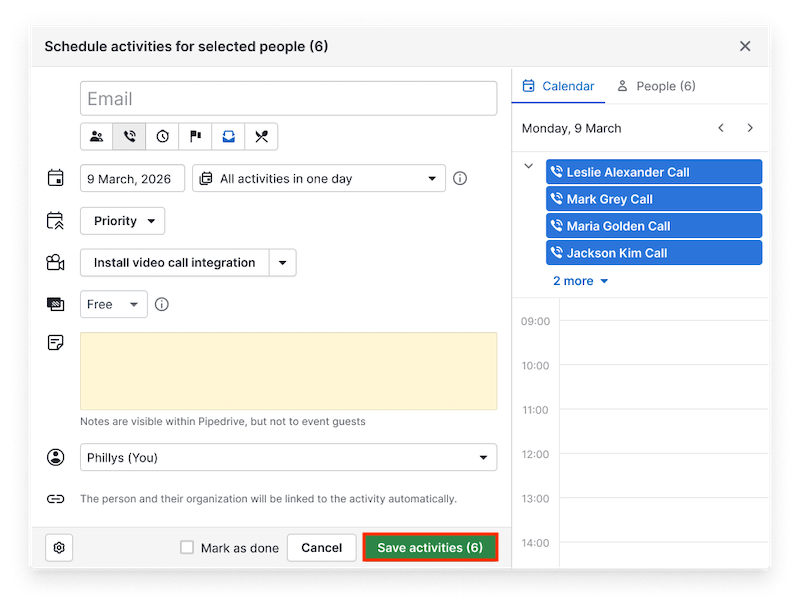
In the activity composer, you can define the details of the activity, such as the date, priority, and notes, then click “Save activities”.
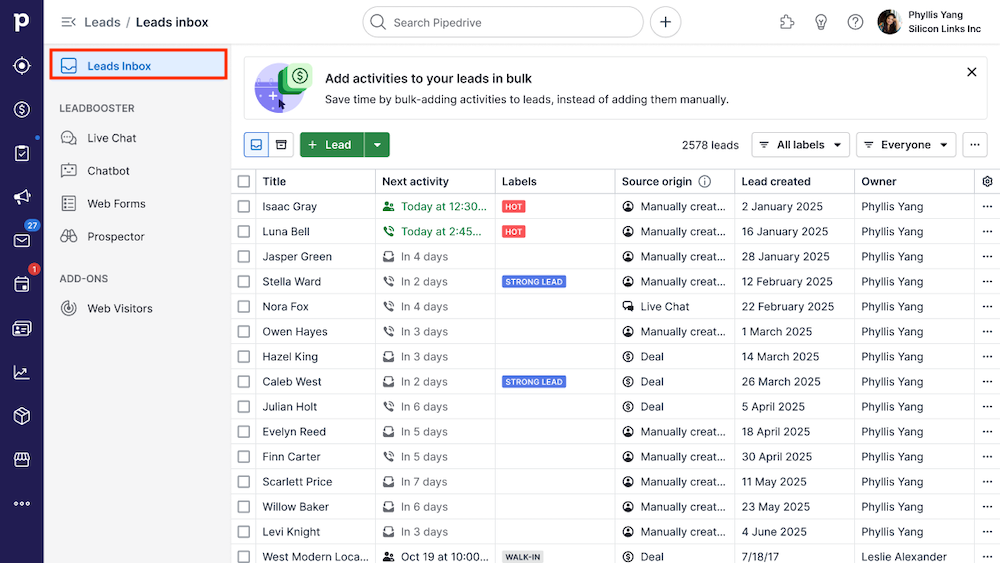
From the leads list view in your Leads Inbox
You can add activities in bulk to streamline your lead outreach actions. To do that, navigate to your Leads Inbox.
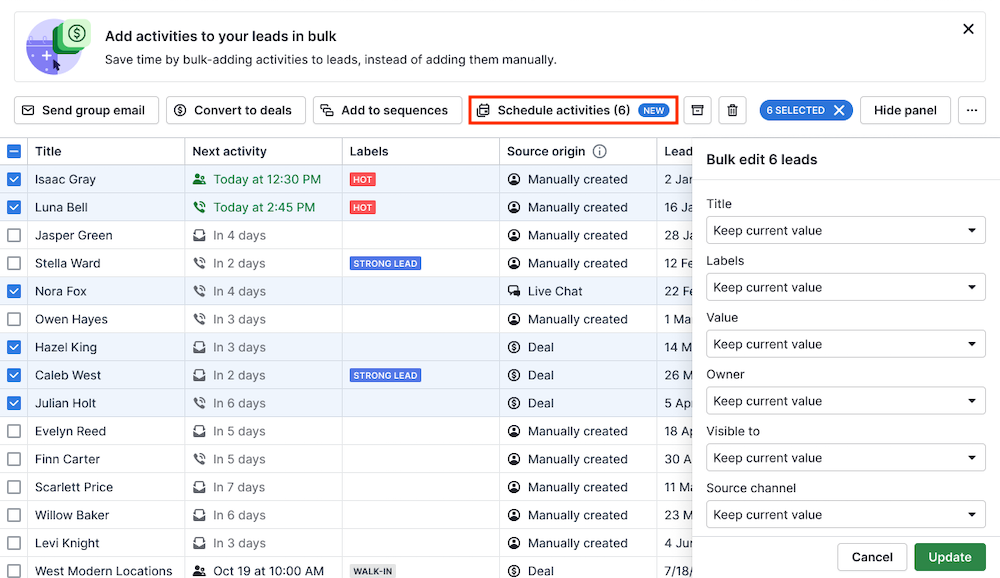
Select the leads for which you want to create activities and click “Schedule activities”.
In the activity composer, you can define the activity details, such as the date, priority, and notes, then click “Save activities”.

Splitting multiple activities into several days
For deals, contacts and leads, depending on the number of items you selected at the beginning, you can choose to:
- Schedule all activities for the same day
- Split them into groups of 5 to 40 activities per day by clicking the “All activities in one day” dropdown
- Skip weekends
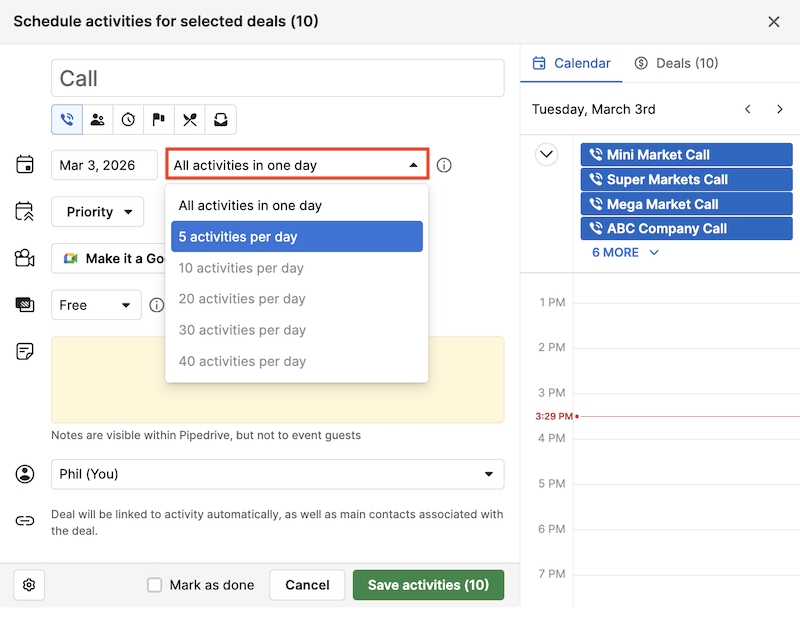
After that, you can drag the activities from the right panel into your preferred time slot and click “Save activities” when you‘re done.
From the sent folder list view of your Sales Inbox
Bulk activity creation from the Sales Inbox sent folder works differently from other list views.
To start, navigate to your Sales Inbox and select the Sent folder.
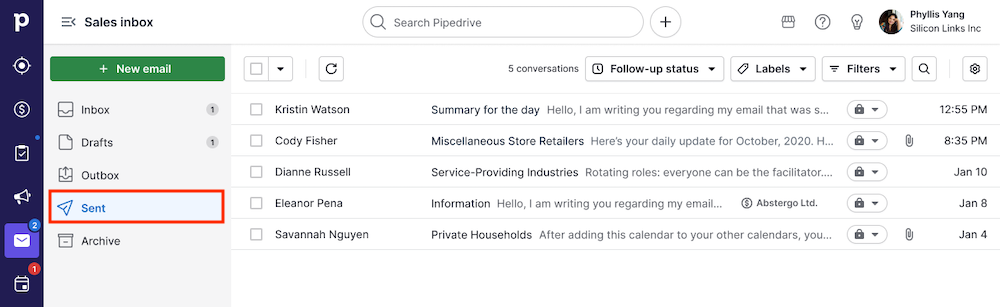
Here, you’re not scheduling future activities. Instead, you’re creating completed email activities based on email conversations that have already been sent. When you select multiple email conversations and create activities in bulk, Pipedrive creates one activity per conversation.
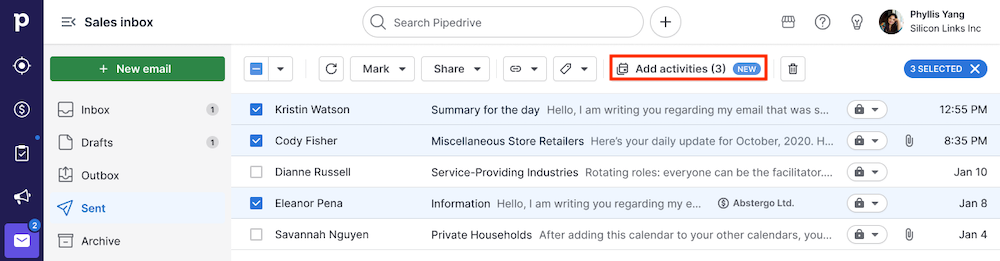
Select the conversations from which you want to create an activity and click “Add activities”.
In the activity composer, the date is automatically set to the last sent email date for each selected conversation.
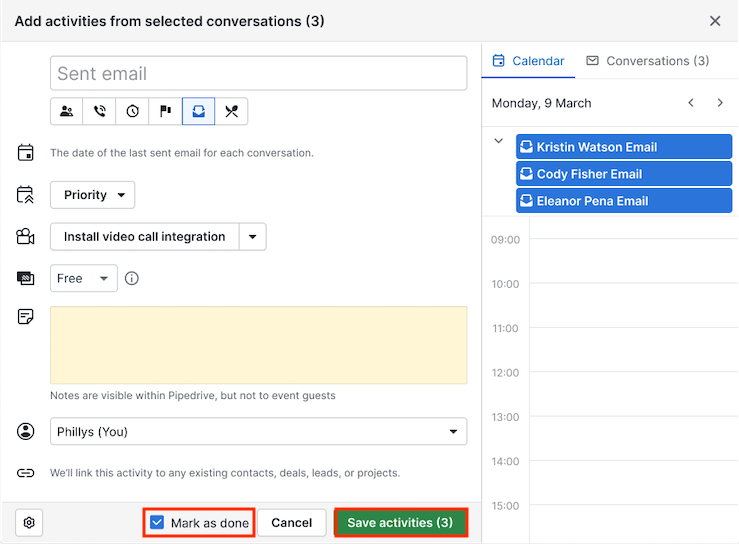
The “Mark as done” option is selected by default since the email has already been sent. When you‘re ready, click “Save activities”.
Adding activities in bulk when importing new items
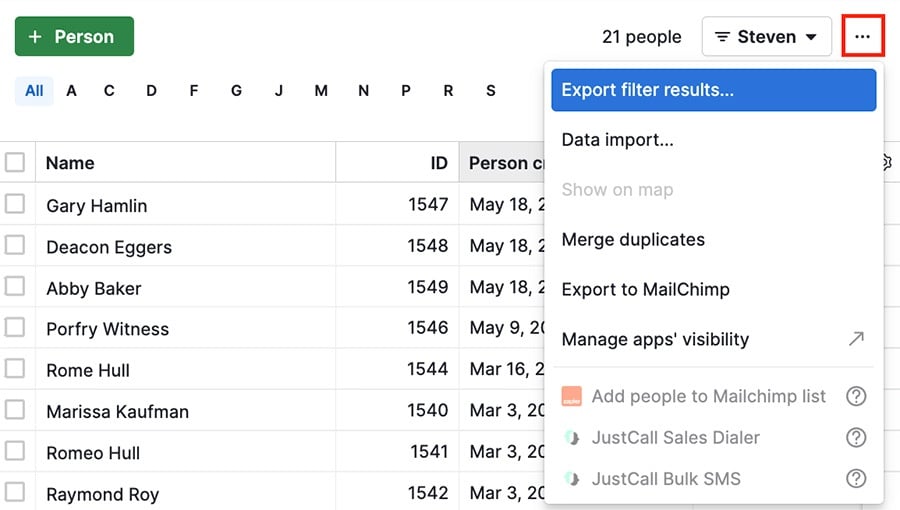
To import new items, go to More (...) > Import data.
When you import items such as people, organizations, deals, or activities, Pipedrive automatically links related items.
For example, if your spreadsheet includes both new contacts and activities, Pipedrive links those activities to the corresponding contacts during import.
If you’re not sure how to structure your spreadsheet, you can use our sample spreadsheets.

Review the step-by-step guide to importing items in this article.
Add activities in bulk for existing items
To add activities in bulk and link them to existing items, you’ll need the Pipedrive System ID function for importing.
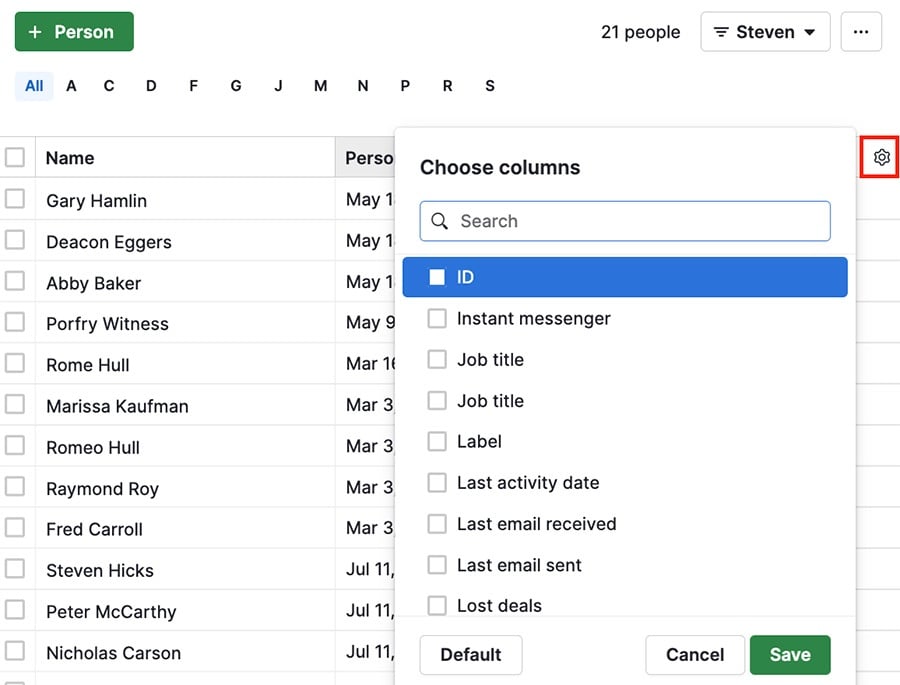
To obtain the IDs for your existing items, use the gear icon in your list view to select the “ID” field, then click “Save.”
Once that column is visible, export the filter results to a spreadsheet:
Then add the necessary activity data to the exported spreadsheet and reimport it into your Pipedrive account.
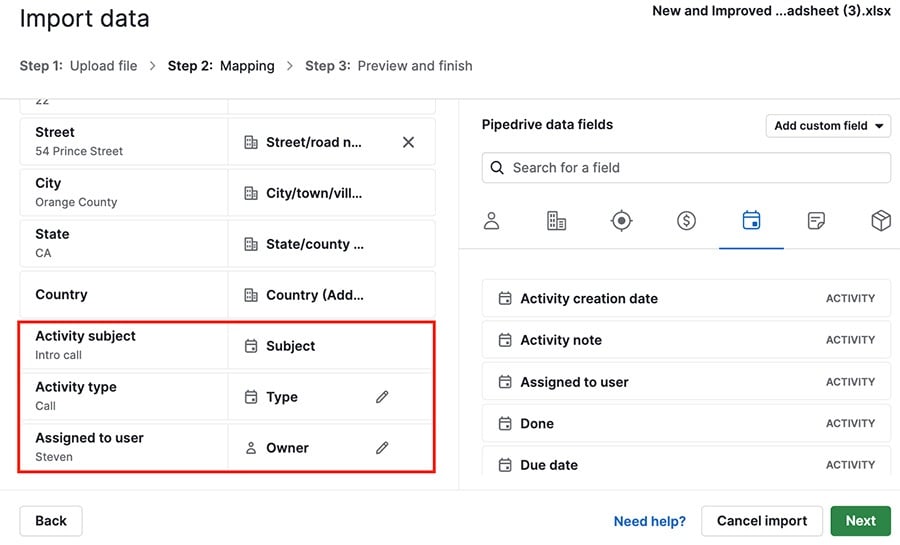
Map the activity fields accordingly, and once finished, you’ll have a new activity linked to each item you exported.
Was this article helpful?
Yes
No