Manage who can trigger automations
Not everyone on your team needs to build their own automation. You can create one automation, add teammates as selected users and it's ready to trigger for them without any setup on their side.
If you want another user to take ownership of the automation instead, see how to transfer automation ownership.
Choose who can trigger automations
Once your automation is ready, click “Save“.
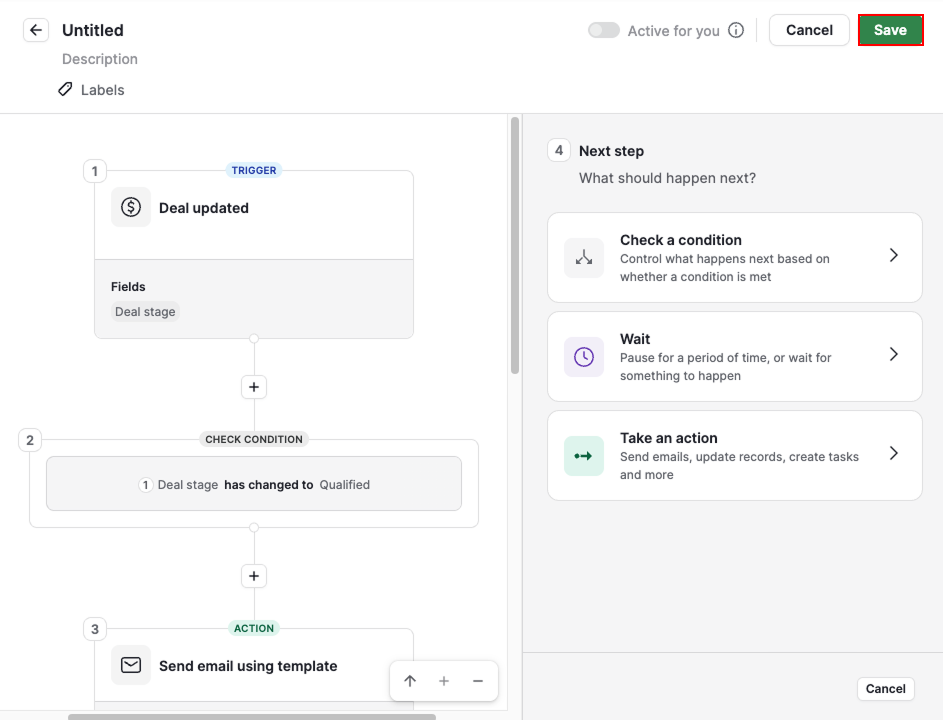
You can then name it, add a description and choose who can trigger it:
- All users – all users in your company account
- Selected users – only specific users you select
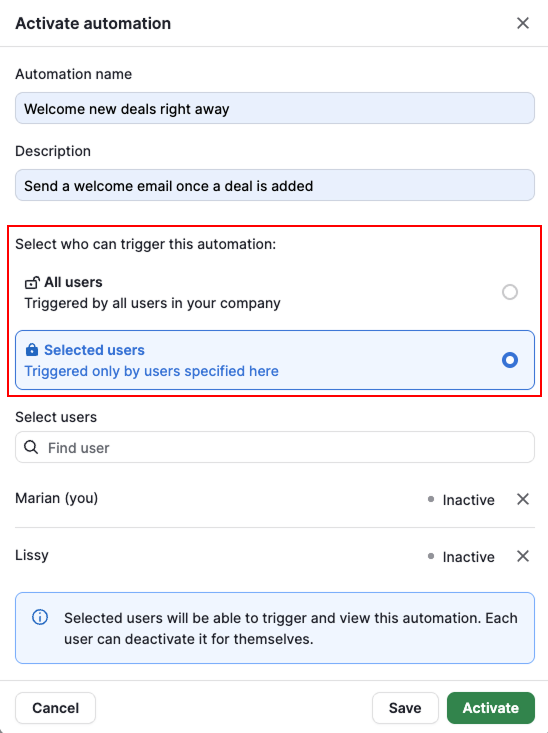
When you click “Activate“, the automation becomes active for everyone you selected. No one needs to activate it individually. The automation will trigger for each user when its trigger for each user when its trigger and conditions are met.
Understand what being a selected user means
Being a selected user is a separate layer on top of your permission set. Both global admins and global regular users can be selected users.
If a global admin is a selected user, their access doesn't change because they can already manage automations across the account.
If a global regular user is a selected user, they can:
- See the automation in their automation list
- Activate or deactivate the automation for themselves
- See their own executions in the history tab
- Duplicate the automation, if they have the “Add automations and configure automated email senders“ permission
Manage selected users on existing automations
In the automations list view, each automation shows how many users can trigger it.
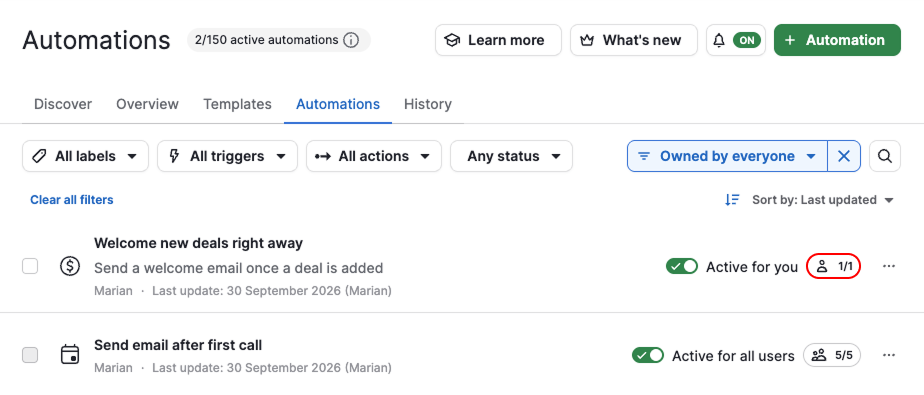
Open the automation, click the users icon and select “Manage users“.
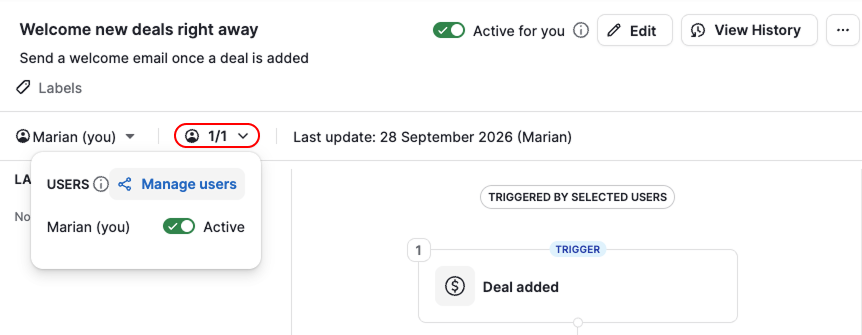
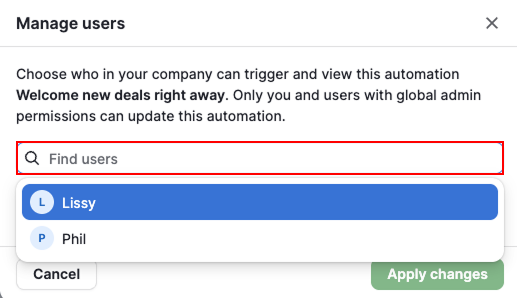
- To add someone, select the users you want to add. The automation becomes active for them automatically.
- To remove someone, click “X“ next to their name
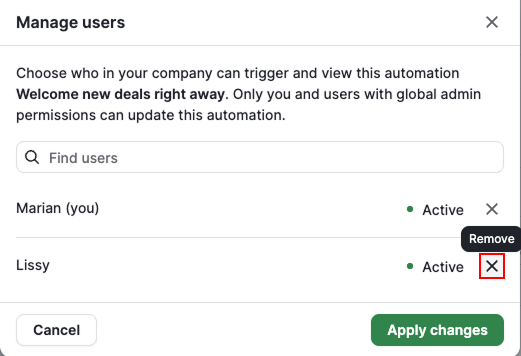
Click “Apply changes“ to save.
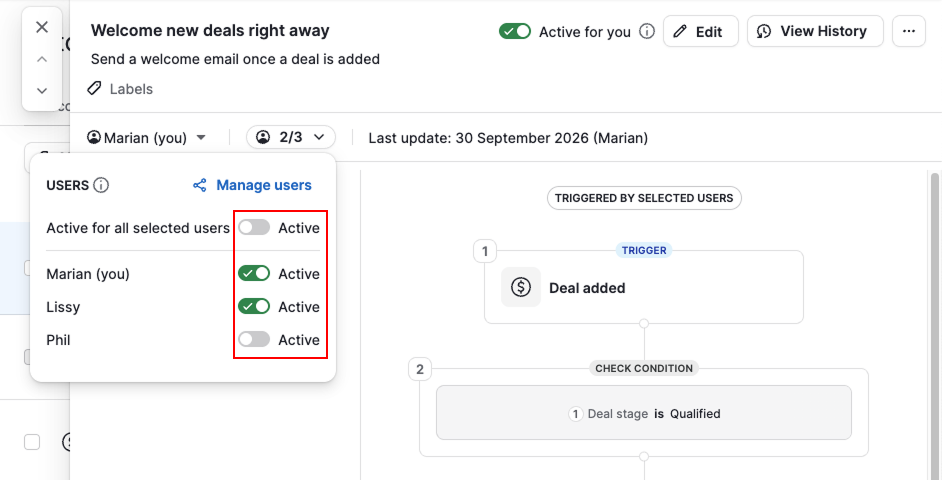
To activate or deactivate the automation for everyone selected at once, toggle “Active for all selected users“ at the top of the panel. To change the automation status for one user, toggle “Active“ next to their name instead. Each selected user can also toggle this for themselves.
Was this article helpful?
Yes
No