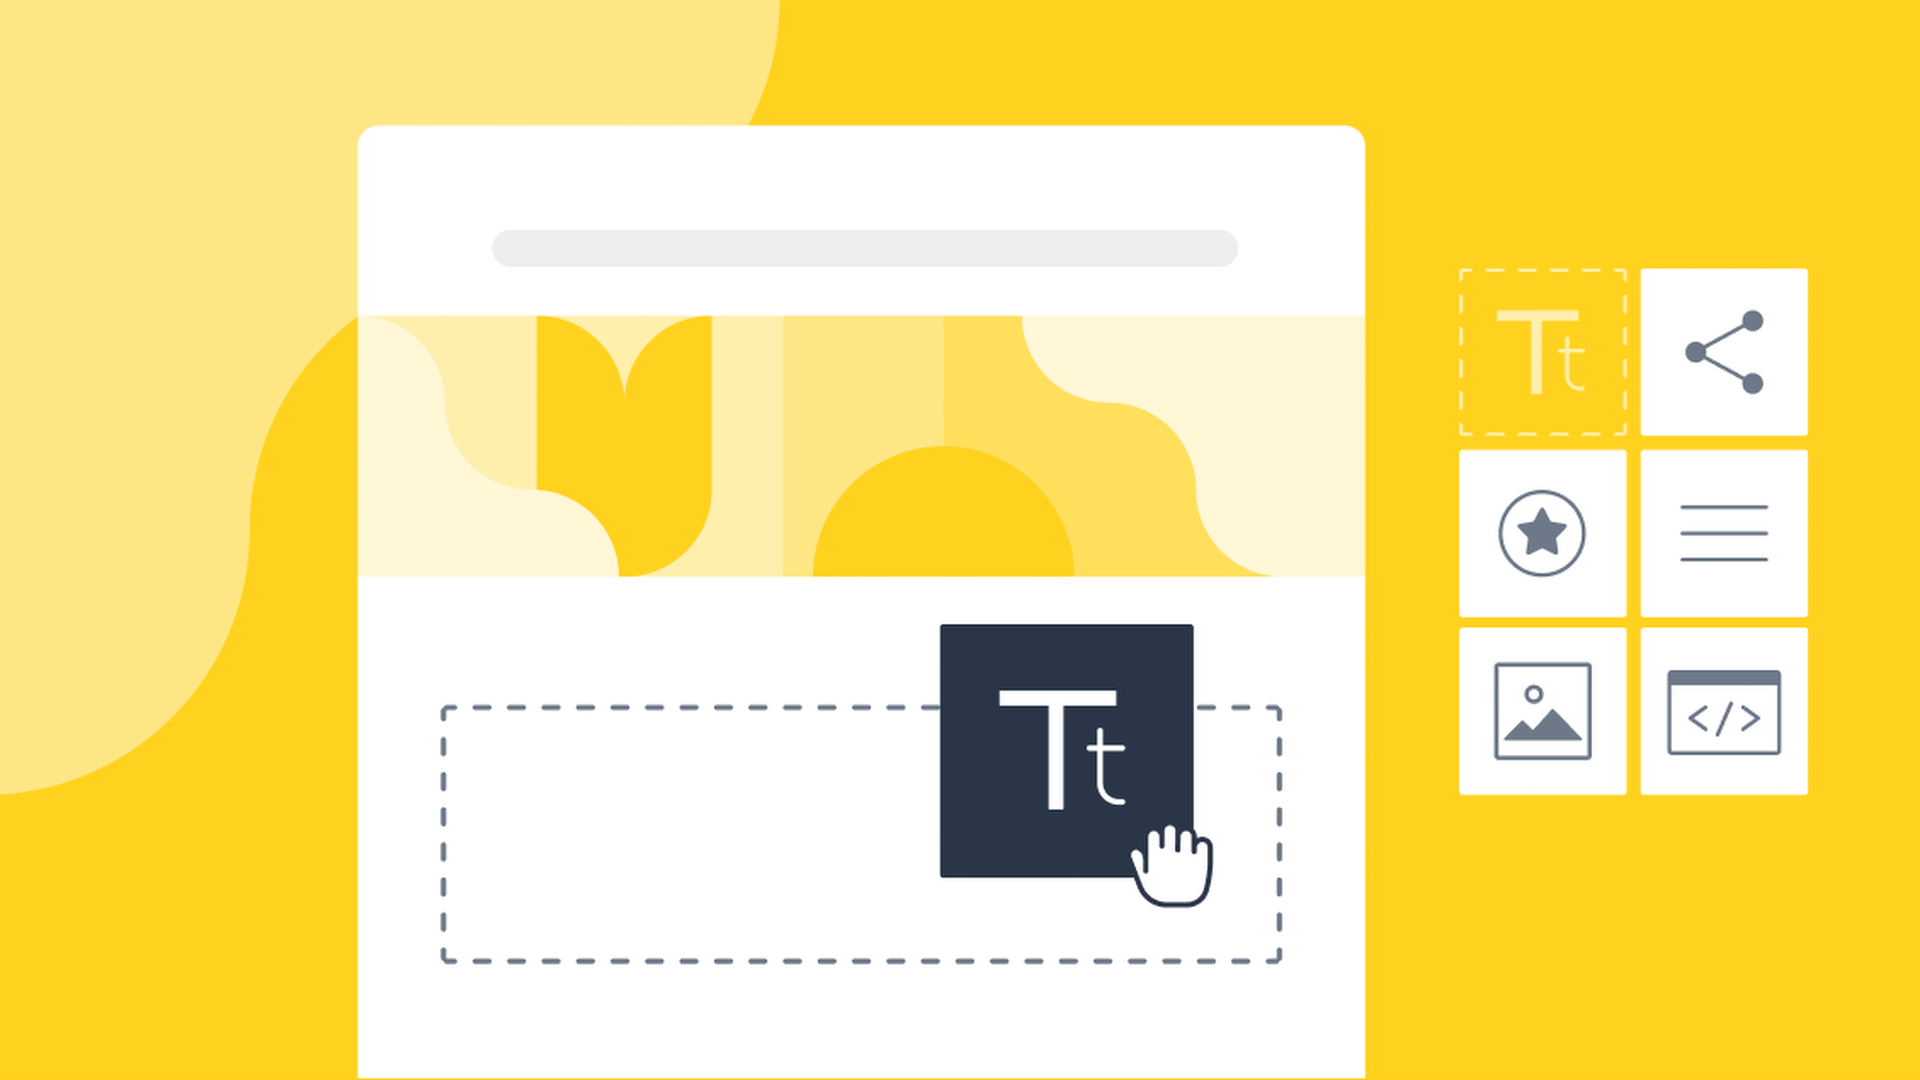
Campaigns: drag-and-drop editor
Pipedrive's drag-and-drop editor is an easy-to-use tool for creating attention-grabbing designs and engaging content for your contacts.
You can use it to create email campaigns, newsletters, or templates for future use.
Using the drag-and-drop editor
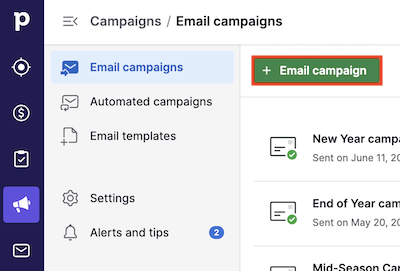
To begin, go to Campaigns > Email campaigns and click “+ Email Campaign”.
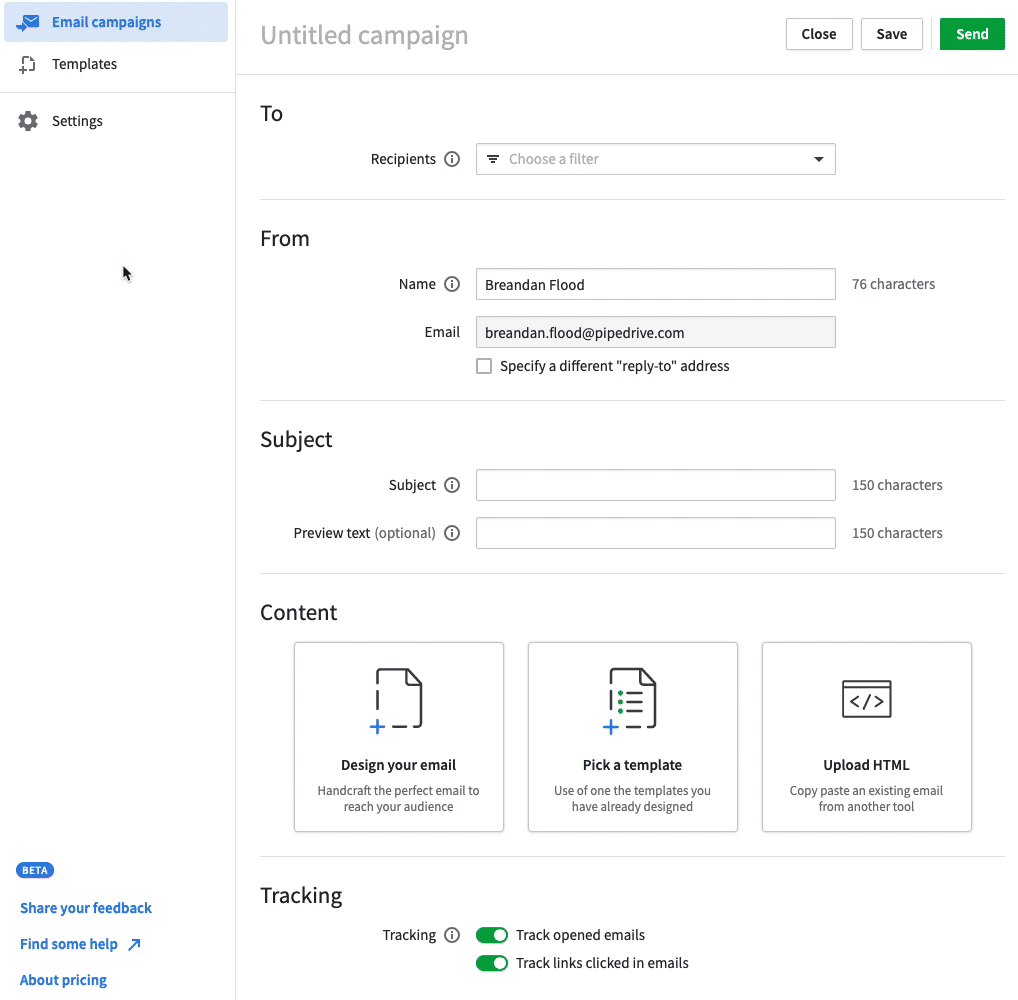
To start using the drag-and-drop editor, click on the “Design your email” option under Content.
You’ll then be able to choose whether you would like to design your email campaign from scratch (Start from blank), or you can choose one of our existing email campaign layouts to edit.
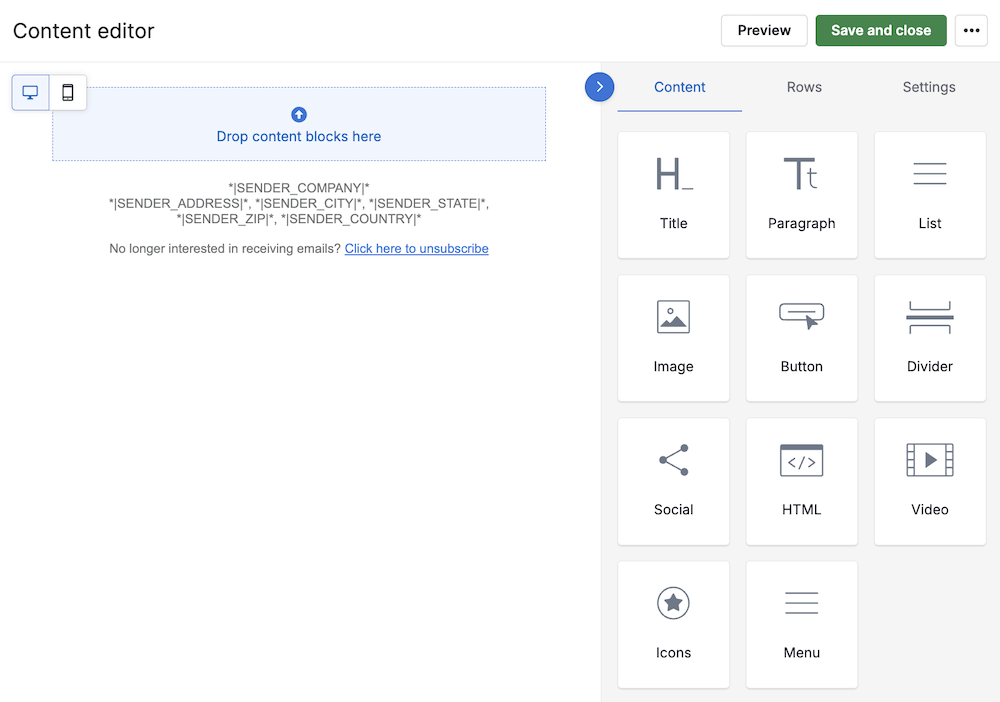
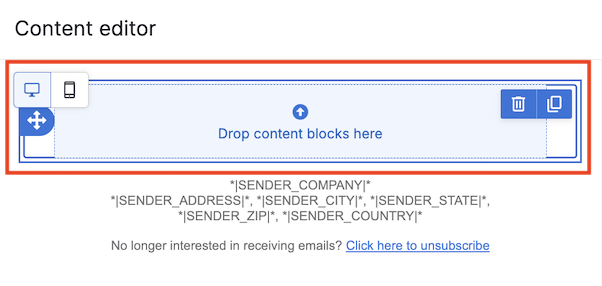
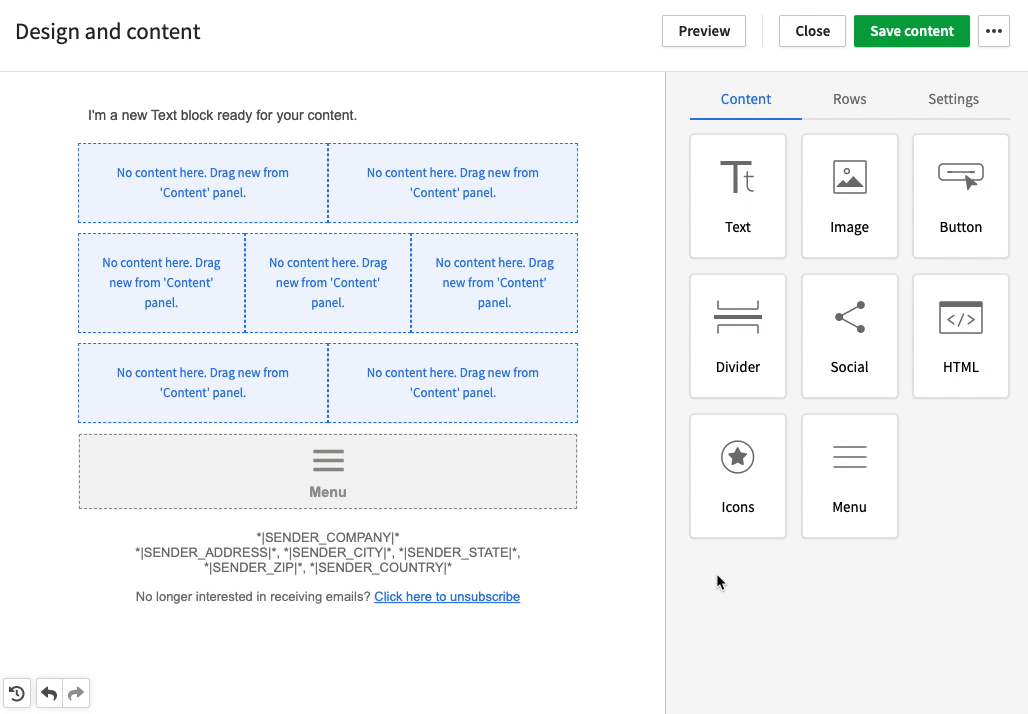
You’ll then be brought to the Content editor, where you have three tabs to design your campaign: Content, Rows and Settings.
Rows
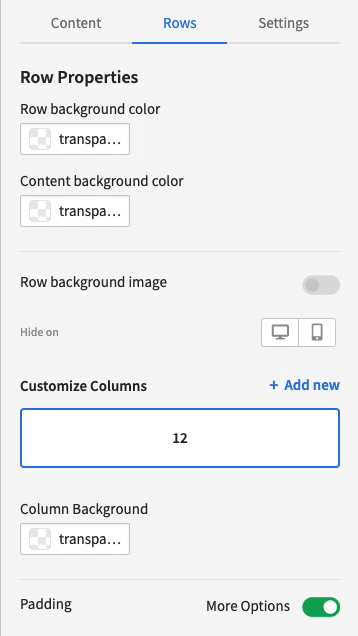
Rows allow you to create the layout of your email. By default, you’ll have one row at the top of your email, which you can drag content blocks into or delete by clicking the row and selecting the trash can icon.
By clicking on a row, you’ll open the Row properties in the sidebar on the right-hand side of the page, where you can choose your row settings, such as adding a border, background color/image and padding.
Once you have dragged your rows into your campaign and decided on your layout, you can start dragging content blocks into your rows.
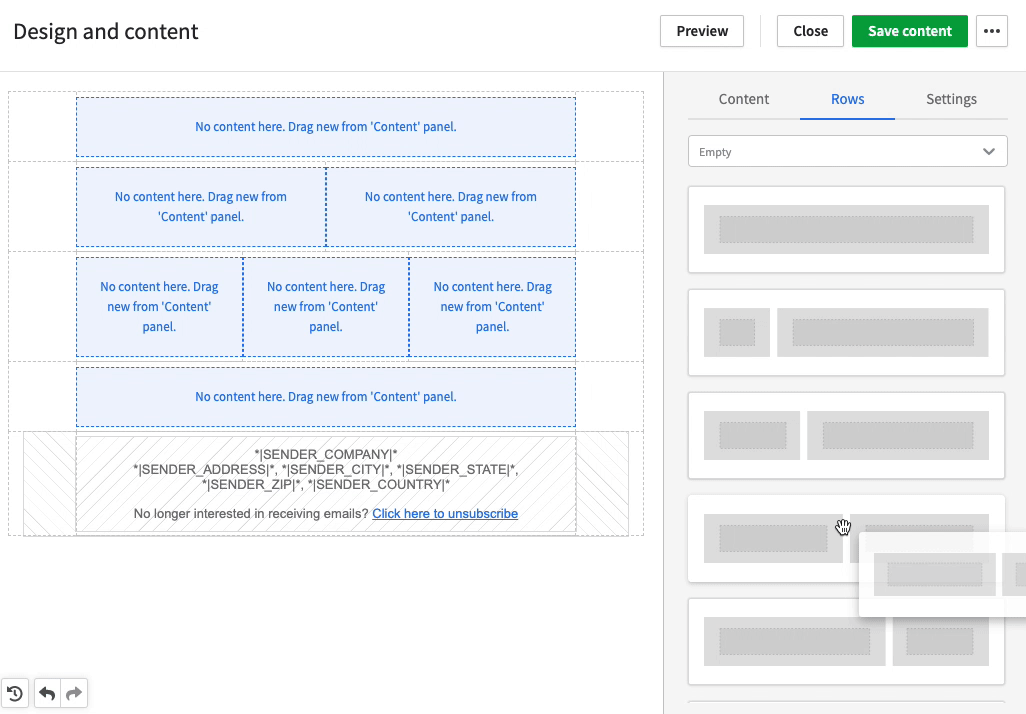
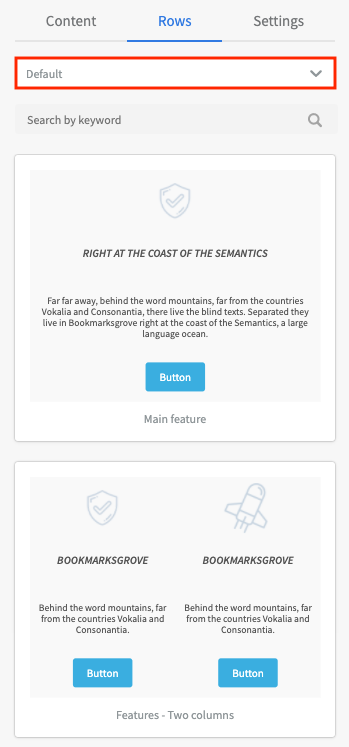
You can use already pre-designed rows if you select “Default” from the rows dropdown.
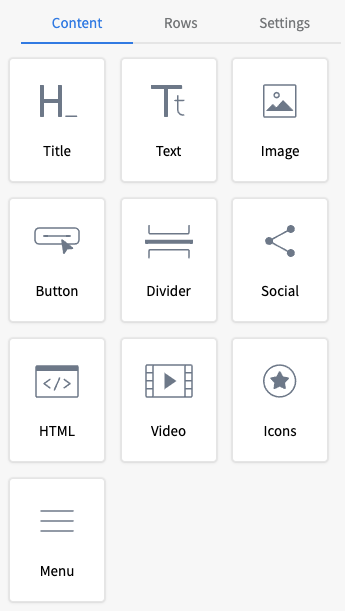
Content
Content blocks let you add content types to your layout. The available content block options are:
- Title
- Text
- Image
- Button
- Divider
- Social
- HTML
- Video
- Icons
- Menu
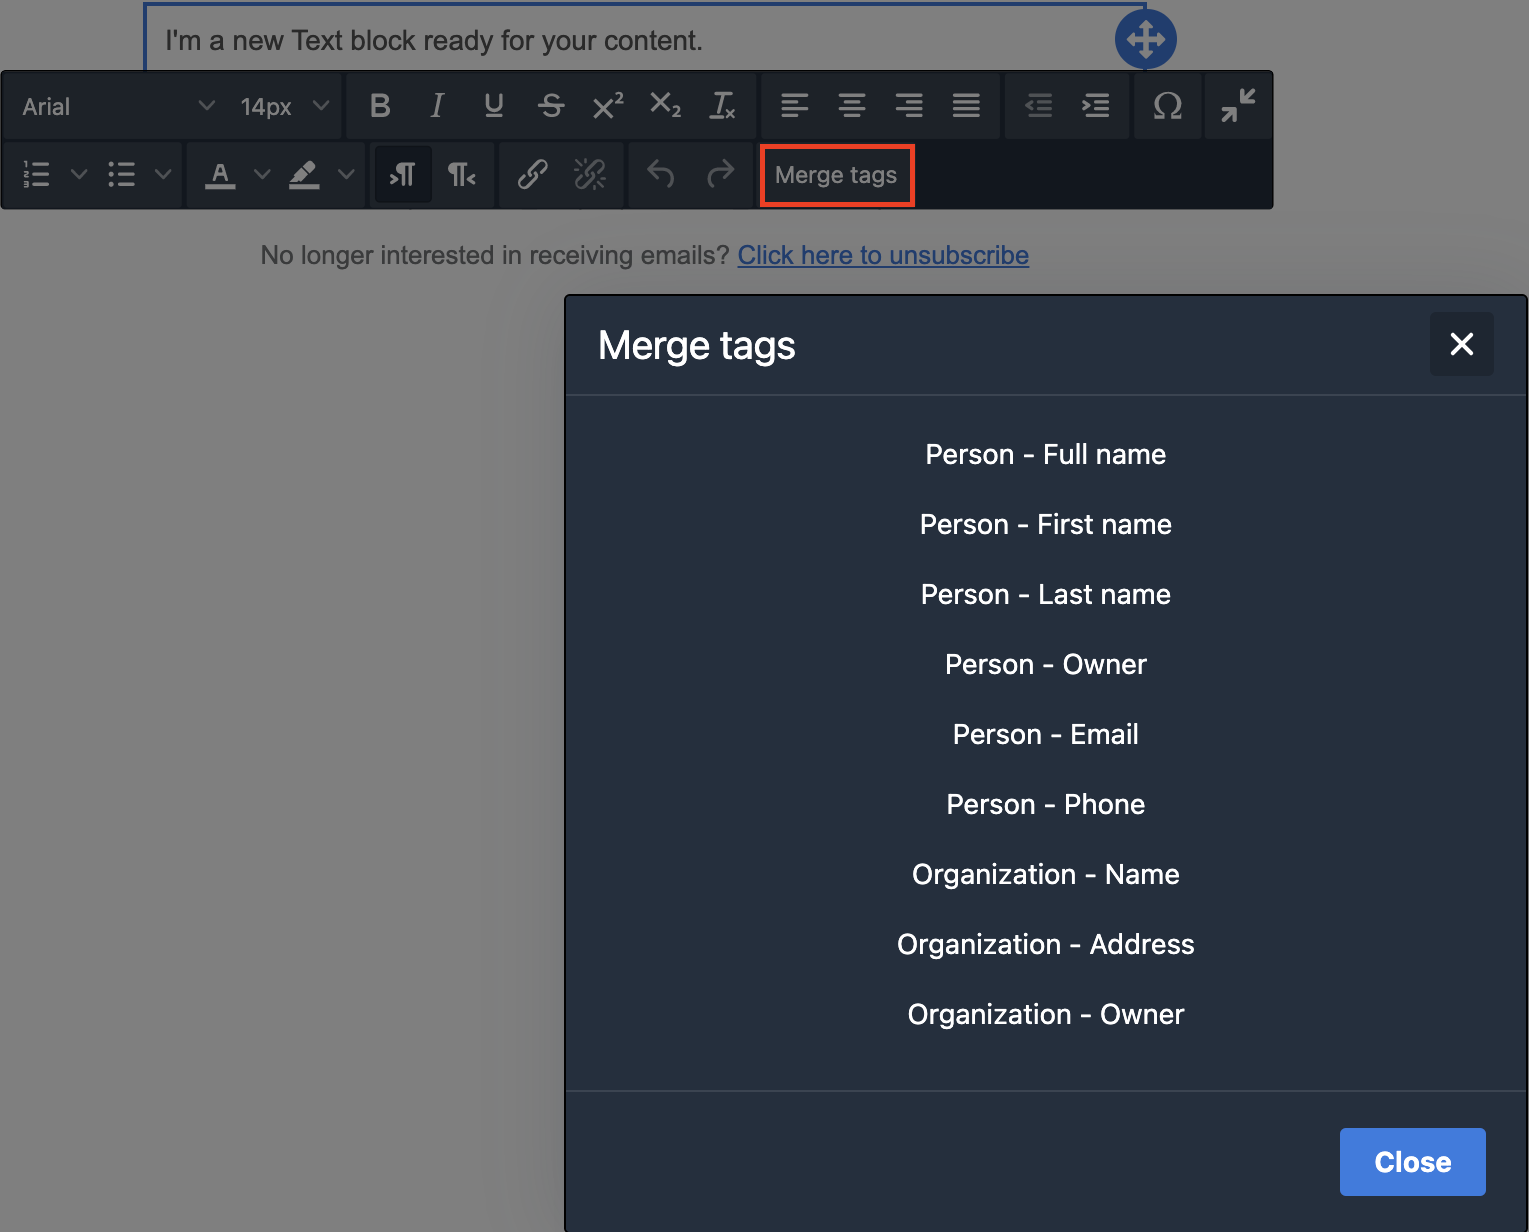
When you‘ve added different content blocks to the rows in your campaign, you can click on the block to edit the different content properties for that block type. Clicking a text block opens a toolbar that lets you edit your text.
For example, you can add person and organization merge tags to your text blocks:
While designing your campaign, you can check the finished product’s appearance by clicking the “Preview“ option.

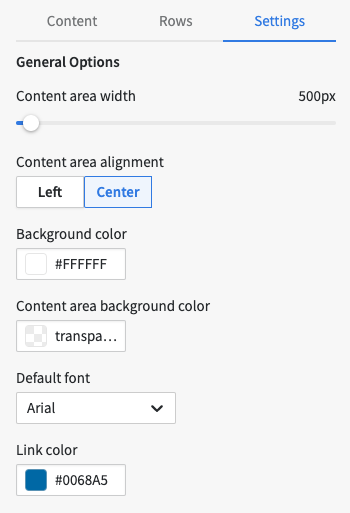
Settings
In the settings tab, you can set more general email design settings, such as the width of the design area, your background color, and your default font.
Templates
When you‘ve created a design that fits your branding guidelines or that you know you’ll use again, you can save it and reuse it afterward for other campaigns, making any edits you wish by saving it as a template.
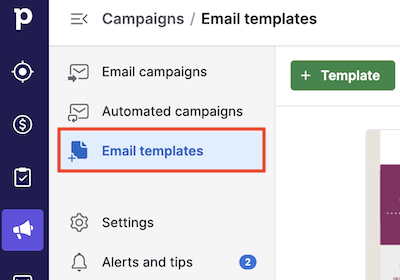
To build a template, click on Campaigns > Templates and select “+ Template” to begin using the drag-and-drop editor.
You can build templates in advance of creating campaigns, creating a library of campaign templates for future use.
Unsubscribe footer
In the drag-and-drop editor, you’ll see an unsubscribe footer attached at the bottom of your campaign design.
This footer is mandatory and can‘t be removed, as it is necessary for compliance with applicable privacy and anti-spam laws, such as the ePrivacy Directive in the EU, PECR in the UK, CAN-SPAM in the USA, and CASL in Canada, and to ensure a strong email delivery reputation.
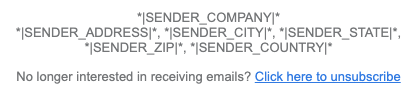
The unsubscribe footer contains merge tags, which will add your company information inside it automatically when you’re sending out your email campaign.
We provide a default unsubscribe text, but you can edit it if you want. Click on the footer to open the editor. You’ll see the Text and Link text fields and the Preview text section.

Click the green button to save the changes. Your template is now ready to go.
Was this article helpful?
Yes
No