Field groups
Field groups let you organize related custom fields into sections, helping you declutter your detail views and focus on the information that matters most.
You can group fields for leads, deals, people and organizations to highlight key information and speed up decision-making.
Organizing custom fields
Open the account menu in the top right corner and go to Personal preferences > Data fields.
You can create custom groups for your fields in any entity. To give you an example and inspire you, we’ve already created a summary group visible in the lead/deal entity.
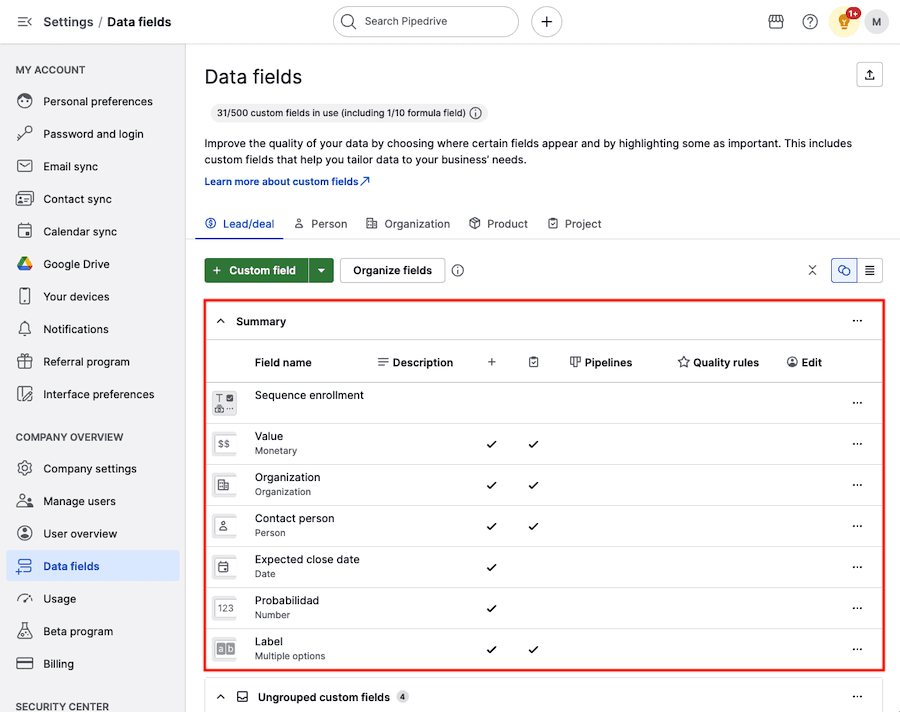
Summary group
This group is designed to highlight the most important information of your deals at the very beginning of the deal detail views.
When you’ve just created your Pipedrive account, this group only includes default fields. You can customize this area by adding or replacing them with your own custom fields.
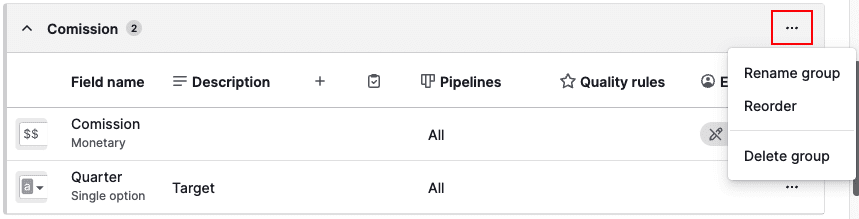
To organize a summary group in the Data fields page, click on the “...” > Reorder.
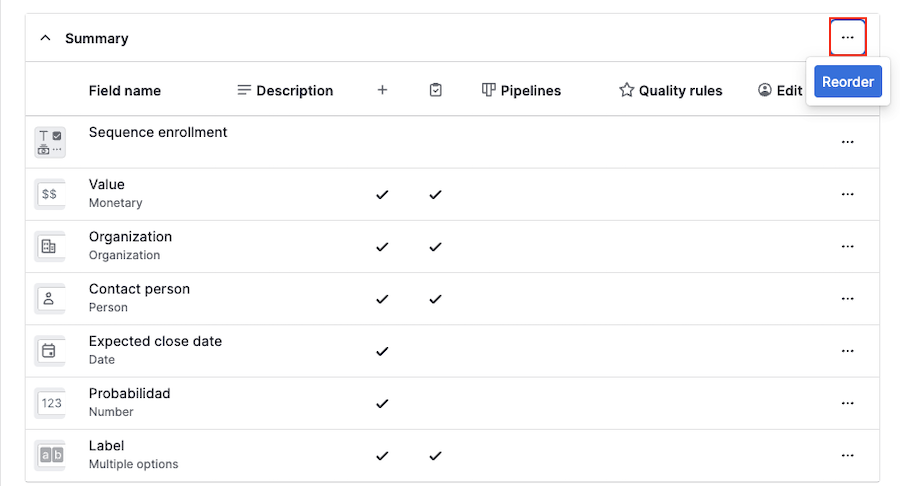
You can change the order of fields, add new ones, or remove them by clicking on a field and dragging it to the desired location within the deal detail view.
By customizing the summary group to your needs, you can scan key details of a deal in one go and make faster, data-driven decisions.
Creating custom groups
Click “Organize fields” to create your own group in any field entity (lead/deal, person, organization, product or project).
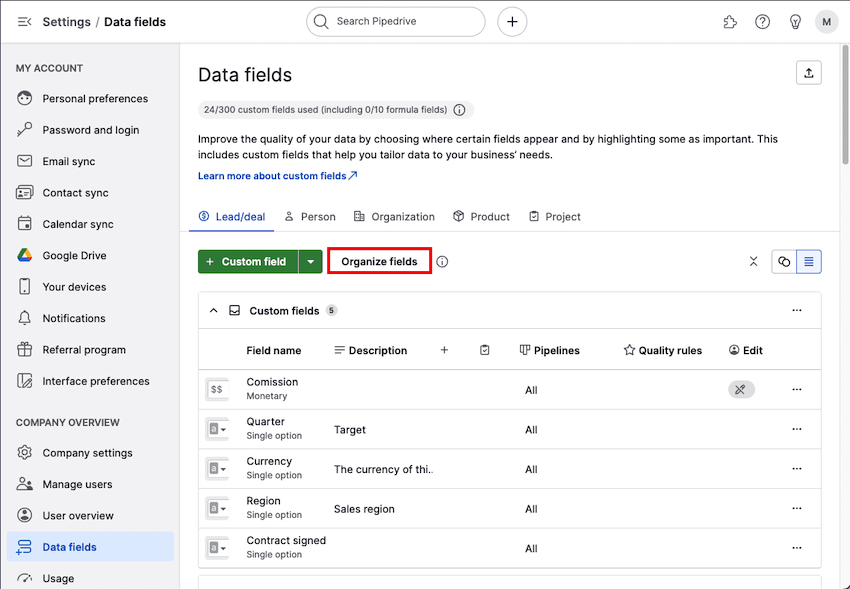
The organize fields modal will open. Here, you’ll see a list of the custom fields created for your entity.
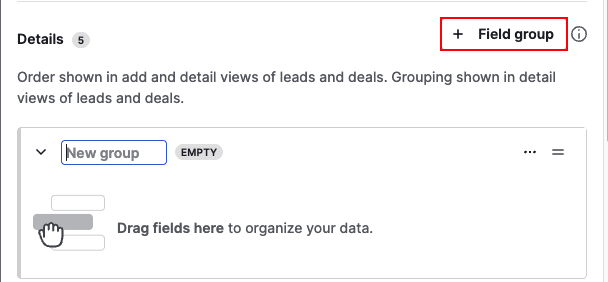
Click “+ Field group” and choose a name for your new field group.
Ordering fields
Once you’ve chosen a name, drag the desired fields into the group to get your fields in the detail view organized.
To rename, delete or reorder the fields within the group, click on “...” to open the organize fields modal.
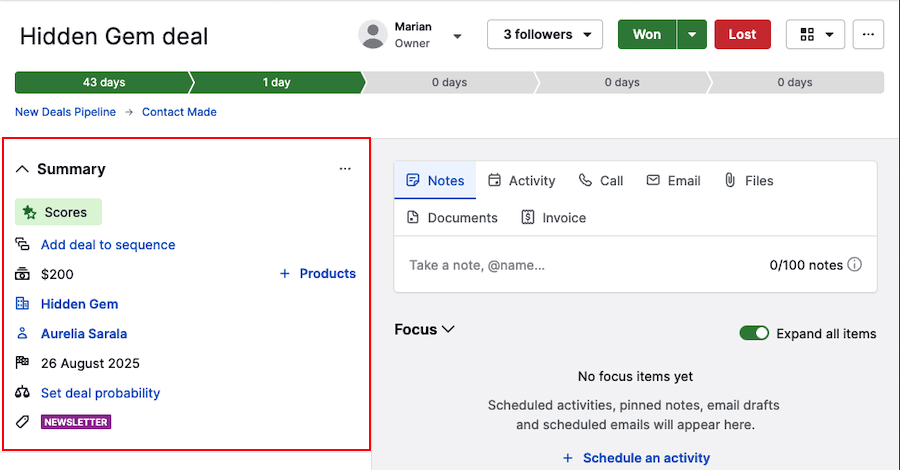
Custom groups in the detail view
Once a field group is created, a block of fields will be added to the entity details in the detail view.
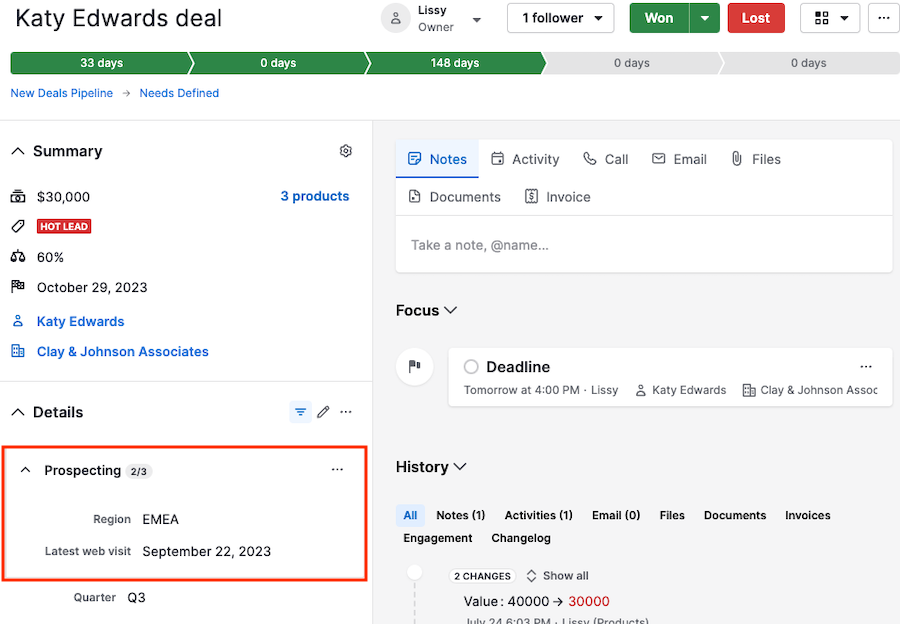
You can expand or collapse the entity details and field groups.
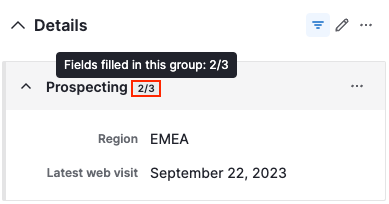
The number next to the group name indicates the fields that contain information vs. the total number of fields in that specific group.
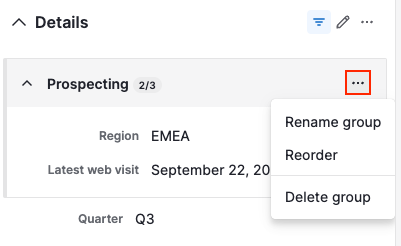
If you have permissions, you can rename, reorder or delete the field group from the detail view. Click on “...” to open the organize fields modal.
Learn more about custom fields in this article.
Was this article helpful?
Yes
No