Zapier: Add new Facebook ad leads as people in Pipedrive
Facebook Lead Ads make connecting with and expanding your audience easy. When someone clicks on your lead ad, their contact information from Facebook is automatically added to the lead ad form.
Thanks to Zapier doing what they do best, you can easily transfer those Facebook Lead Ads submissions to Pipedrive as contact people. Custom fields are supported as well, so you can create custom filters to categorize incoming people.
What you'll need
Here are some things to know before you begin this process.
- You'll need Pipedrive, Facebook and Zapier accounts. To learn more about Zapier, check out this article
- Zapier’s Facebook Leads Ads Zap is a Premium app. To use it, you’ll need a Zapier paid plan
- To complete this process, you'll set up a Lead Ad in Facebook and create a connecting Zap in Zapier, which will add new leads to your Pipedrive people list
Setting up your Facebook Lead Ad
To ensure you collect the most useful information from leads, the fields included in your Lead Ad form should match the fields in your Pipedrive people profiles. You can customize your people fields in your Pipedrive account.
Before you begin creating your lead ads campaign, we advise having someone from your legal team review the questions you plan to ask on your form, as well as go over the lead ads policies and terms of service. Once you're ready, make sure you also have:
- Access to your business's Facebook Page
- The URL to your business's privacy policy
- An image for your ad
Ad
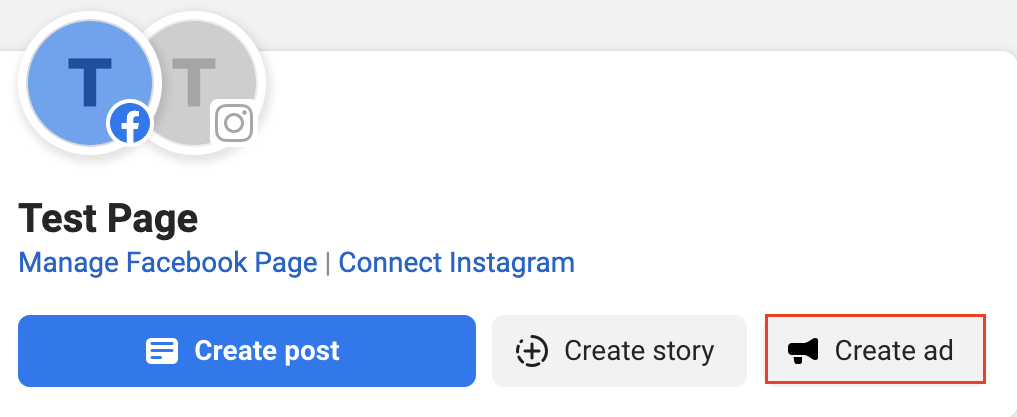
- Go to your Facebook Business account
- In your Facebook Business account, click "Create Ad" in the top right
- Choose Get more leads as your ad goal, then "On Facebook" in the next window
- Afterward, you will customize your contact card, and click Next
- In the last window, you will fill in your description, budget, audience, and other details, then hit Promote now
Campaign
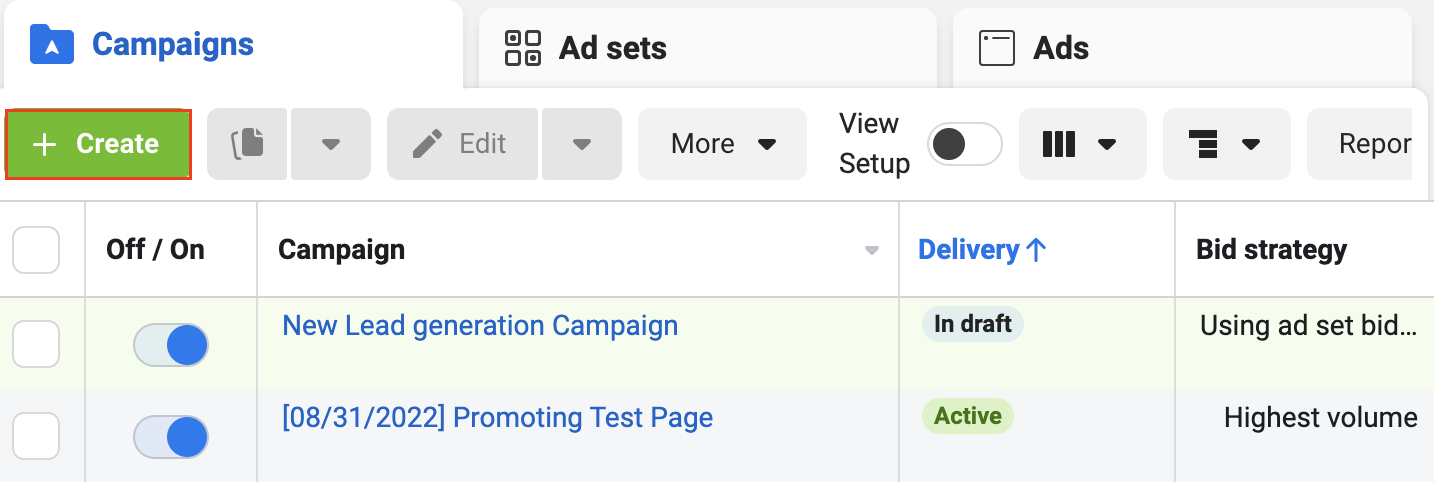
- Go to your Power Editor and click +Create
- You can also create or manage your Ad sets and Ads by clicking on those tabs in the Power Editor
- Select "Lead generation," then click Continue. You will be taken to a window to customize your basic campaign details
- After confirming your campaign details, you will be able to customize your ad set
- If you have not agreed to the terms of service yet, you will be prompted to review and agree to them before you can move to the next step
- Enter your ad set details
- Choose the audience for your ads, such as location, interests, age and gender
- Set your budget, schedule, audience, placement, optimization, pricing and delivery type. You cannot target lead ads to people under the age of 18
- When you have finished adding details, click Next
- Enter your ad details (name, text, images, etc.) and then click Publish
After you set up your lead ad, test it to see how it appears on desktop and mobile devices.
For more information on how to set up and test your lead ads, take a look at Facebook's guides on how to create a lead ad, preview the ads you create and Facebook's lead ad testing tool.
Categorizing your people
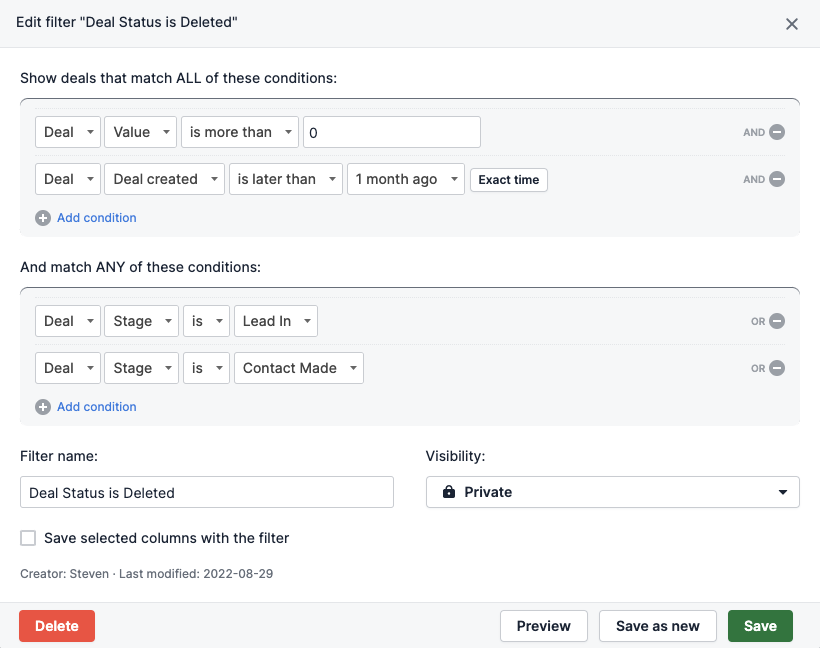
In Pipedrive, filters can be created that will allow you to categorize your deals, people and organizations into manageable groups. Now may be a good time to create specific filters in Pipedrive that target some of the specific criteria you expect to receive from Facebook ad leads.
Learn more about how to create filters in Pipedrive here.
Configuring your Zap in Zapier
Click here to get this Zap or in your Zapier account, add a Facebook Lead Ads Zap.
If you click on the link, you will be taken through the following steps:
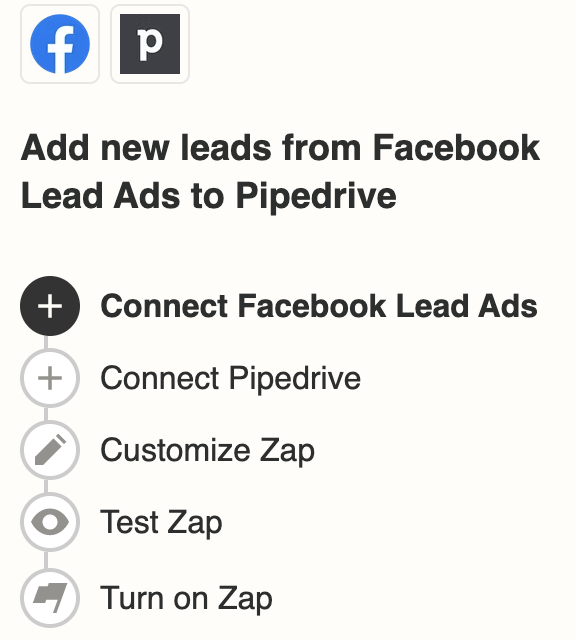
You will be asked to select a page from your Facebook Lead Ads account, as well as which Pipedrive account you want to connect. After that, you will enter the Person data that will be transferred from your Facebook Lead Ads, into your Pipedrive person:
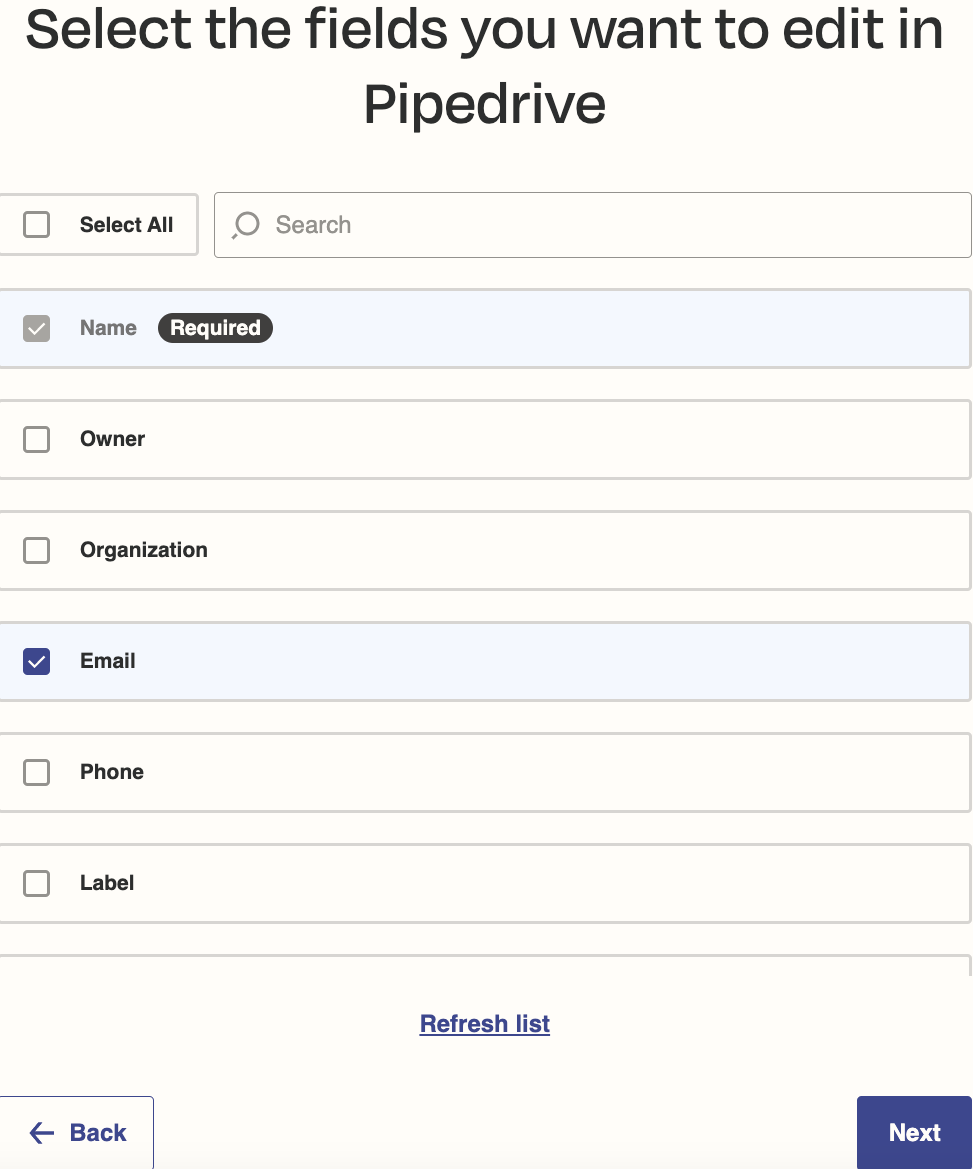
For setup tips and instructions, read Zapier's guide to Facebook Leads Ads.
Was this article helpful?
Yes
No