Contacts timeline
The contacts timeline shows all your contacts, both people and organizations, and their activity history on one page. For each contact, you get an overview of open deals, email conversations, notes and completed activities.
Use the contacts timeline to:
- Filter contacts down to the specific group you need
- Send group emails to your filtered contact people
Get started with contacts timeline
Go to Contacts > Contacts timeline, then select either the person or organization icon depending on the type of contacts you want to review.
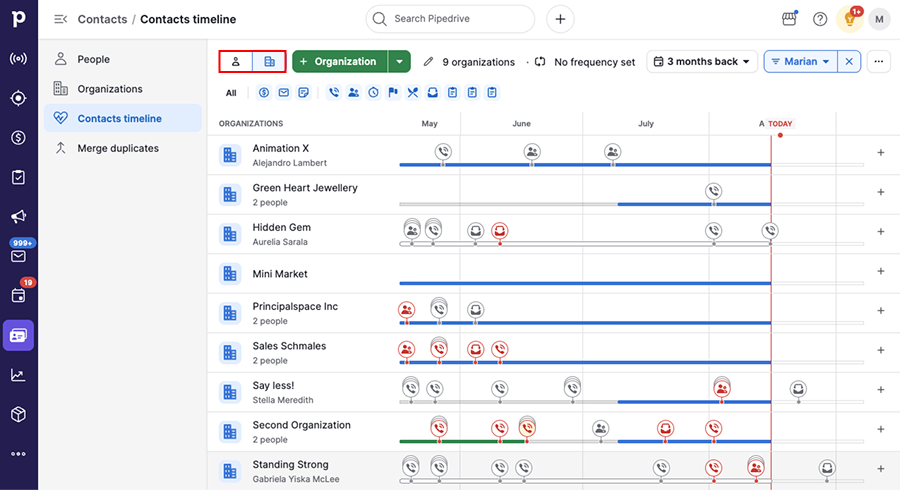
From here, you can open existing contacts or create new ones by clicking “+ Person” or “+ Organization”.
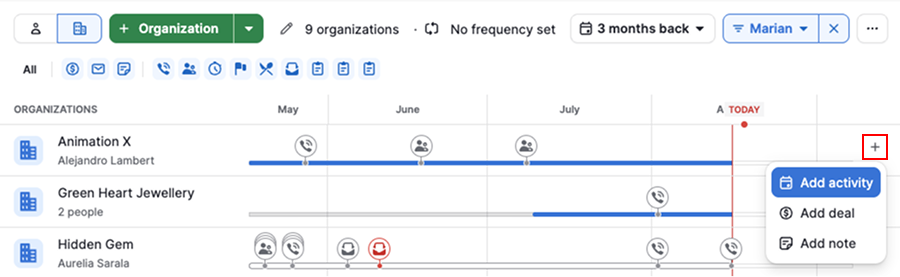
To add an activity, deal or note directly from the timeline, click “+”.
Filter your timeline
You can narrow down what appears on the timeline using four types of filters:
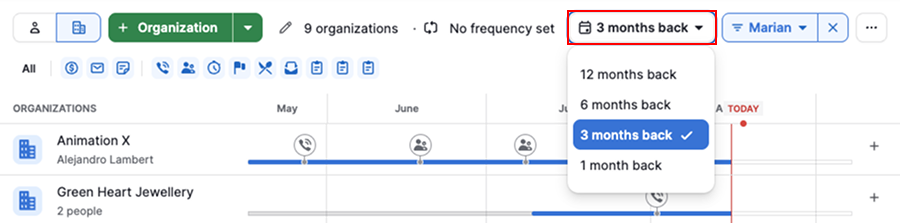
Filter by date
Choose the time frame you want the timeline to display.
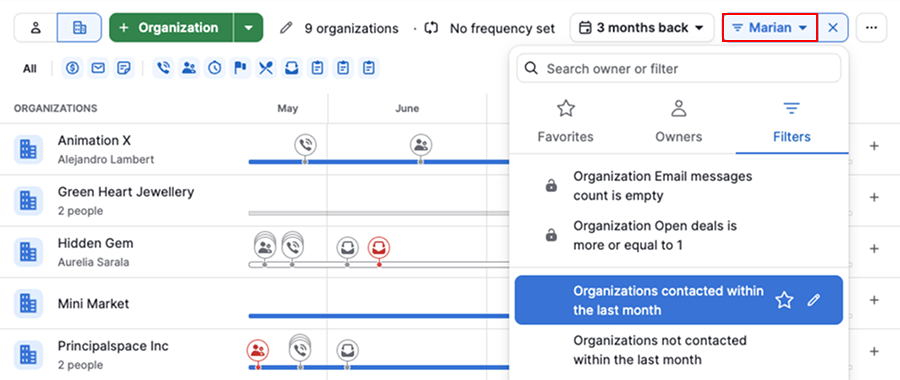
Filter by custom filter
Apply an existing filter or create a new one to show a specific group of contacts.
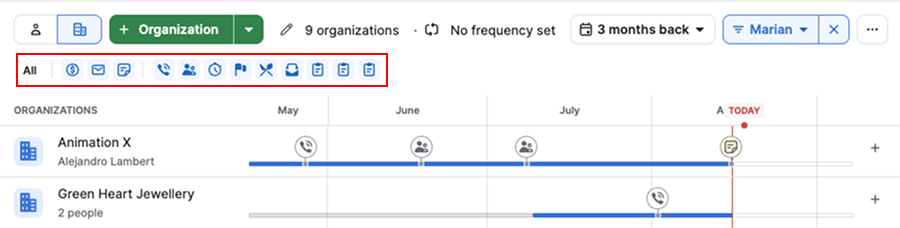
Filter by timeline item
Select which items appear on the timeline, including deals, sent emails, notes and activity types.
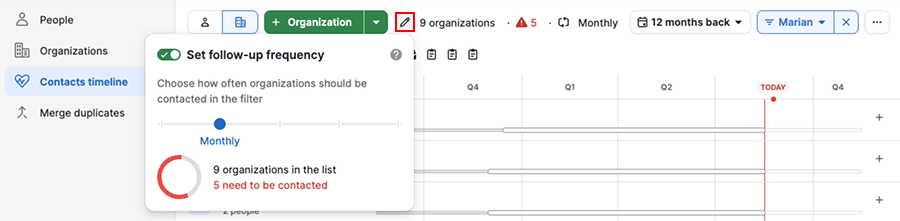
Filter by follow-up frequency
Choose how often contacts should be contacted. Click the pencil icon, enable the setting and use the slider to define the frequency.
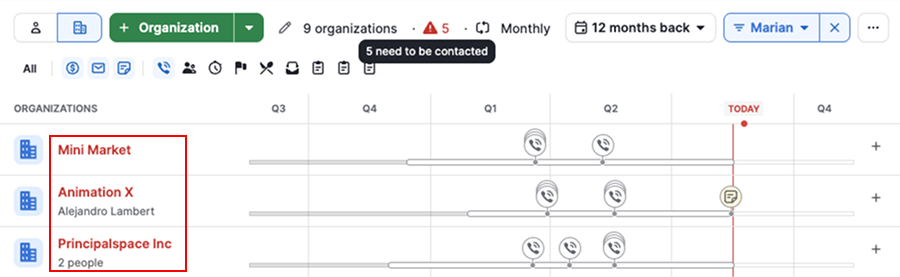
Any contact who hasn’t been followed up with within that timeframe appears in red, and a counter at the top of the screen shows how many contacts are overdue.
Send emails from the timeline
You can email one or more people directly from the contacts timeline.
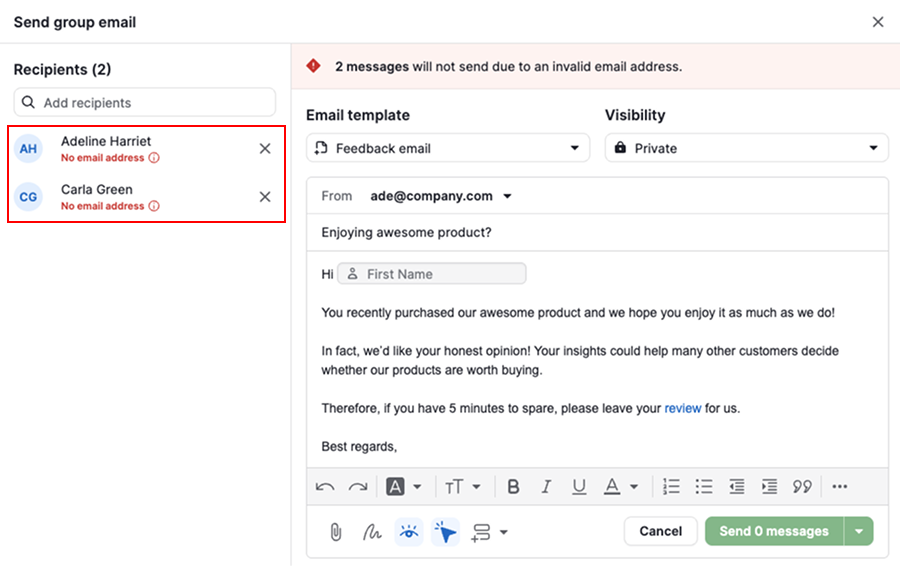
Select the contact people you want to reach out to and click “Send group email”.
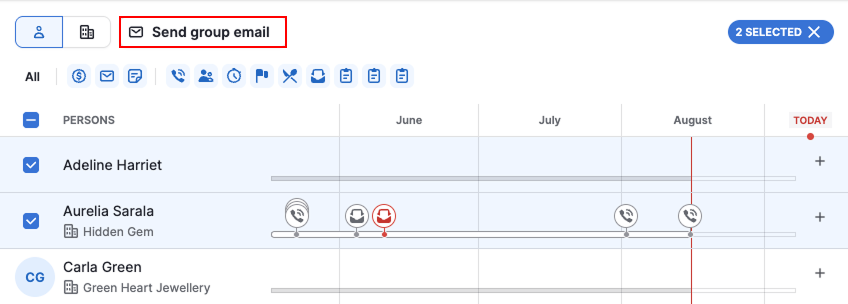
If a selected person doesn’t have a linked email, you’ll see a warning and won’t be able to send messages.
Was this article helpful?
Yes
No