Advanced filtering
In Pipedrive, you can use filters to see specific data in your account. There are two ways to filter your data:
- Quick filters: The fastest way to segment data directly from pipeline view or from the deal and contact list views.
- Advanced filters: Use these to create complex filters.
We recommend starting with quick filters for your daily needs. They allow you to add conditions directly to your list or pipeline views instantly.
Advanced filters, on the other hand, allow you to create precise filters using ALL and ANY filter groups.
How to create an advanced filter
You can find the “+ Add new filter” button by clicking the filter drop-down in the top right corner of your:
- Leads list view
Deals list, pipeline, forecast and archive views
Contacts (person or organization) list and timeline views
Activities list view
Projects list view
Products list view

Adding filter conditions
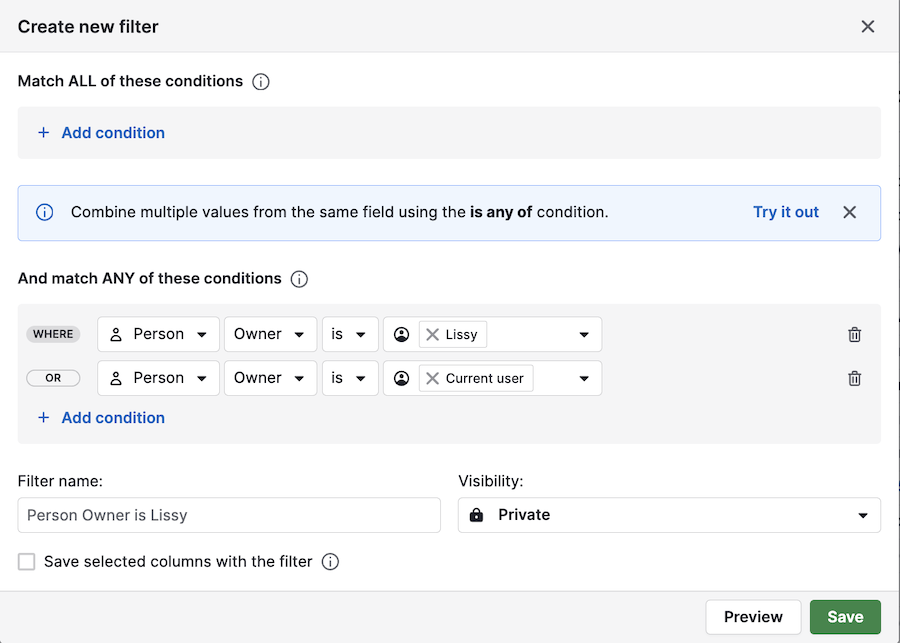
When you add a new filter, you’ll see a window where you can click “Add condition” to select your filter criteria:
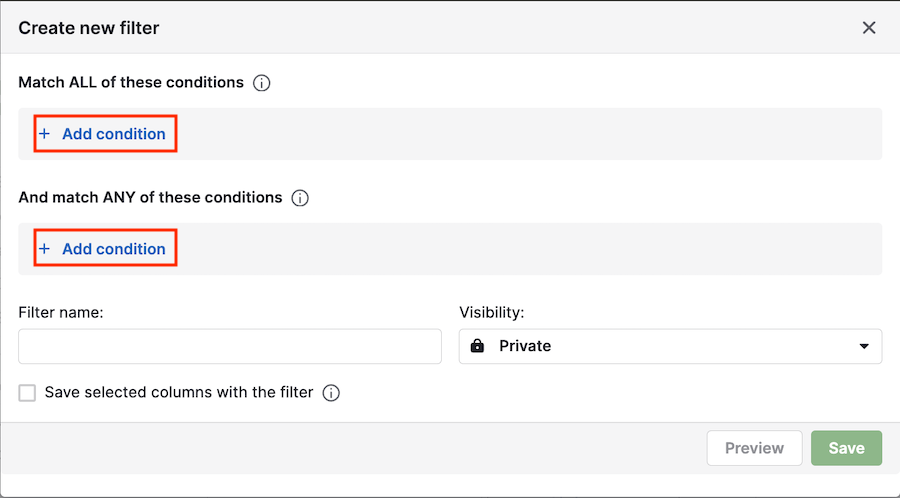
You can also add a filter name or define the visibility for the filter set, then click “Save” when you’re done to display the filter results.
ALL and ANY conditions
You can add your conditions and require that ALL or ANY of them be met to filter your data:
- When you use ALL conditions in a filter, an item will only appear in your results if it meets every condition listed, whether it‘s one, two or ten. In other words, the item must match one condition AND another, for the filter to display that item.
- When you use ANY conditions in a filter (alongside any ALL conditions), an item will appear in your results if it meets at least one of the ANY conditions. In other words, the item must match one condition OR another.
For example, in this first filter, there are two competing conditions in the ALL section:
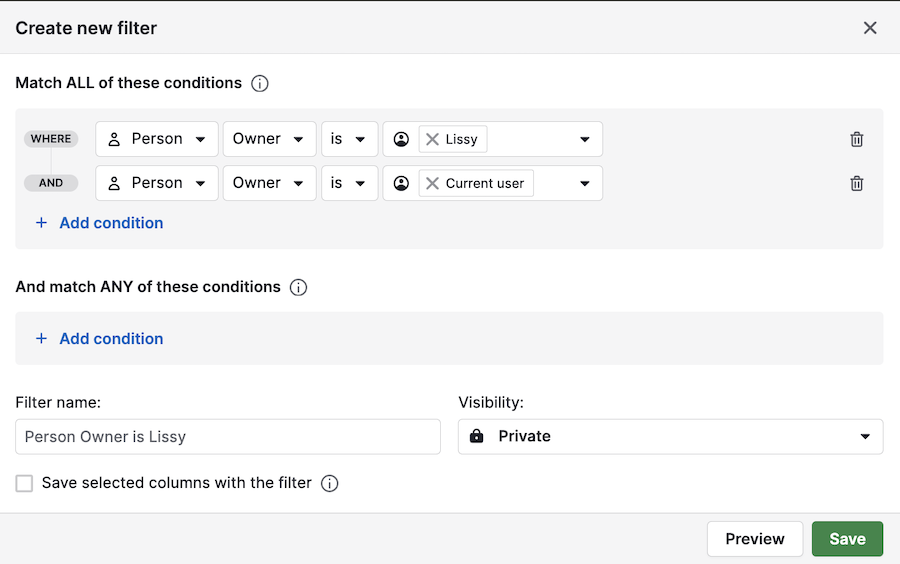
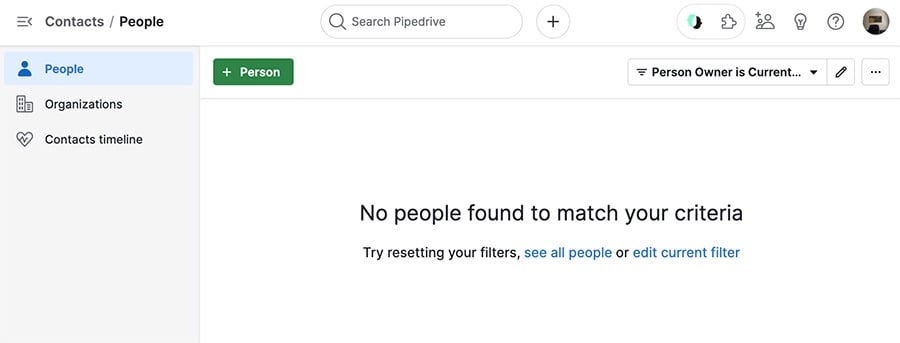
Since a person can’t have two owners, this will yield no filter results.
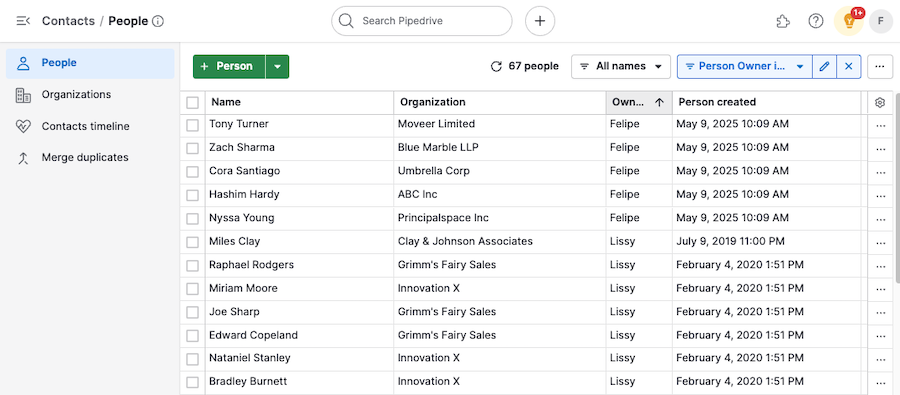
But if you move those same conditions into the ANY section:
After clicking “Try it out,” both names will be included in the same dropdown. Click “Save,” and your results will consist of people owned by either of those selected users, and you‘ll be able to add more if you want.
Your results will consist of people owned by either of those users.
Clearing and deleting filters
To clear a filter, simply click the “X” to the right of the filter selection dropdown.
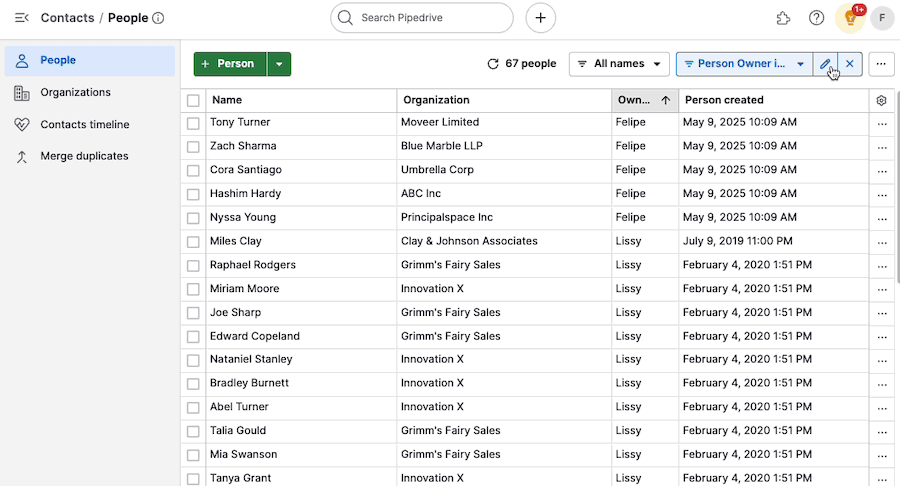
To delete a filter, click the pencil icon to the right of the filter name, then select the “Delete” option, and confirm it:
Saving filters as favorites
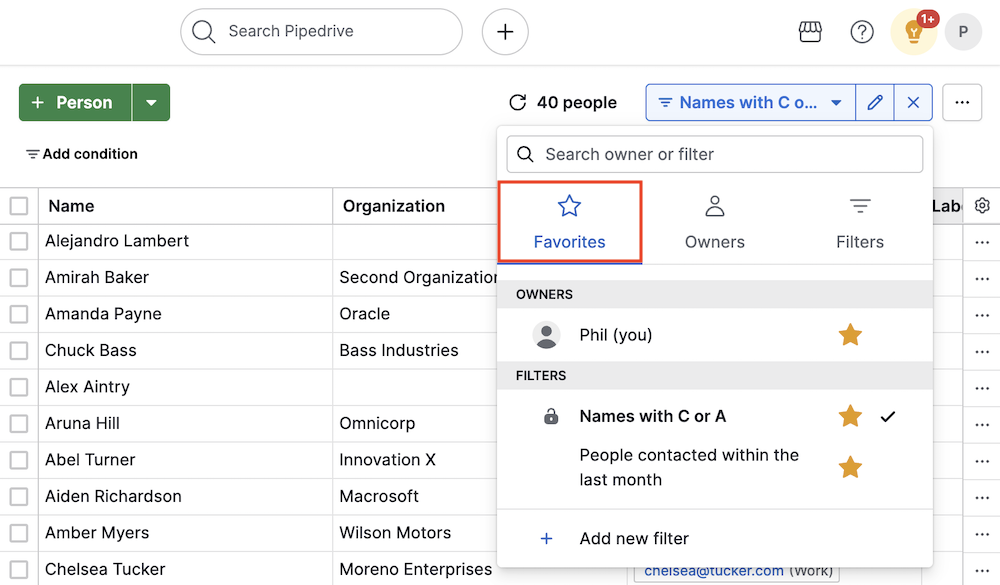
To quickly access the filters you use most often, you can save them to your favorites list.
To do that, simply click the dropdown filter list and, under filters, click the star next to the filter you want to add to your favorites.

After adding a filter to your favorites list, it’ll appear under the “Favorites” tab in the same dropdown.
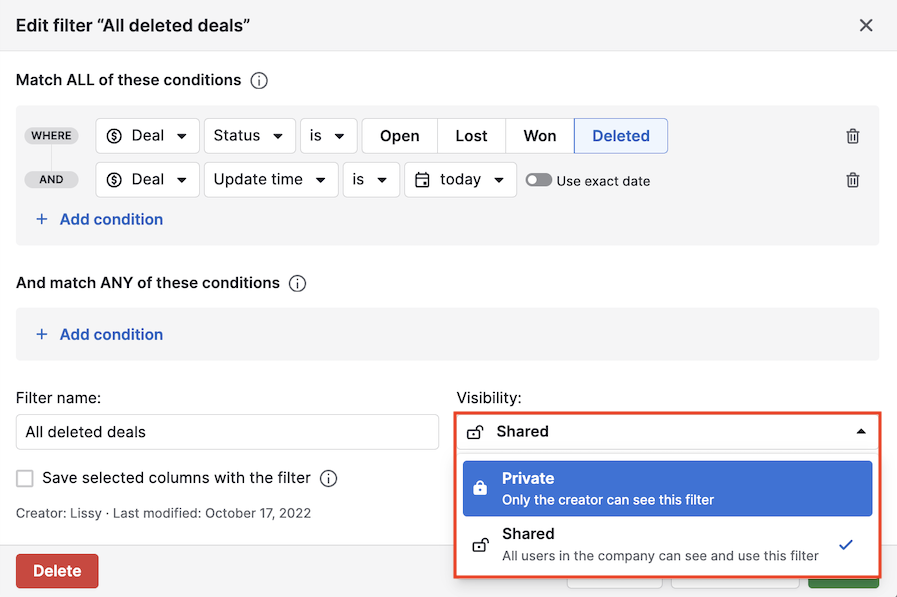
Filter visibility
When creating a new filter in Pipedrive, you can choose whether the filter will be shared with other users or remain private.
- Shared filters are visible to all users in your company account.
- Private filters are visible only to the person who created them. No other user, not even admins, can see them.
To change a filter’s visibility, edit the filter and select the appropriate sharing option from the Visibility dropdown before saving.
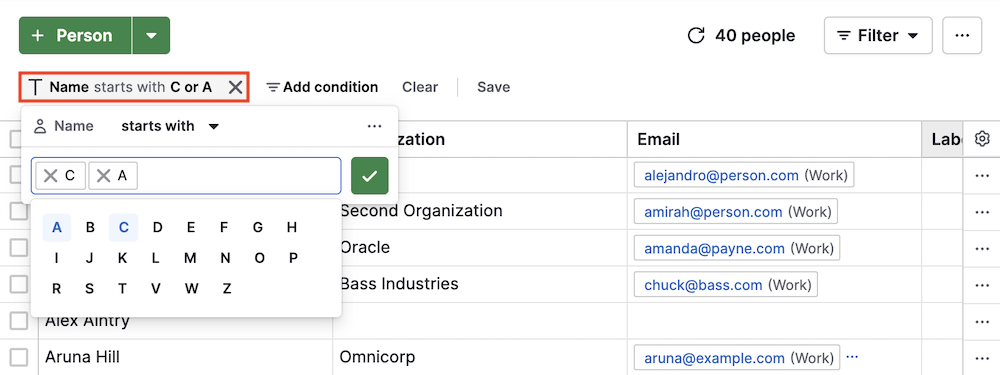
Filtering by initials
Filtering by initials has been moved to the quick filters feature, where you can drill down by a number of other criteria, with better visibility.
To learn more about quick filters, read our dedicated article.
Was this article helpful?
Yes
No