Automations: date triggers
When managing customer relationships, completing tasks and engaging with prospects and clients at specific times is crucial.
With date triggers, you can automate tasks such as sending emails on your clients’ birthdays, sending email reminders for upcoming meetings or scheduling a call a week before the expected close date of a deal, so you can focus on more important things like growing your business.

Where can I find the date triggers?
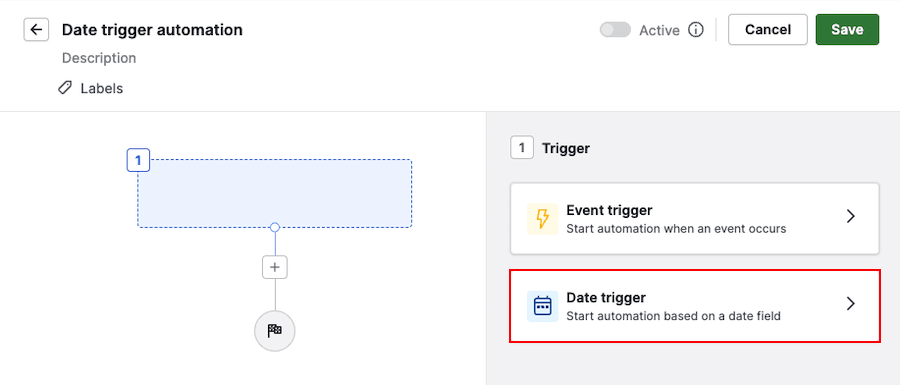
Adding a trigger is the first step when creating automations. On the right-hand side of your screen, select the trigger type “Date trigger”.
How can I configure a date-triggered automation?
Once the date trigger is selected, you’ll need to specify:
- The item with the respective date field (default or custom) that will trigger the automation
- The date when the automation will be triggered (exact date or given days before or after the date on the field)
- The hour and timezone when the automation will be executed
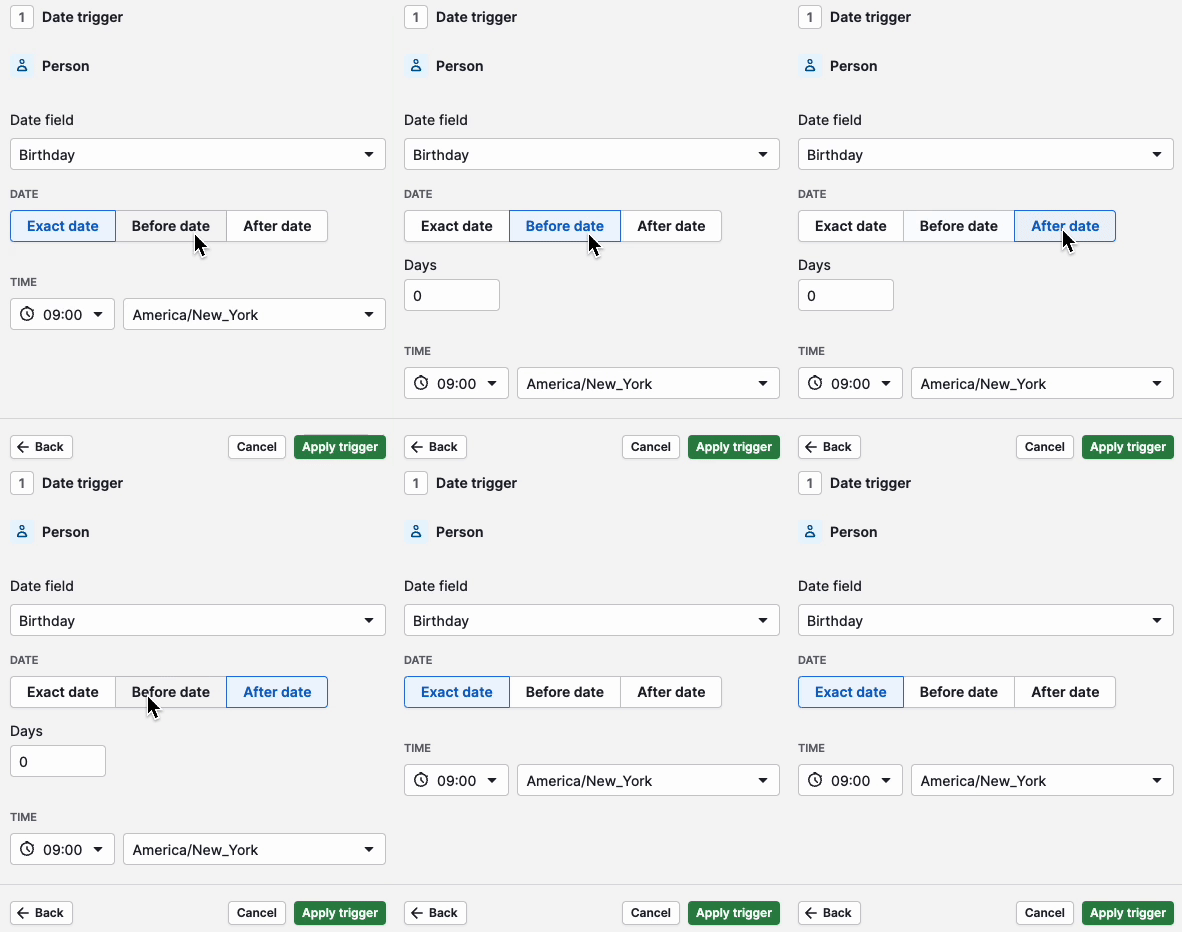
When selecting the date, you’ll see three options:
- Exact date: the automation will trigger the day it meets the date on the date field
- Before date: the automation will trigger a given number of days before the date on the date field
- After date: the automation will trigger a given number of days after the date on the date field
You can add up to 180 days before and after the trigger date.
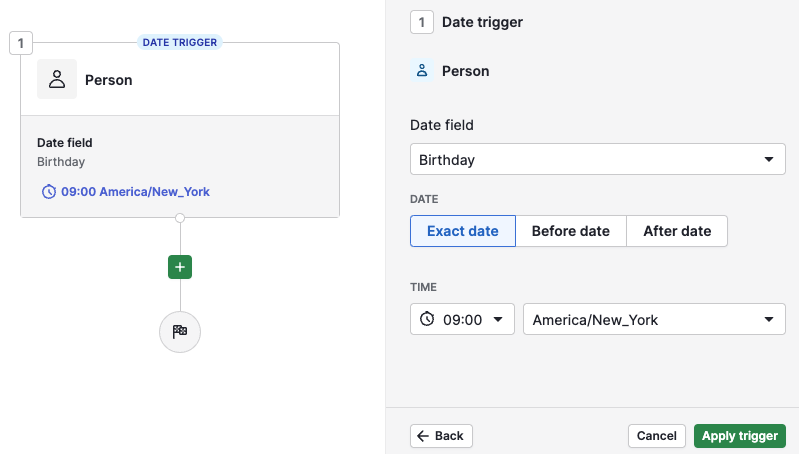
Click ”Apply trigger” to save the changes. Then, you can proceed with adding the following steps to the automation.
Learn how to configure automations here and the conditions you can add in this article.
Automations enabled for yourself
If you create an automation with a date trigger and enable it only for yourself, the date trigger condition will check all the items that are visible to you.
The items that match the date condition when the time of execution is reached will appear in ”History”.
Automations enabled for yourself and other users
If you create an automation with a date trigger and enable it for yourself and other users using the automation sharing option, the date trigger condition will check all items owned by all users enabled. This protects against shared date trigger automations triggering multiple times daily for a particular item.
The items that match the date condition when the execution time is reached and are owned by one of the users with whom the automation is shared will appear in ”History”.
How can I edit a date-triggered automation?
Unlike event-triggered automations, you can edit the trigger on date-triggered automations without removing the subsequent steps or starting from scratch.
Date triggers have the edit option (pencil icon) that appears as you hover over the trigger step.
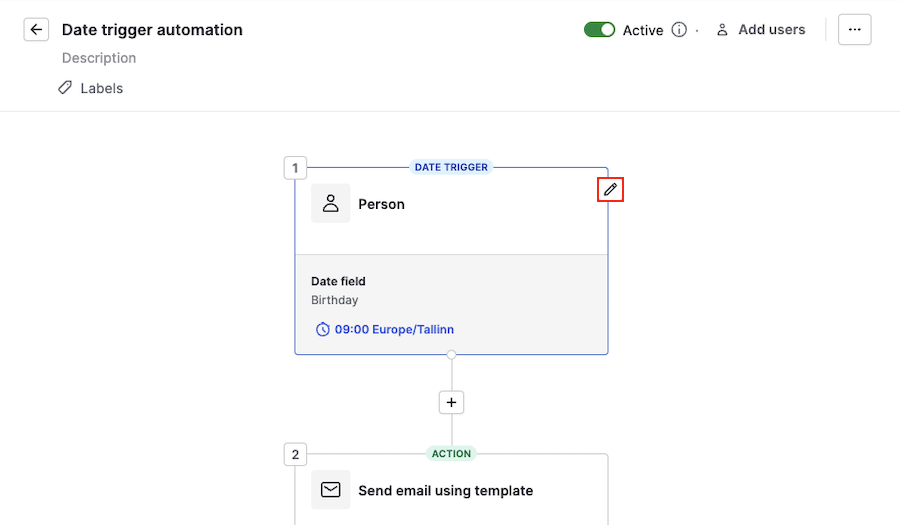
When clicking the edit button, you’ll be able to change the date field and the date, hour and timezone when the automation will be triggered.
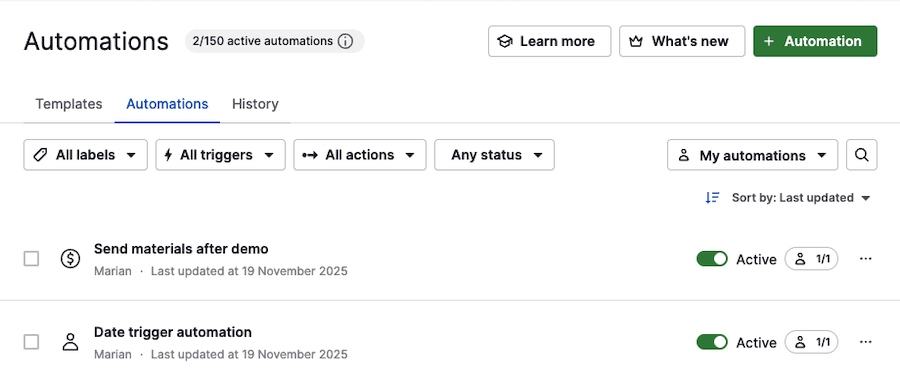
List view
Once configured, you can find all your automations in the list view.
Was this article helpful?
Yes
No