Automations: sending automated emails
Sales processes often involve repetitive tasks such as sending notifications to team members or communicating with leads. Automating email follow-ups can enhance efficiency, boost customer engagement and minimize errors.
First, you must create an automation and select a trigger event based on the scenarios in which you want to prompt email dispatch. It’s essential to apply precise conditions for more specific situations where emails should be sent.
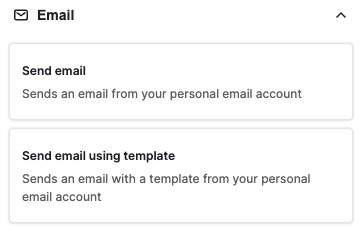
Once the trigger is defined, select the email actions: you can opt for either Send email or Send email using template to execute the communication.
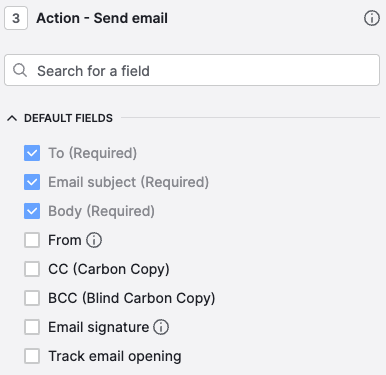
Send email
When using the Send email action, you must select the desired fields and settings.
- Choosing the audience is one of the most important steps and selecting the email recipients is crucial. You can do this from the “To” field, deciding whether to send the email to customers, internal teams, partners, etc.
- For the email subject, you can manually input text or use a field placeholder to automatically insert relevant information, such as a deal title, based on the automation trigger.
- If you have multiple email inboxes synchronized in Pipedrive, you can choose the sending email address from the “From“ field.
- The CC and Bcc fields allow you to specify recipients for carbon copies and blind carbon copies of the email, respectively.
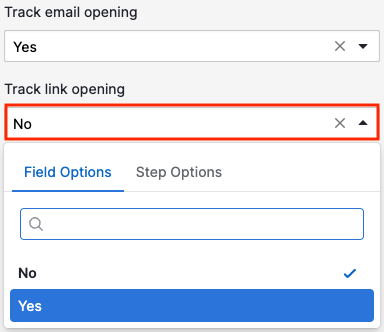
- You can also add an email signature (if previously set up in the email sync settings) and enable email open tracking.
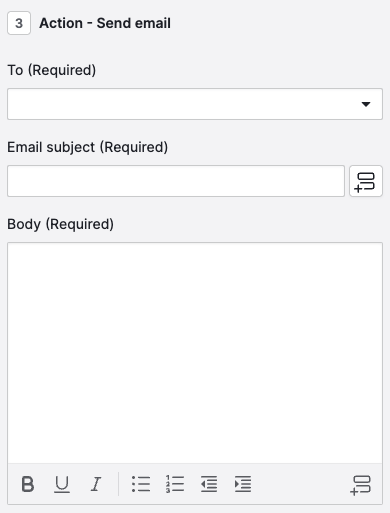
Then, you must manually draft the email content and save the changes.
Send email using a template
The Send email using template action closely mirrors the Send email action but offers additional options for email template setup.
When setting up a template, you can add fields for leads, deals, projects, and organizations. If the template has fields and you select them, the automation will automatically populate those fields into the email body.
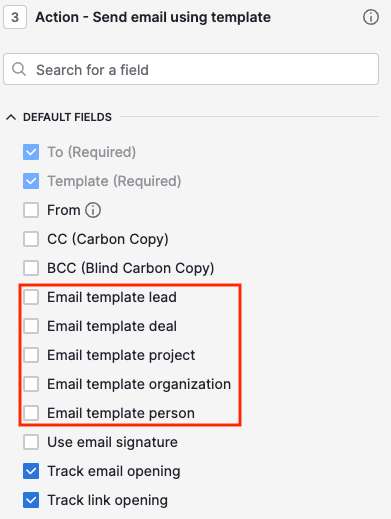
Additionally, if your template includes a link, you can configure link tracking at this stage.
Advanced email automations
You can use the Delay and Wait for condition steps to create more complex automations. This allows emails to be sent later – instead of immediately – after a trigger or event occurs.
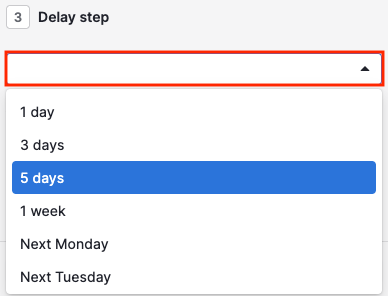
Delay step
To send follow-up messages or multiple reminders to team members or prospects through automations, utilize the Delay step.
Determine the time interval in days or hours before configuring the subsequent email action.
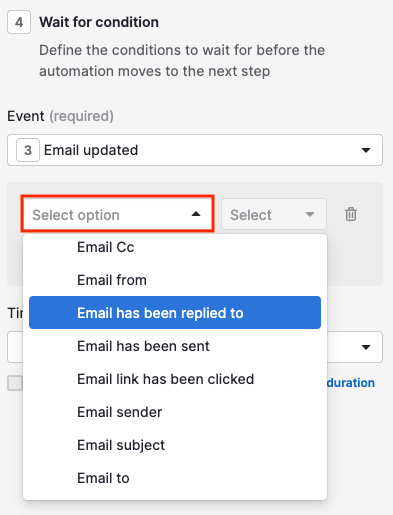
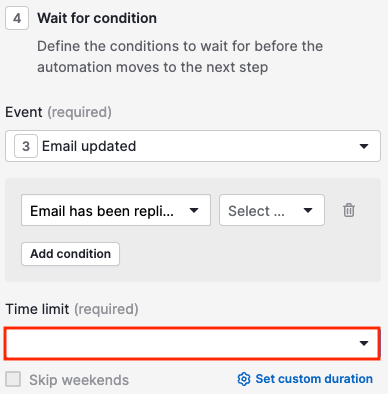
Wait for condition step
Use the Wait for condition option to execute the step after a specified trigger or action occurs.
A practical application of this step is to send another email once your customers interact with the first email you sent. You can configure it to trigger if the email receives a reply or a link within it is clicked.
Then, specify the duration (time limit) for the automation to wait for the event. A prolonged wait period may not be beneficial, as a personal approach might be necessary.
Post-email delivery
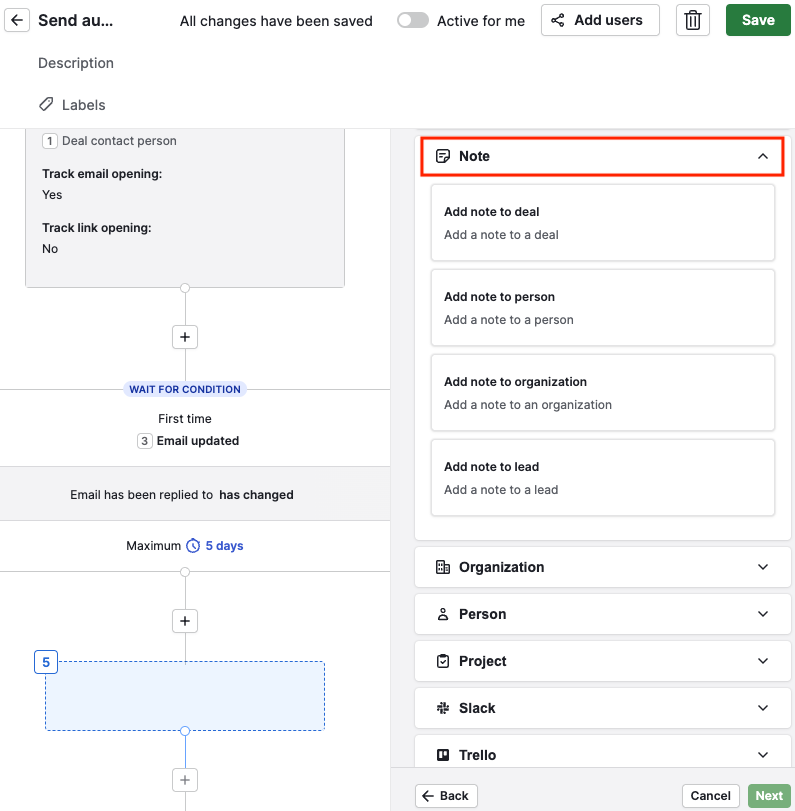
To keep a record of the information sent via email, you can add a note or create an activity related to the automated email.
For instance, if a recipient receives significant information via an automated email, such as a link to a special-priced offer, you may want to note this for the contact person associated with the deal.
To do this, select a note action for the contact person who has already received your emails, highlighting the importance of the event in the note.
To create an activity, such as setting up a task or call after receiving an email reply, add an activity action following the Wait for condition step you established for email replies.
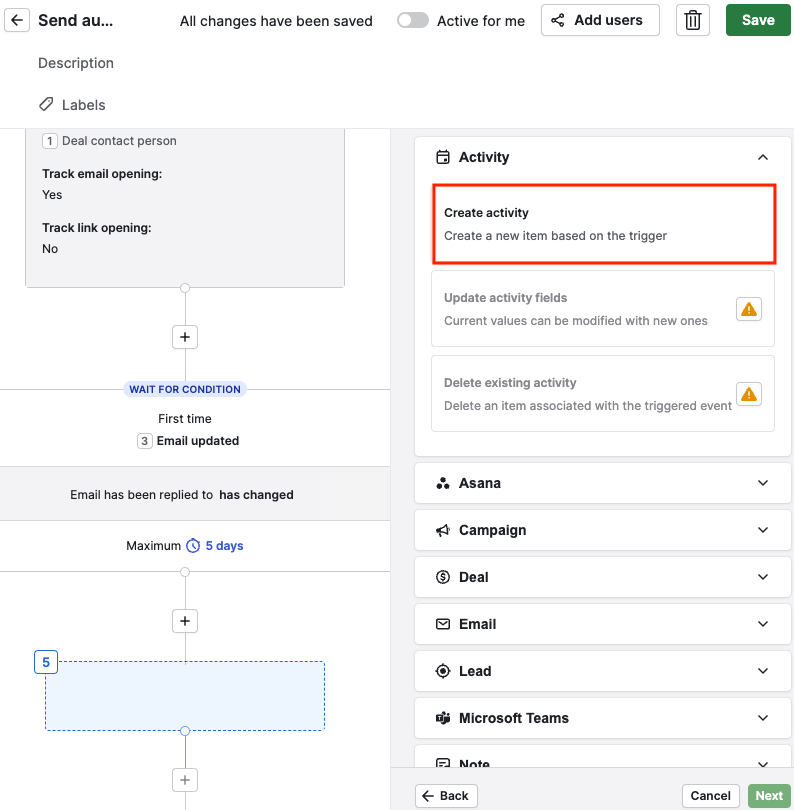
You can specify the activity’s name, type and creation timing.
Was this article helpful?
Yes
No