Campaigns: Create a campaign

Campaign details
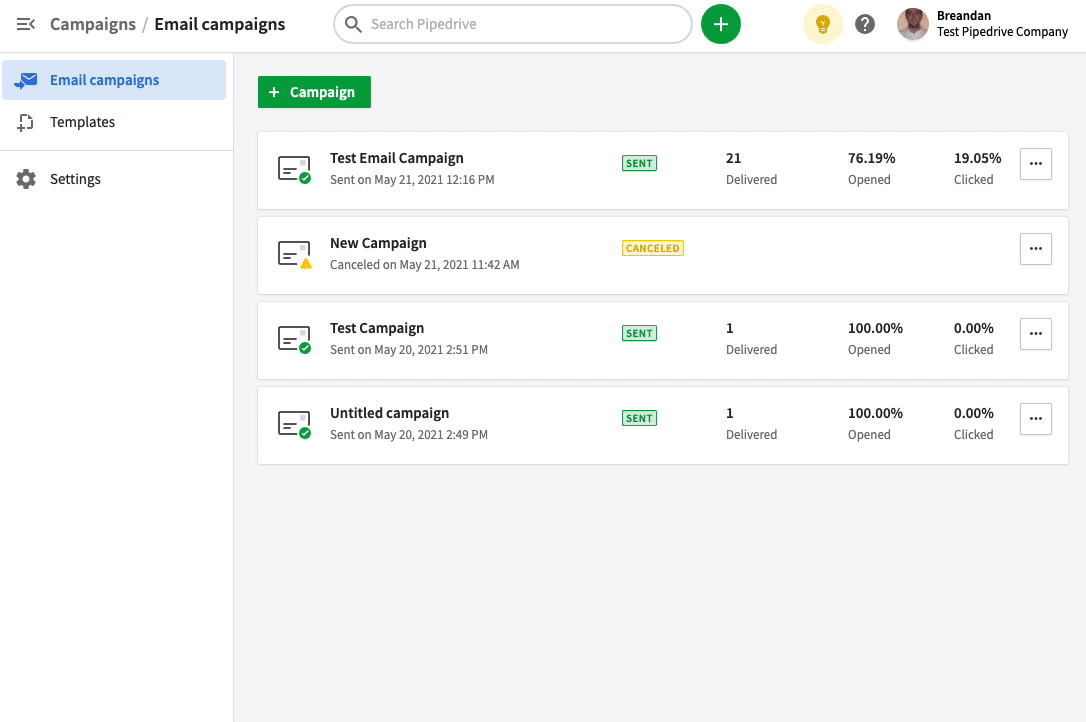
To begin creating your campaign, go to Campaigns > Email campaigns and select "+ Campaign". This will open up your campaign page.
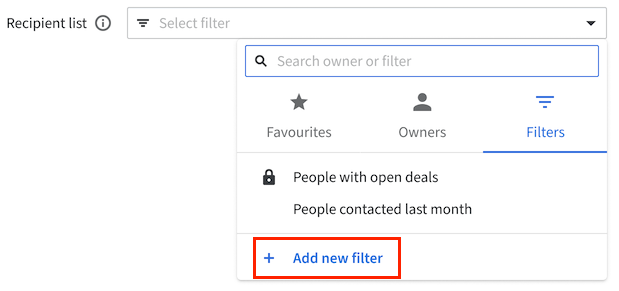
After adding a title for your campaign, choose the recipients for your email campaign. You can select a list of contacts by owner or by filter. You will have the option to select a filter that you have created for your email campaign or the option to add a new filter. Learn more about filtering for your campaigns in this section.
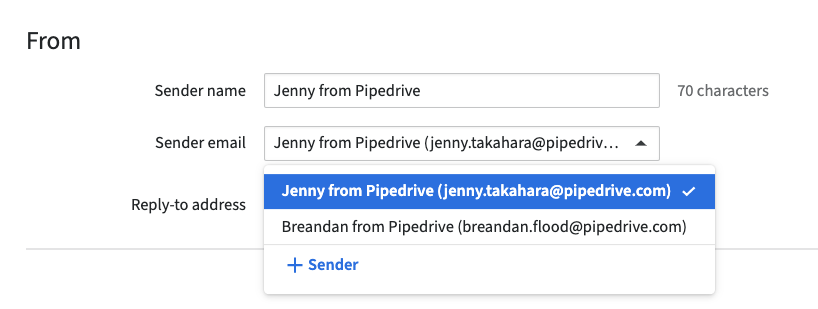
Under "From" you can choose the sender email you would like the campaign to be sent out from. The sender email will be one of the verified ones you set up in settings, but you can change the sender name and reply-to address. You can also add new sender names directly from this page.
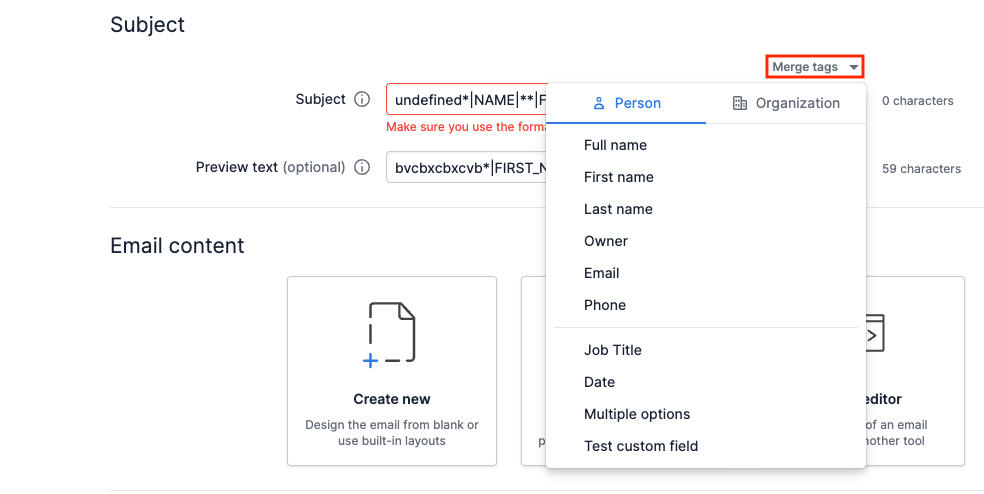
Next, you have the option to add your email campaign subject and preview text. Please be aware that the subject field is required.
To add a merge field, click the “Merge tags” dropdown and select your desired tag.
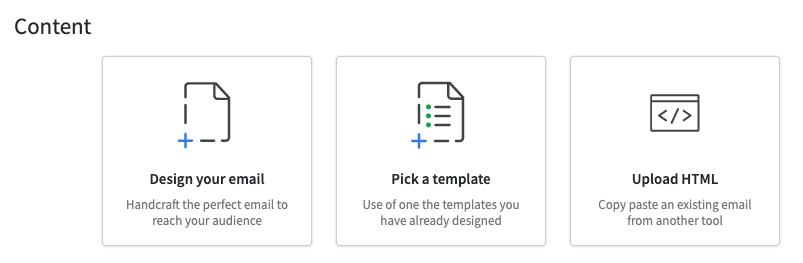
Content
In the Content section you have three options:
- Design your email – Design your email campaign layout using our drag-and-drop editor.
- Pick a template – Choose your email campaign layout from a selection of pre-designed templates created by you.
- Upload HTML – Select this option if you would like to create your campaign layout using HTML or copy-paste your existing email from another tool.
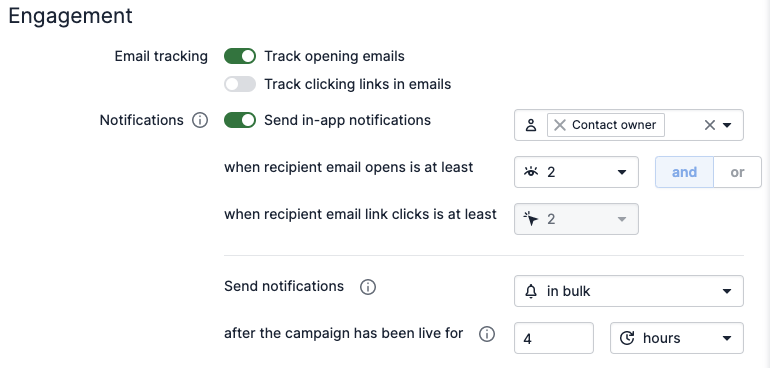
Engagement
In this section, you have the option to toggle the items for which you would like to track opened emails and clicked links. You can also set up engagement notifications from this section.
Was this article helpful?
Yes
No