Schedule emails to be sent later
Write your email anytime and set it to send exactly when you want – whether during your off-hours or when it’s most convenient for your recipient. Send to one or many recipients, start from a saved email template, or let AI create the message for you.
Scheduling emails
From the Sales Inbox
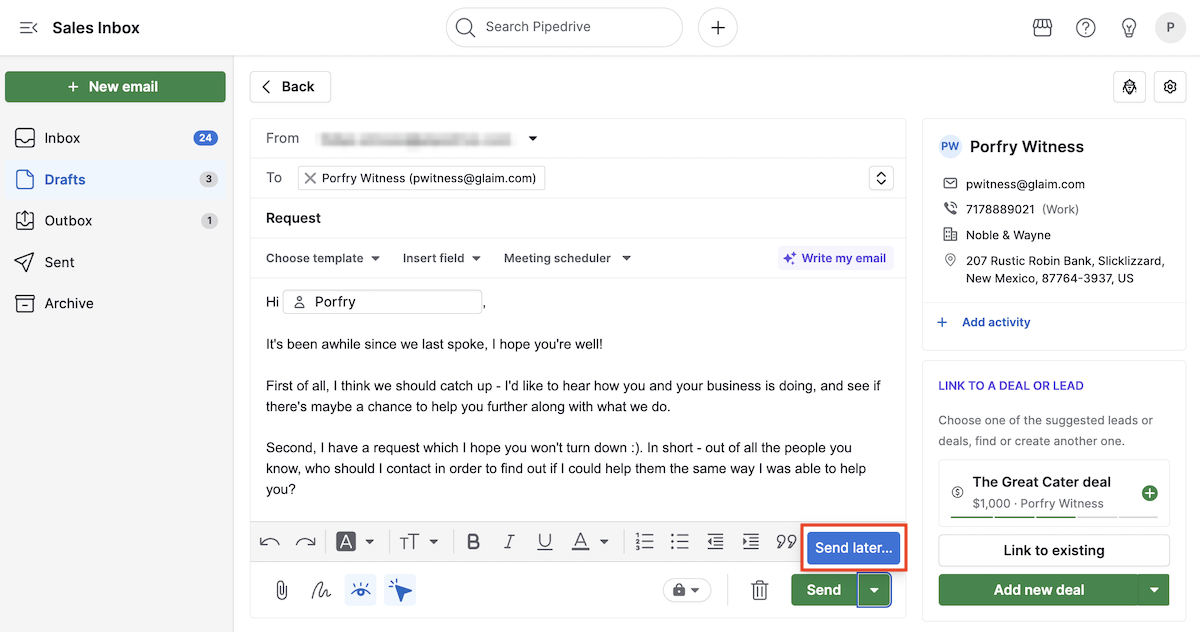
To schedule an email so it‘s sent later, in your Sales Inbox, click “+ New email” or select a draft email.
Once you finish composing your email, click the arrow next to the “Send” button to open the dropdown menu and then “Send later” to schedule your email.
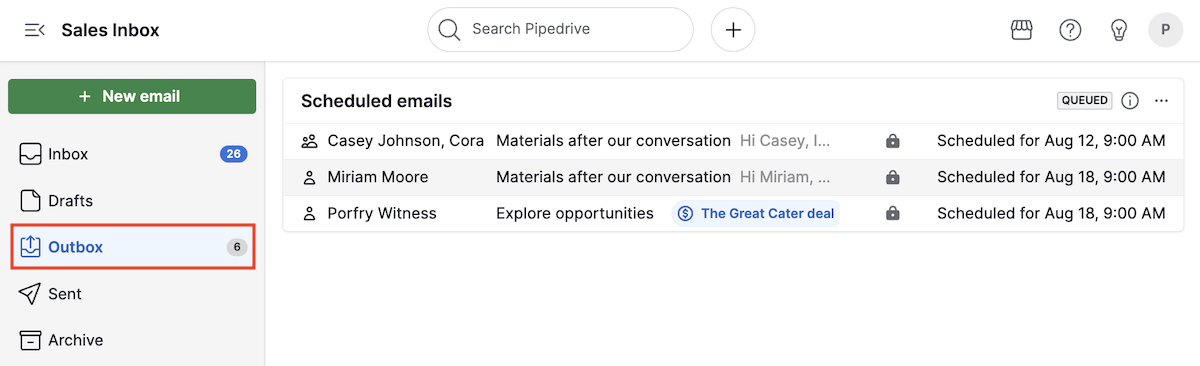
You can see your scheduled emails in the outbox folder until they’re sent. After sending, they move to the sent folder and will also appear in detail views when linked.
From the detail view
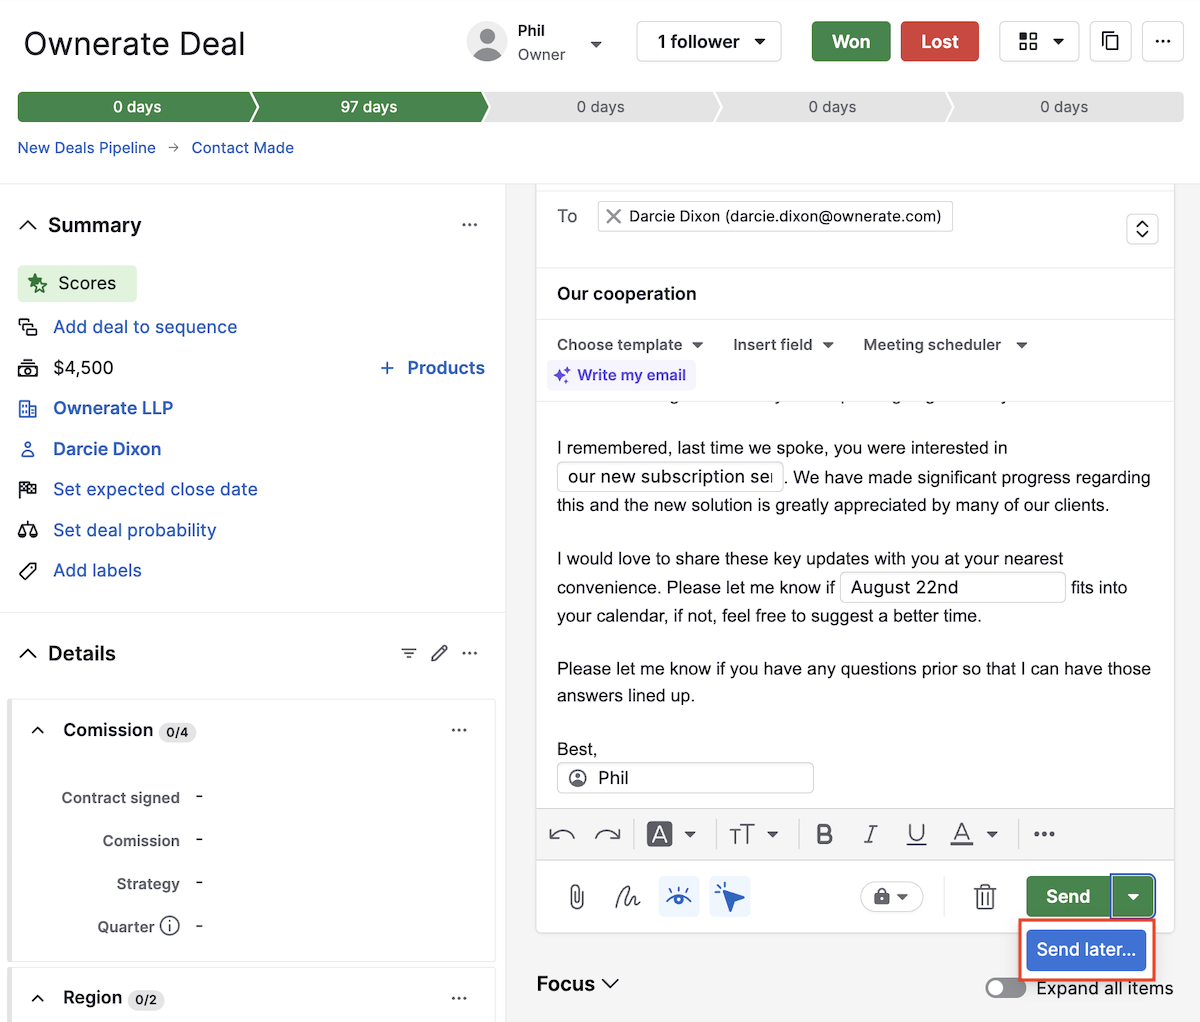
Emails can also be scheduled from the detail view of your contacts and deals. Just click on the email tab and compose your message.
Once you finish composing your email, click the arrow next to the “Send” button to open the dropdown menu and then “Send later” to schedule your email.
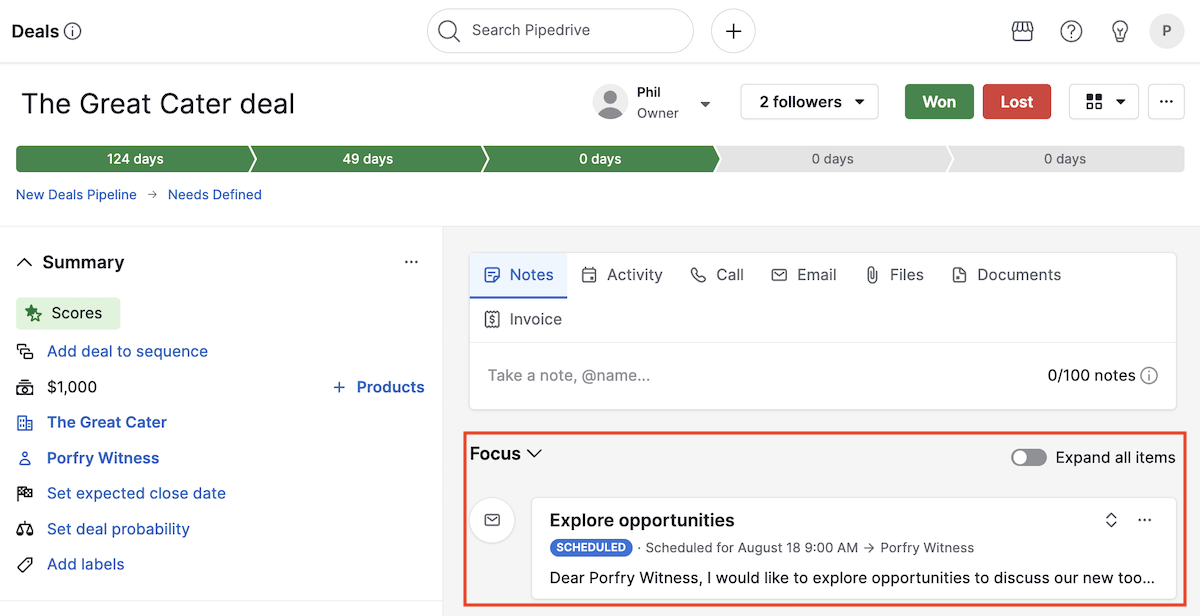
Once you schedule an email, it will appear under the focus section and in the outbox folder of your Sales Inbox until it is sent. After sending, they move to the sent folder and will also appear in detail views when linked.
Group emails
You can also schedule your emails for later while using the group emailing feature.
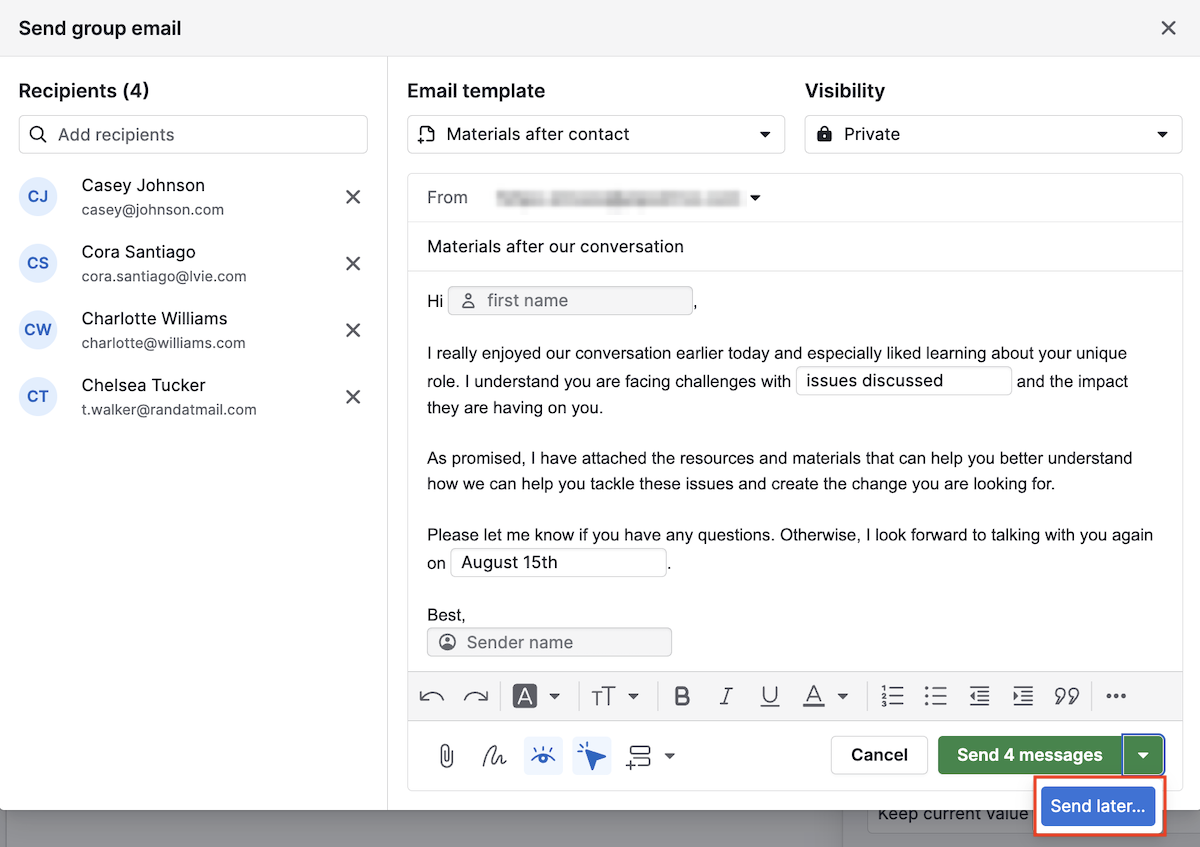
When sending group emails or emails scheduled for the same time, there will be a 30-second delay between each email to prevent your provider from blocking you. You can send messages to up to 100 emails in each group email.
Set a date and time for sending the email
From the Sales Inbox, the detail view or the group emailing feature, you can choose one of the suggested times or pick a custom date and time for sending. The time will follow your account’s time zone.
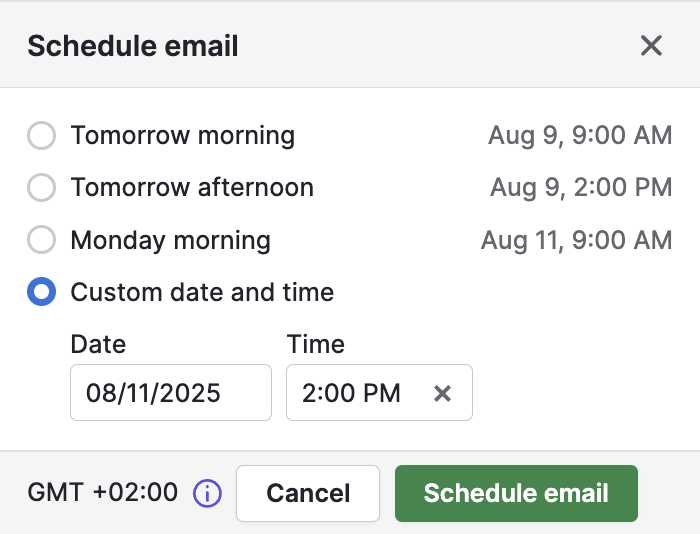
After you schedule an email, it will appear in your outbox folder or under the focus section in detail views. From there, you can open each email to review, cancel, move to drafts, or delete it.
Mail visibility
After sending, visibility for teammates will depend on the selected email sharing settings:
For personal (single-user) accounts:
- Shared: Emails are visible to all users when linked to Pipedrive items
- Private: Emails are visible only to you, even when linked to Pipedrive items
For team accounts:
- Shared: Emails are visible to all users when linked to Pipedrive items
- Team only: Emails are visible only to team members added to the account, even when linked to Pipedrive items
Canceling and deleting scheduled emails
If you cancel a scheduled email before it’s sent, you’ll see two options:
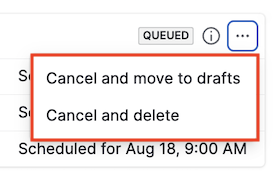
Cancel and move to drafts: Moves the email to your drafts folder so you can edit it. You can then send it immediately or schedule it again using the steps above.
Cancel and delete: Cancels sending and permanently deletes the email. You can’t recover it.
You can cancel scheduled emails from two places:
From the Sales Inbox
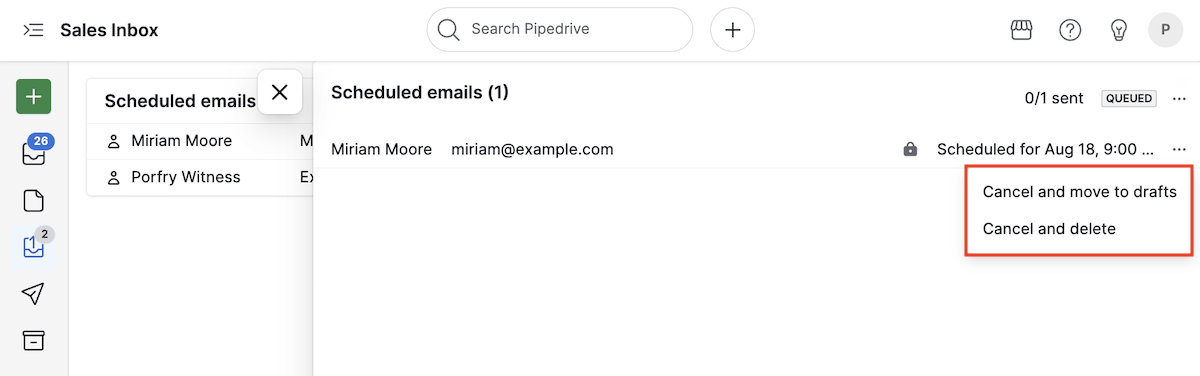
Open the outbox folder to see your scheduled emails. Both single and group emails stay there until they’re sent. The icon on the left shows one person (single recipient) or multiple people (group).
Select the email you want to cancel, click “...” and choose either Cancel and move to drafts or Cancel and delete.
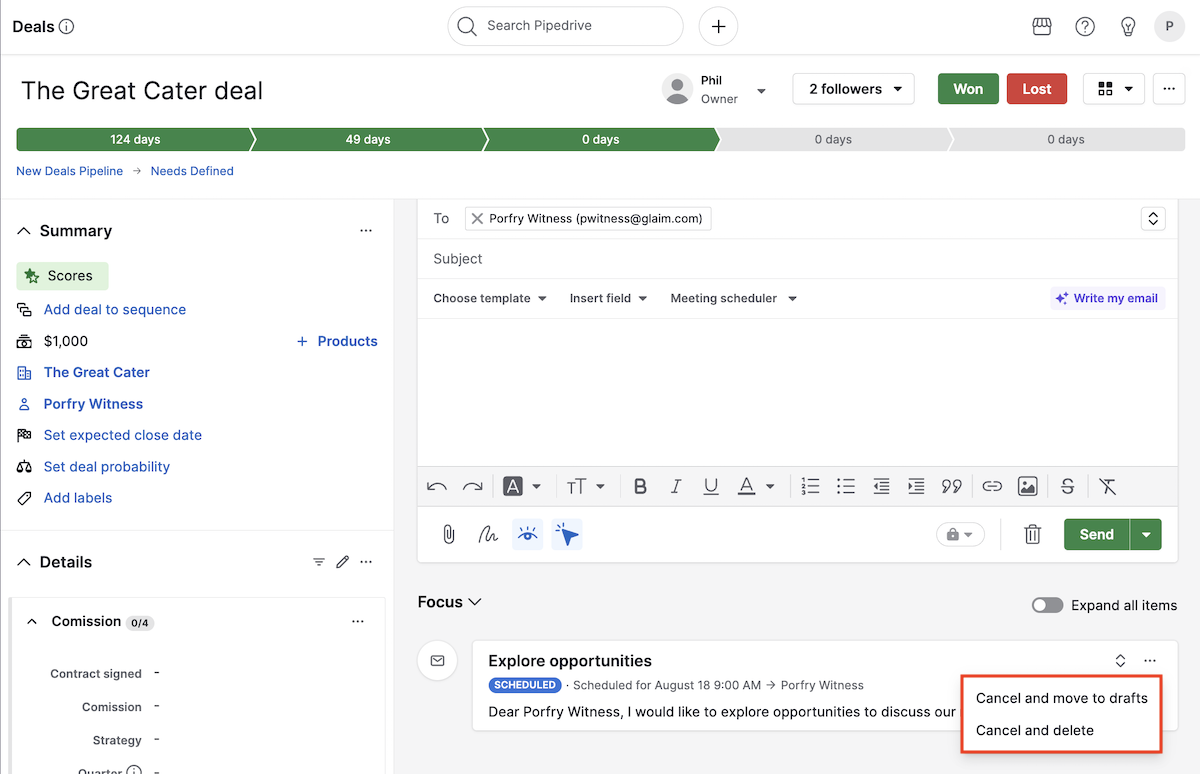
From the detail view
In a deal, contact, lead, or project detail view, go to the focus section to find scheduled emails. Click “...” and select your preferred option.
Was this article helpful?
Yes
No