Ez a cikk gépi fordítás segítségével készült el.
Web Forms
A Pipedrive Web Forms lehetővé teszi, hogy saját személyre szabott, beágyazható űrlapokat készítsen a weboldalához, hogy összegyűjtse a weboldal látogatóinak adatait, és azokat üzletekké vagy leadekké irányítsa a Pipedrive-ba.
Webűrlap létrehozása
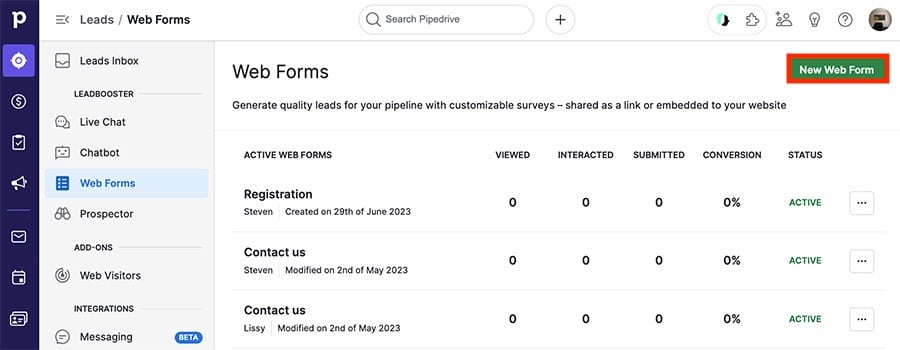
Webűrlap létrehozásához lépj a Leadek > Webűrlapok > “Új webűrlap.”
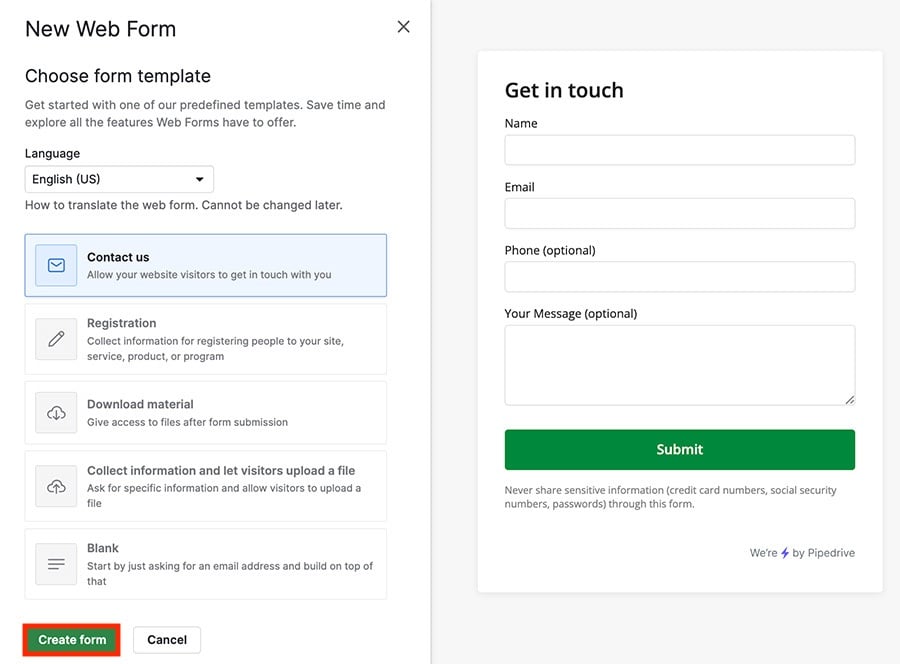
Válassz egy kezdő sablont, és kattints a “Űrlap létrehozása.”
Űrlap Szerkesztő
Az űrlap szerkesztő az a hely, ahol létrehozza és testreszabja a webes űrlapokat. Különböző blokkokat adhat hozzá attól függően, hogy milyen információt szeretne gyűjteni.
Az bevezető blokk kötelező minden webes űrlap esetében. A blokk szerkesztéséhez kattintson a ceruza ikonra a blokk kibővítéséhez.
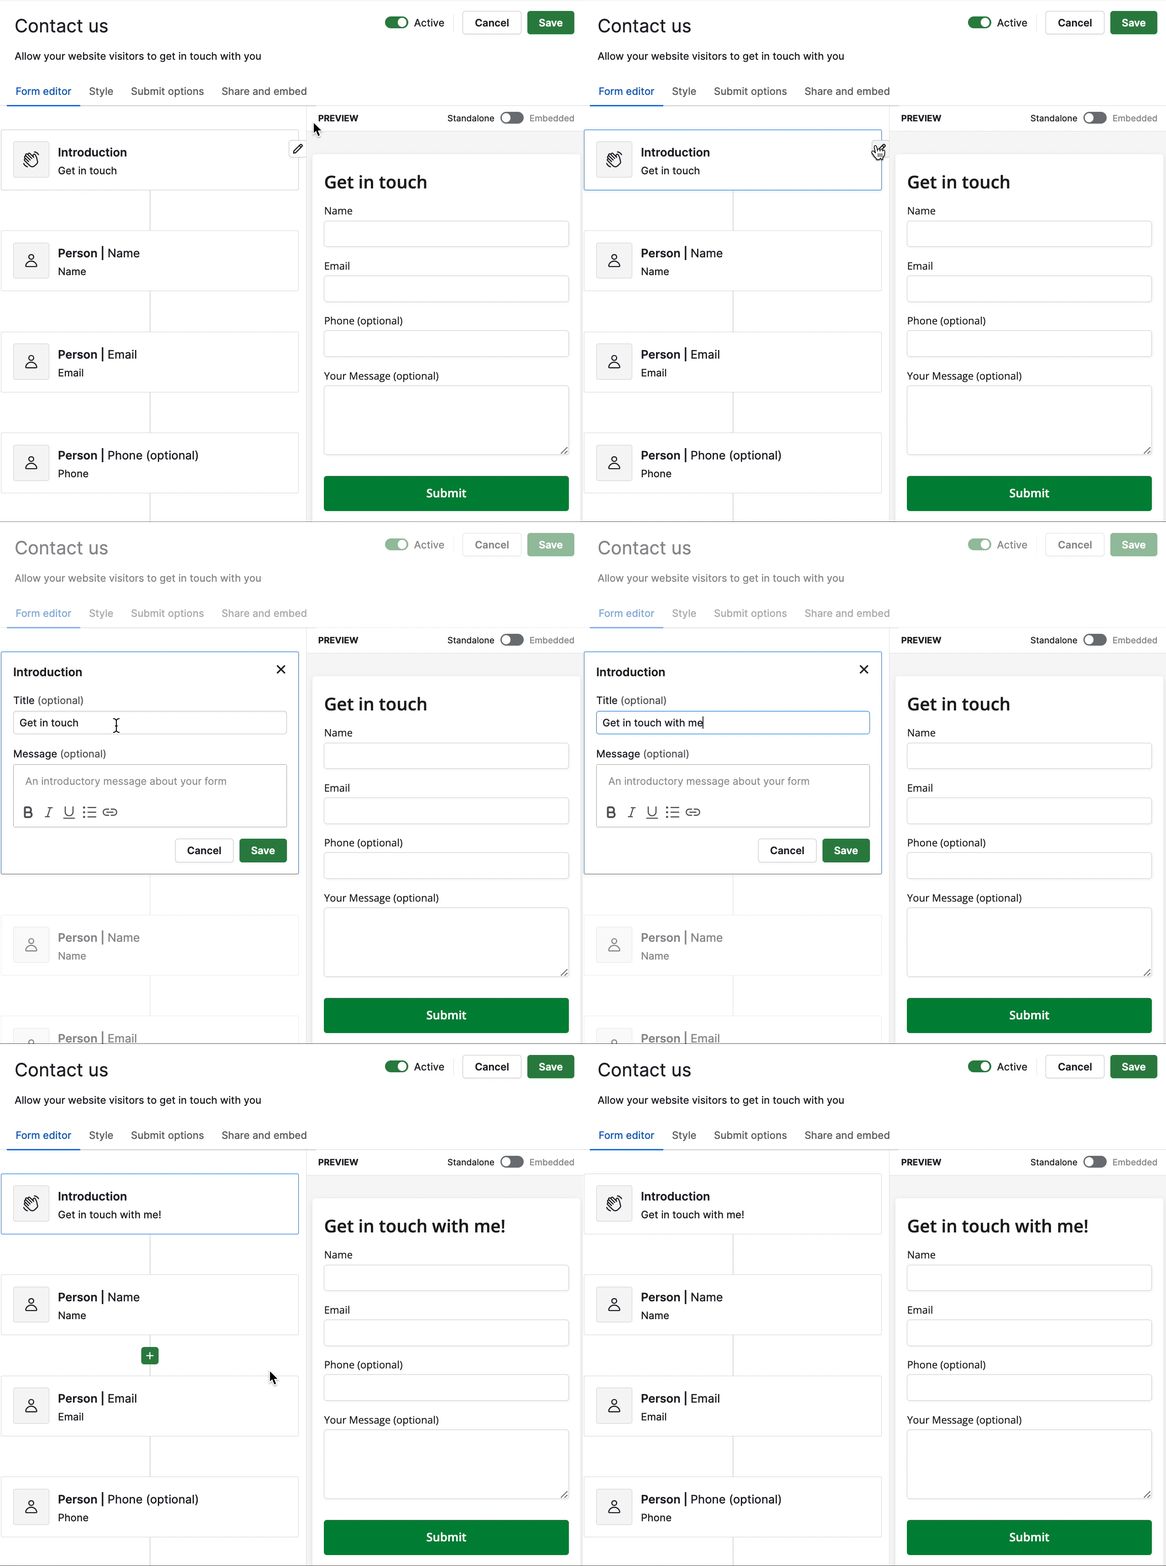
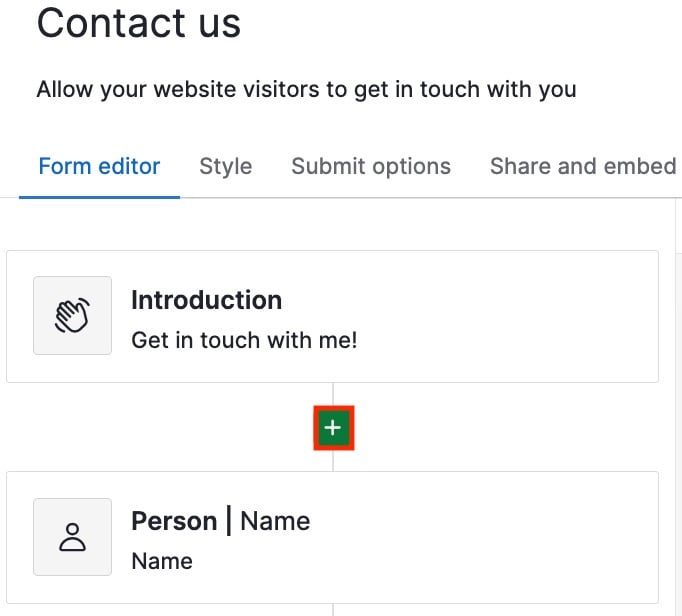
Új blokk hozzáadásához vigye az egeret az űrlap szerkesztő fölé, és kattintson a “+” jelre, ahol a következő blokkot szeretné elhelyezni az űrlapon.
Blokk típusok
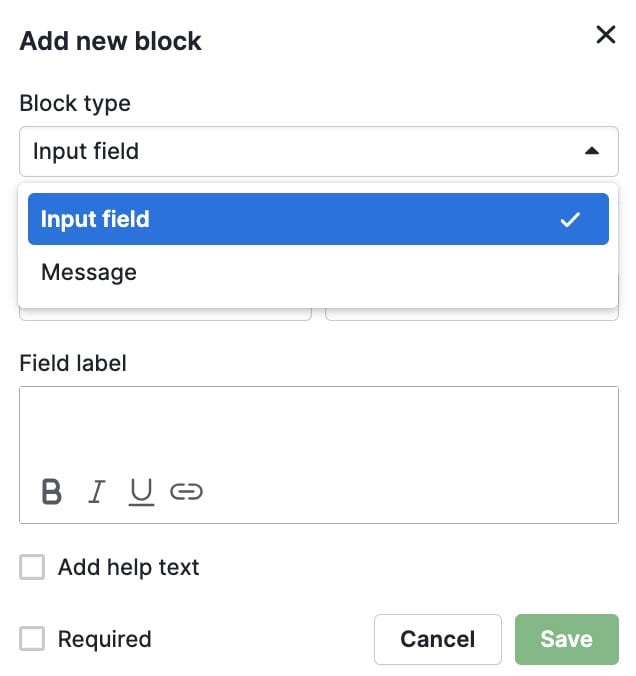
Két blokk típust használhatsz: Beviteli mező vagy Üzenet.
Beviteli mező
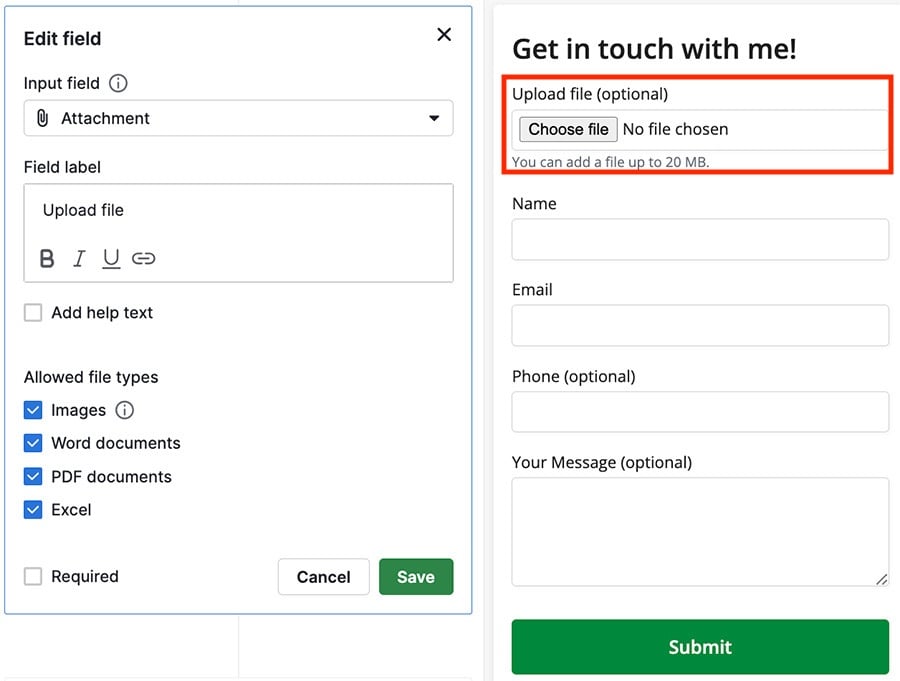
Ez a blokk típus lehetővé teszi, hogy információt gyűjts a weboldal látogatóitól, mint például név, telefonszám, e-mail cím, marketing státusz és különböző egyedi mezők a fiókodból. Azt is eldöntheted, hogy szükséges-e ez a blokk a űrlaphoz a „Kötelező” mező használatával.
Jelenleg a webes űrlapjaink a következő egyedi mezőtípusokat támogatják:
Szöveg
Nagy szöveg
Egyválasztós
Többválasztós
Dátum
Cím
Pénzügyi
Numerikus
Telefon
Üzenet
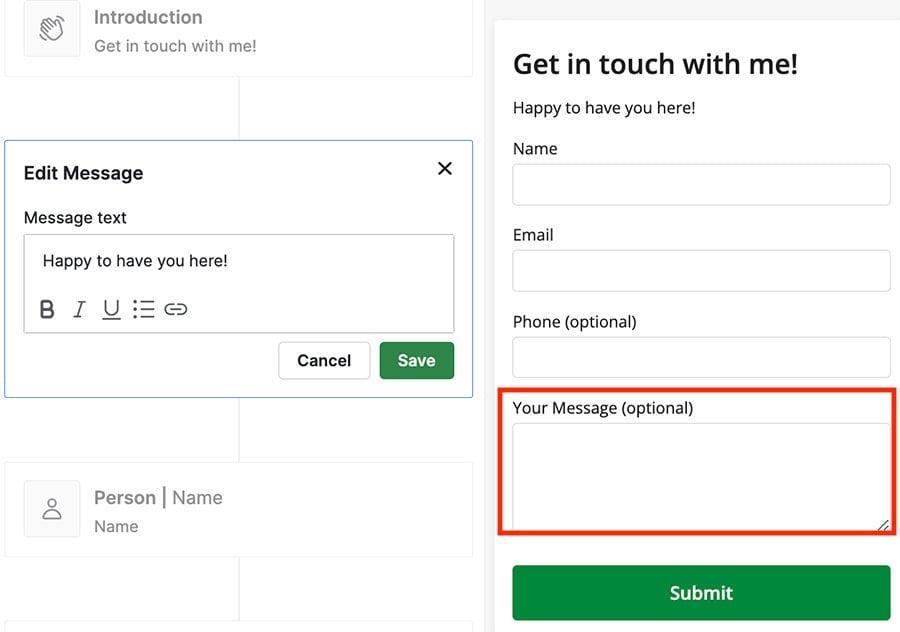
A másik blokk típus az Üzenet, ahol a felhasználó szöveget adhat hozzá az űrlaphoz.
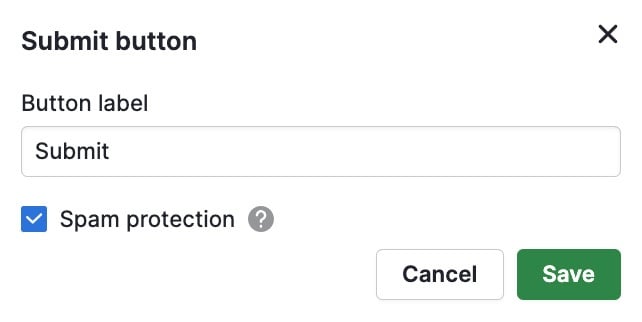
Az űrlapod utolsó blokkja a Küldés gomb, amely kötelező. Ez a blokk lehetővé teszi, hogy válaszd ki a gomb szövegét és hogy az űrlap spam-védelemmel van-e ellátva.
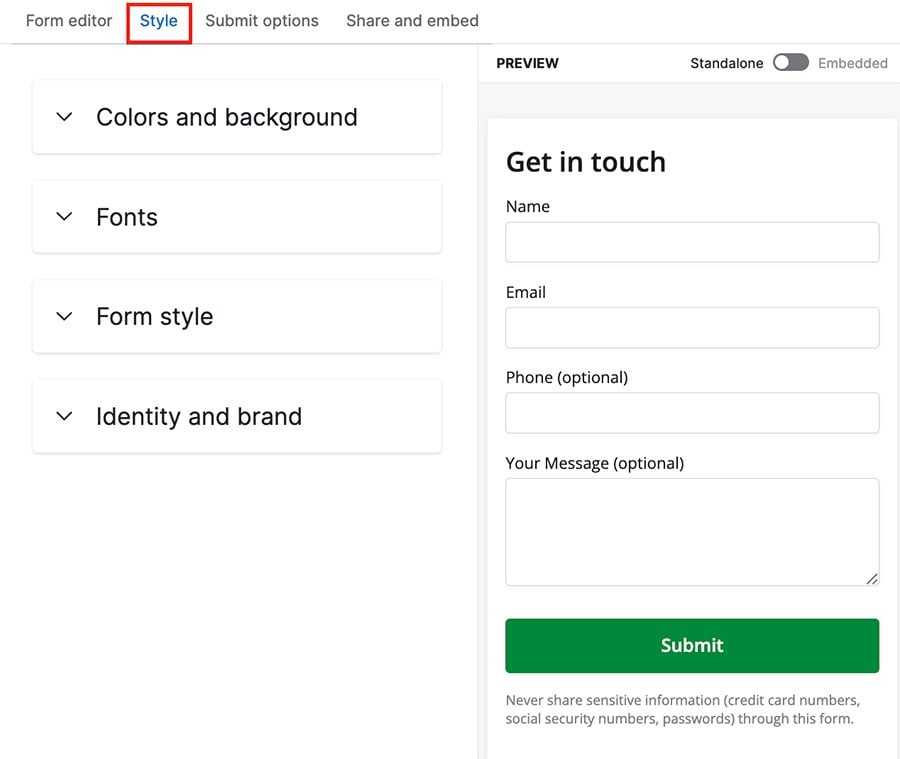
Stílus
A Stílus szakasz lehetővé teszi, hogy négy különböző módon testreszabja a webes űrlapok megjelenését.
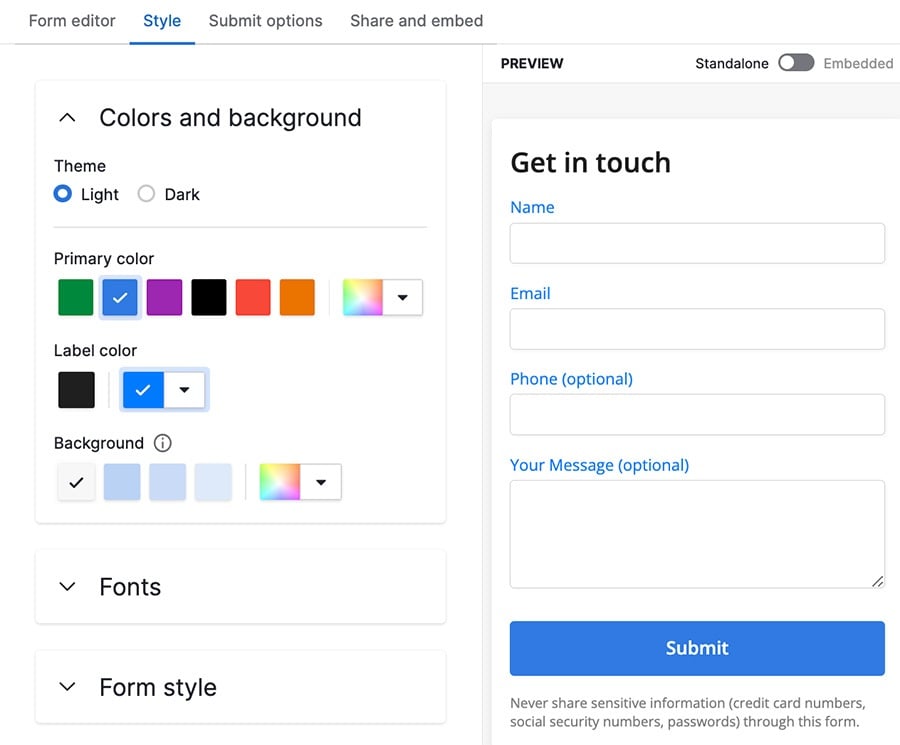
Színek és háttér
Színeket választhat a háttérhez, előtérhez, a küldés gombhoz és a címkékhez.
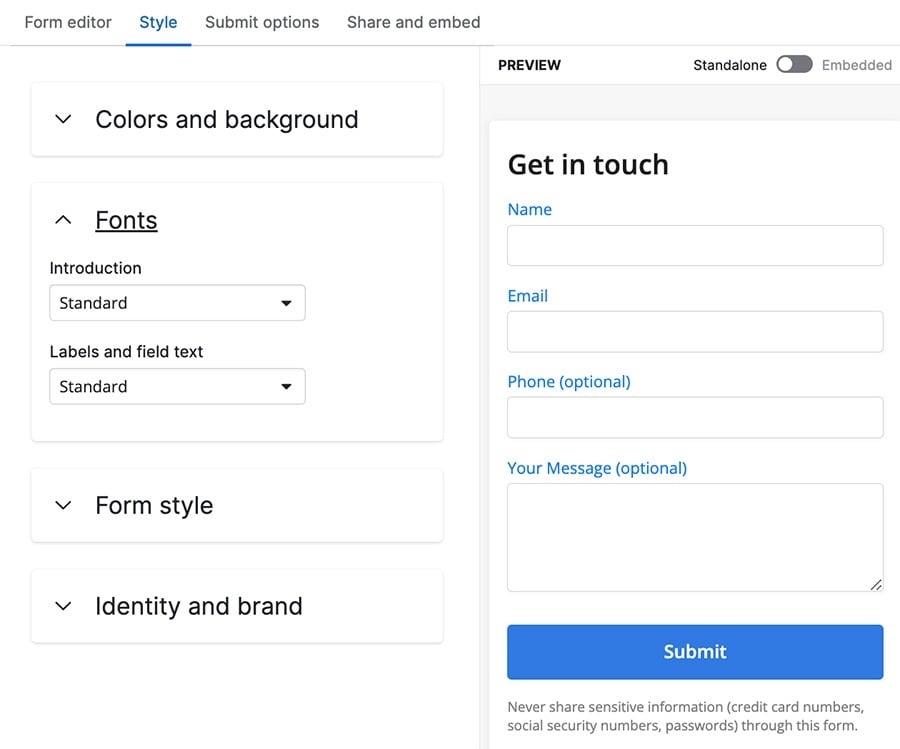
Betűtípusok
Válasszon tucatnyi egyedi betűtípus közül, és állítsa be a betűméretet és a vastagságot.
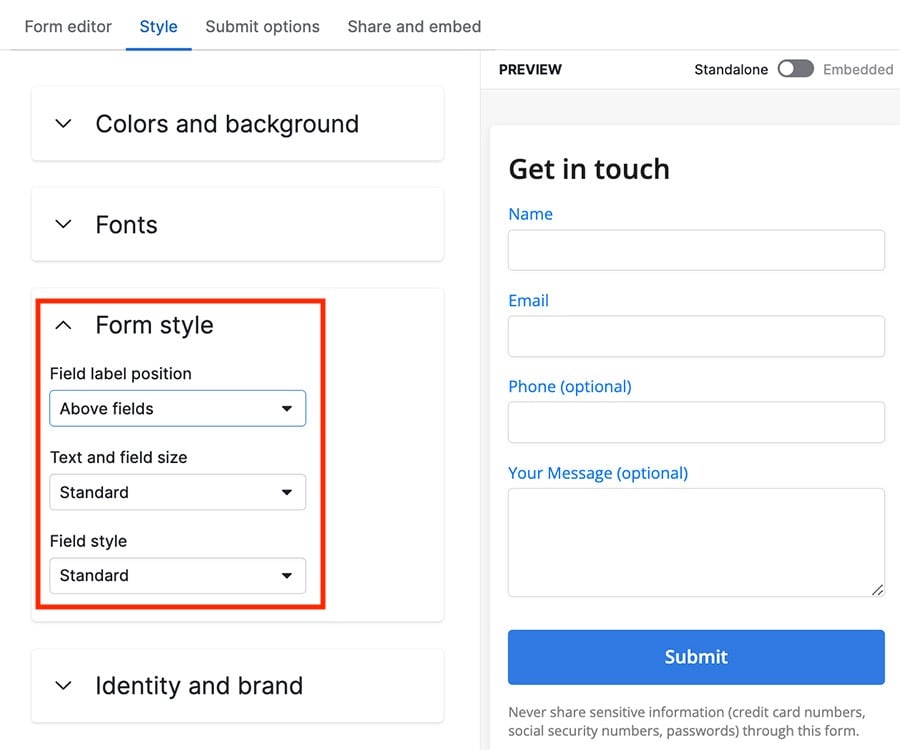
Űrlap stílus
Az űrlap stílusát is kiválaszthatja, amely magában foglalja a webes űrlap beviteli mezőinek méretét, alakját és pozícióját:
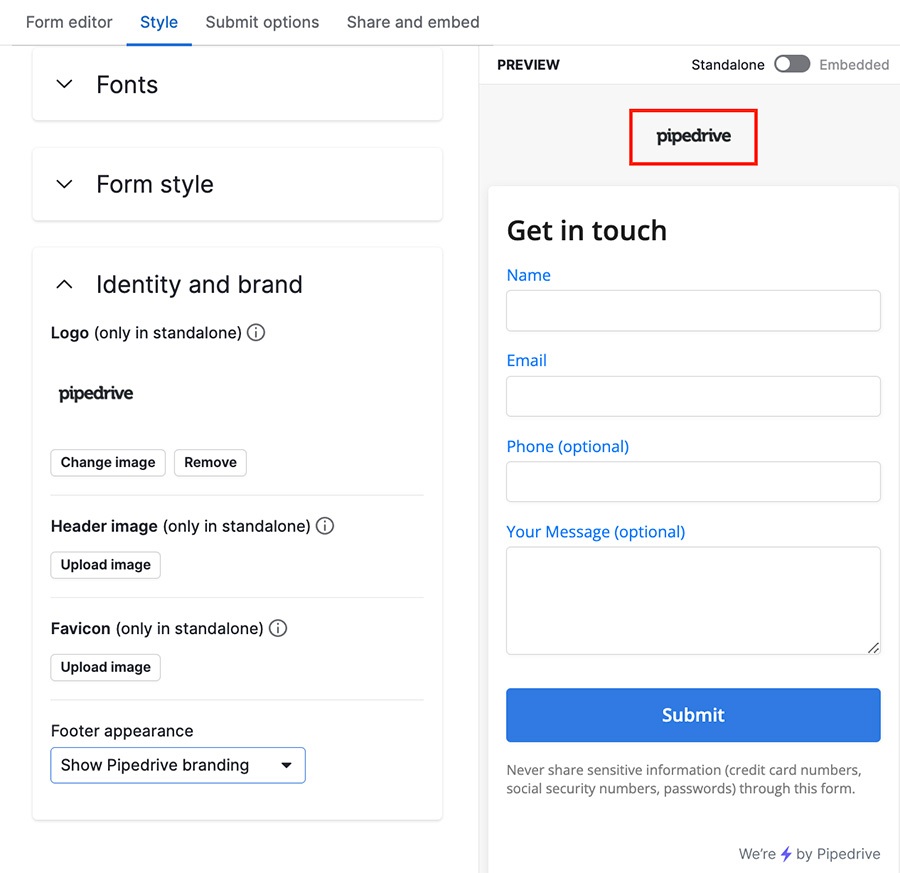
Identitás és márka
Végül képeket adhat hozzá a webes űrlapjához, és be- vagy kikapcsolhatja a Pipedrive márkázást.
Beküldési lehetőségek
Ezután ki fogja választani, hogyan szeretné, hogy a webformájának felhasználói által beküldött adatok bekerüljenek a Pipedrive fiókjába.
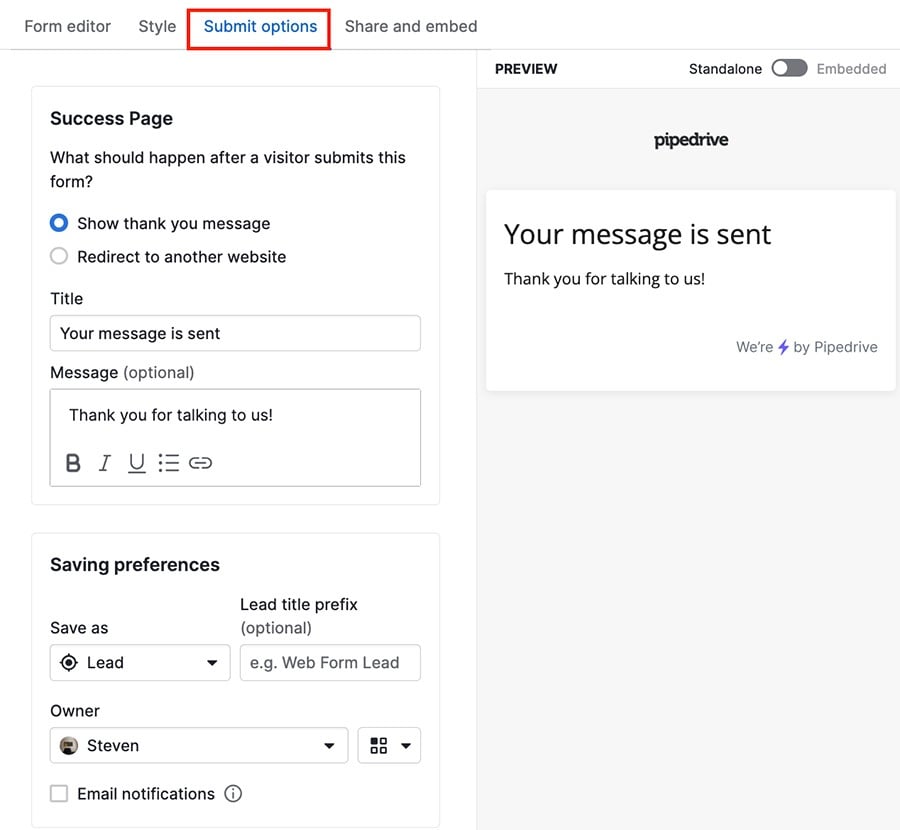
Választhatja meg, hogyan mentődnek az adatok a fiókjába, a beküldés után küldött köszönőüzenetet, és hogy szeretné-e átirányítani őket egy másik weboldalra.
Megosztás és beágyazás
Két lehetőséged van a webes űrlap linkjének megosztására: Linkként megosztás vagy Űrlap beágyazása a weboldaladra.
Kattints a “Másolás a vágólapra” gombra bármelyik szekció alatt, hogy megkapd a webes űrlap linkjét.
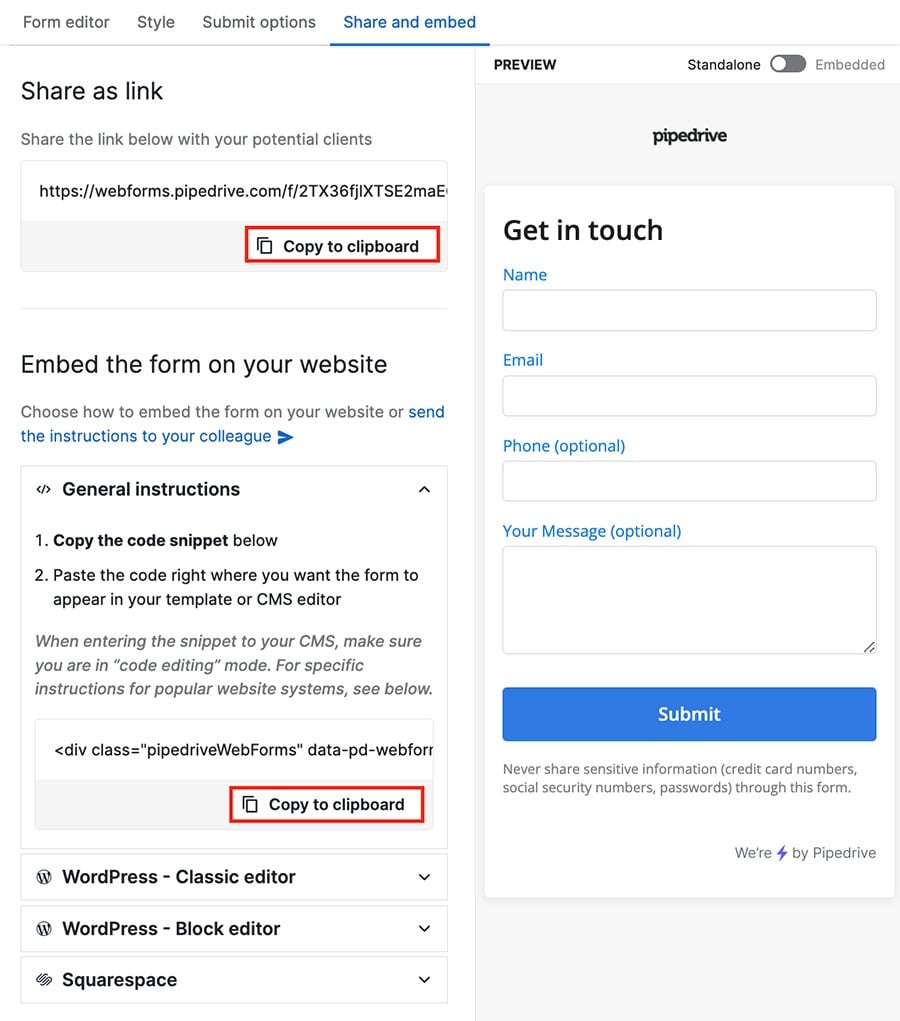
A Linkként megosztás URL-t közvetlenül elküldheted az ügyfeleidnek, hogy ők be tudják nyújtani, vagy kövesd a lépéseket a választott weboldalad alatt, és illeszd be az URL-t a weboldaladba.
Hozzájárulási mezők webes űrlapokhoz
A Pipedrive-nak nincs alapértelmezett hozzájárulási mezője a webes űrlapokhoz, de van egy megoldás, amellyel létrehozhat egy jelölőnégyzetet, ahol a kapcsolatai megjelölhetik a hozzájárulásukat.
- Hozzon létre egy egyetlen opciós egyedi mezőt, a Igen és Nem opciókkal
- Válassza ki ezt a mezőt a beviteli mező számára az űrlap elküldési blokkban
- Jelölje be a „Kötelező” négyzetet
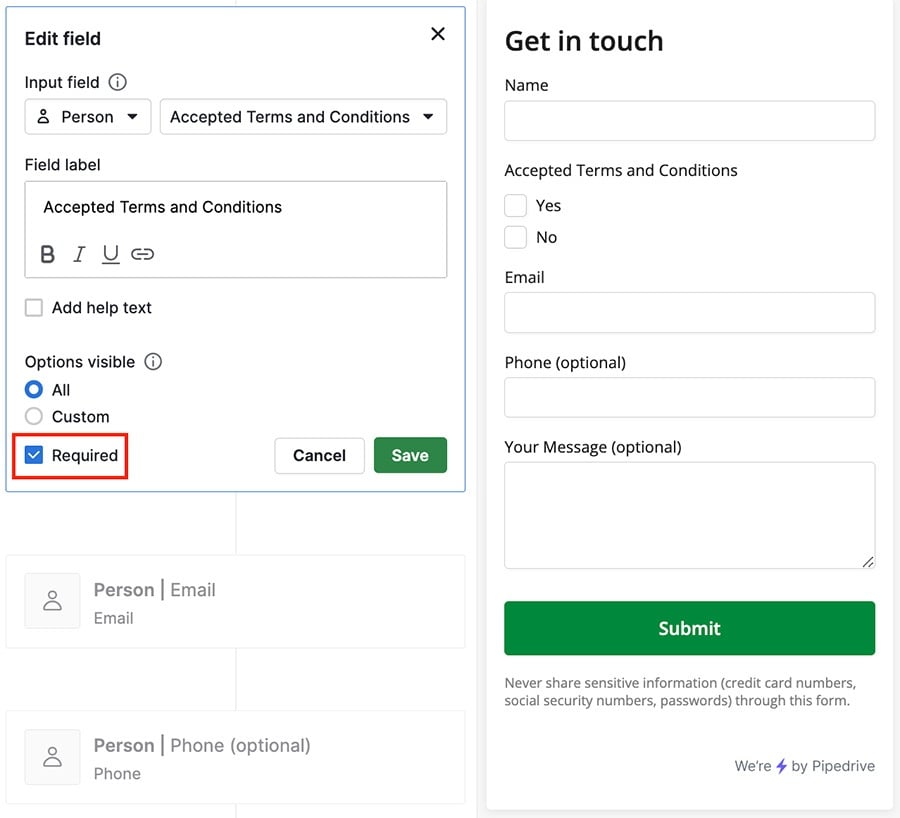
Most egy ügyfél nem tudja benyújtani a webes űrlap válaszait anélkül, hogy kitöltené ezt a blokkot.
Hasznos volt ez a cikk?
Igen
Nem