Zendesk Sell migration to Pipedrive
If you’re migrating from Zendesk Sell to Pipedrive, you can keep your leads, contacts, deals and activities with you.
This guide explains how to prepare your data, export it from Zendesk Sell and import it into Pipedrive.
Key differences in terminology
Before importing, it’s crucial to understand the terminology between Zendesk Sell and Pipedrive. This will help during the mapping process.
Zendesk Sell |
Pipedrive |
What it represents |
|---|---|---|
Leads | Leads | Early-stage prospects that can be converted into deals |
Contacts | Persons | Individual people you interact with |
Companies | Organizations | Businesses linked to persons and deals |
Deals | Deals | Sales opportunities that move through pipeline stages |
Tasks | Activities | Calls, meetings, and follow-ups |
Notes | Notes | Freeform text linked to deals, persons, or organizations |
Tags | Labels | Categorization tags, available for each entity |
Smart Lists | Filters | Saved views for reporting or targeting |
Custom fields | Custom fields | User-defined fields for extra information |
We highly recommend reviewing your Zendesk Sell data before migrating. Make sure to remove duplicates and create any custom fields in Pipedrive first, so they’re available during import.
Additionally, we suggest that you get familiar with Pipedrive structure and how is data organized. You can find more information in this guide.
Zendesk Sell entities
New to Zendesk Sell? Here’s a quick explanation of what its terms represent.
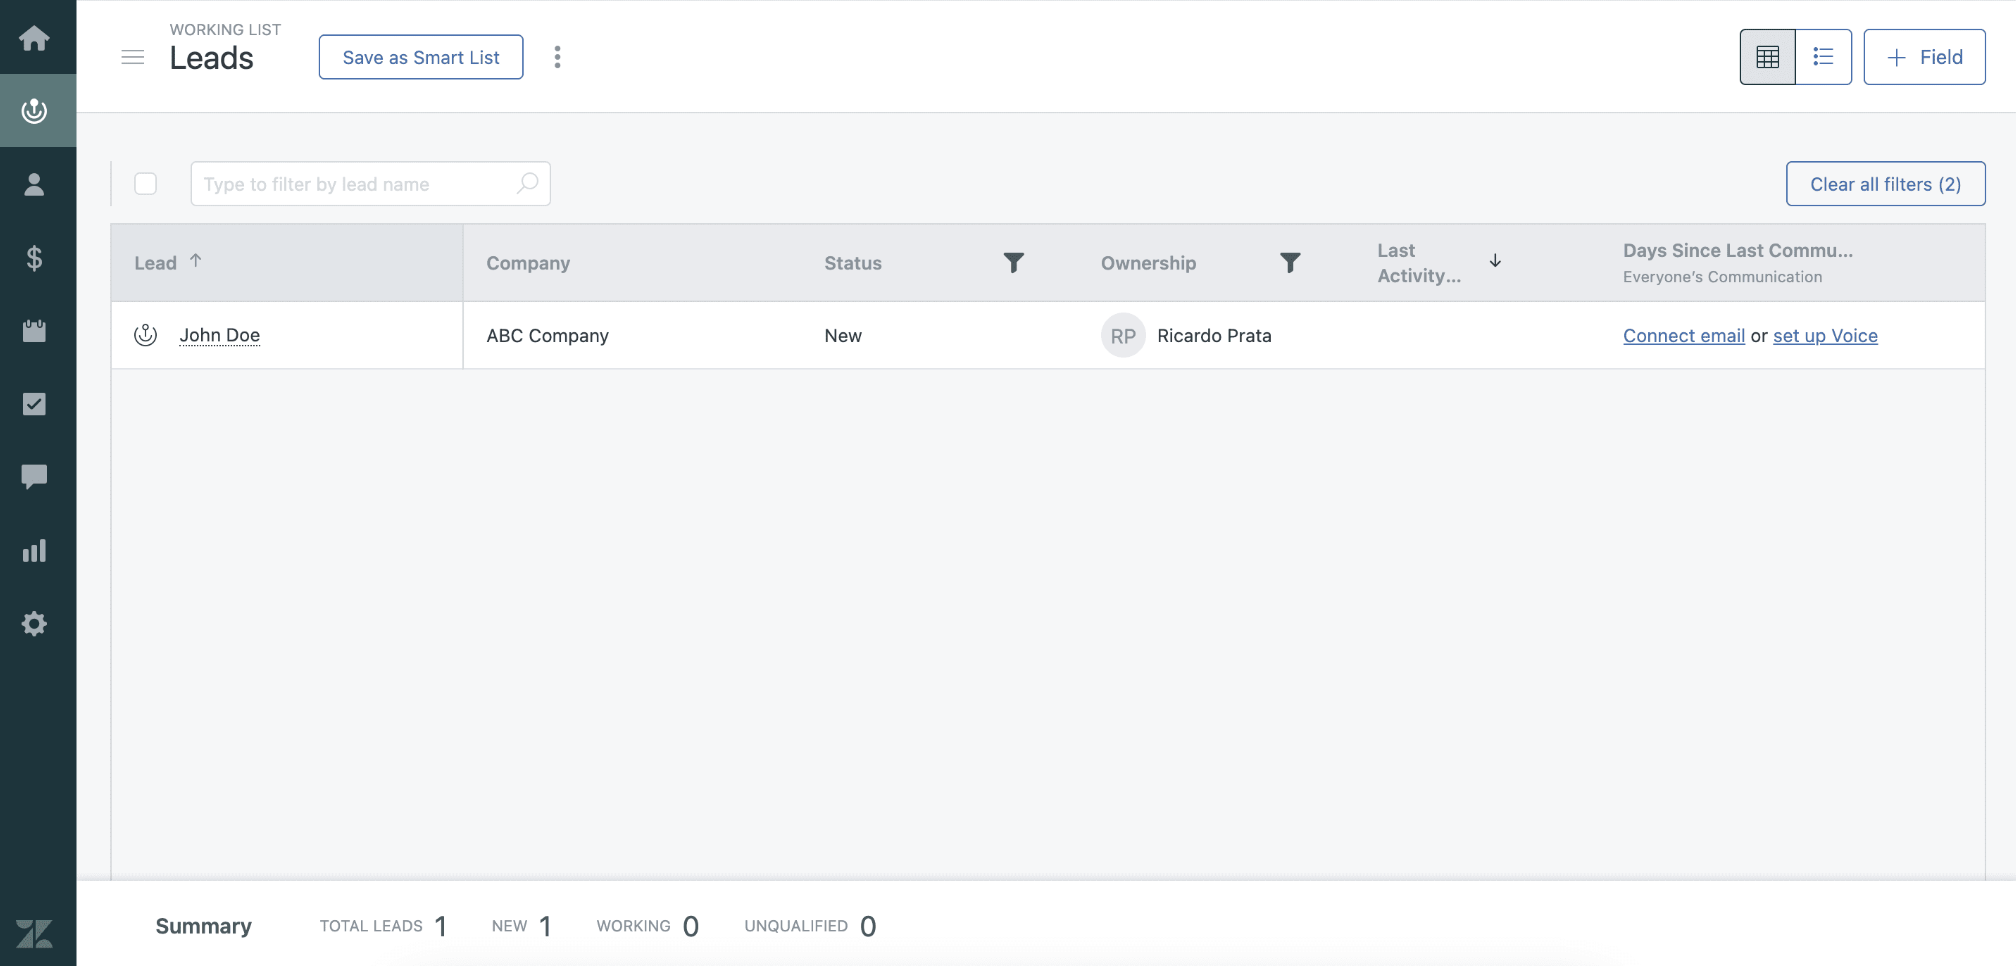
Leads
- Early-stage potential customers who haven’t been qualified yet
- Typically contain basic contact info and initial notes
- Can be converted into Contacts and Deals when qualified
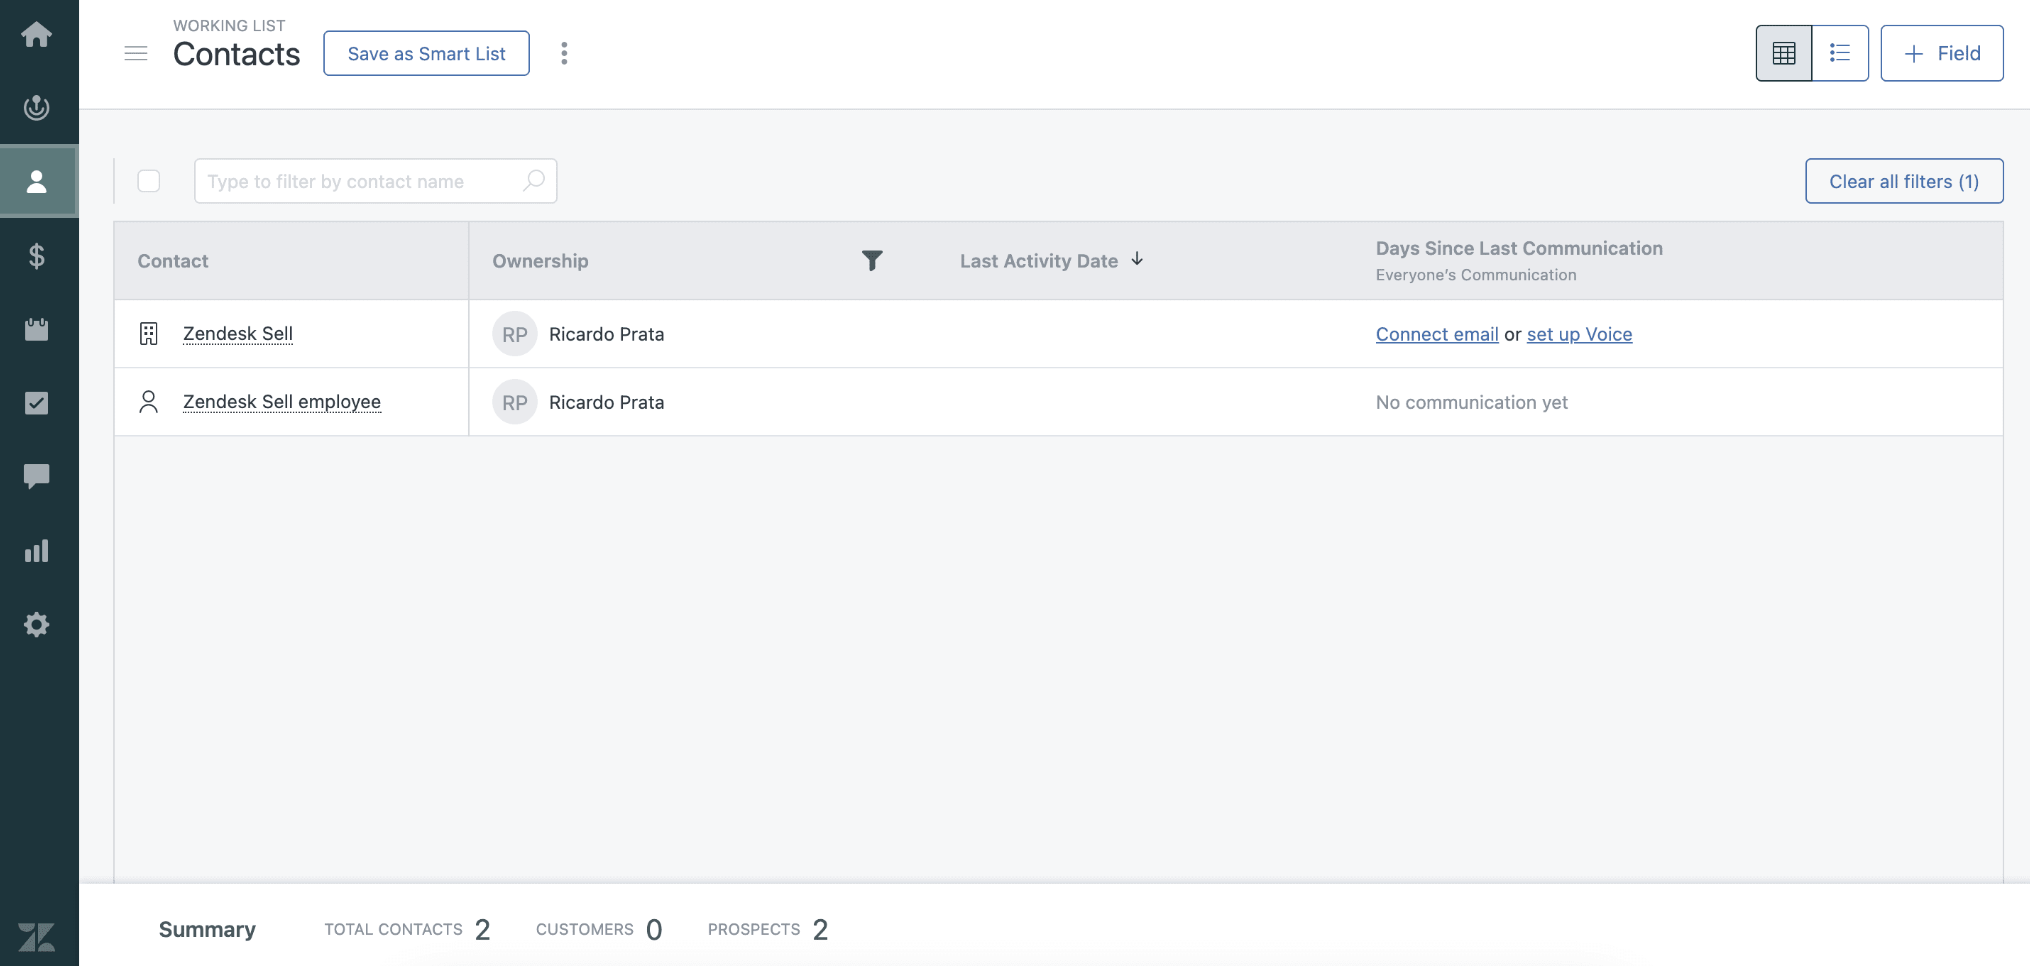
Contacts
- Individuals you communicate with (e.g., a decision-maker or point of contact at a company)
- Includes personal details like name, email, phone, and interaction history
- Can be associated with a Company and multiple Deals
Companies
- Businesses or organizations tied to one or more Contacts
- Serves as the ”parent” record for contacts and deals
- Useful for B2B sales where multiple people are tied to the same company
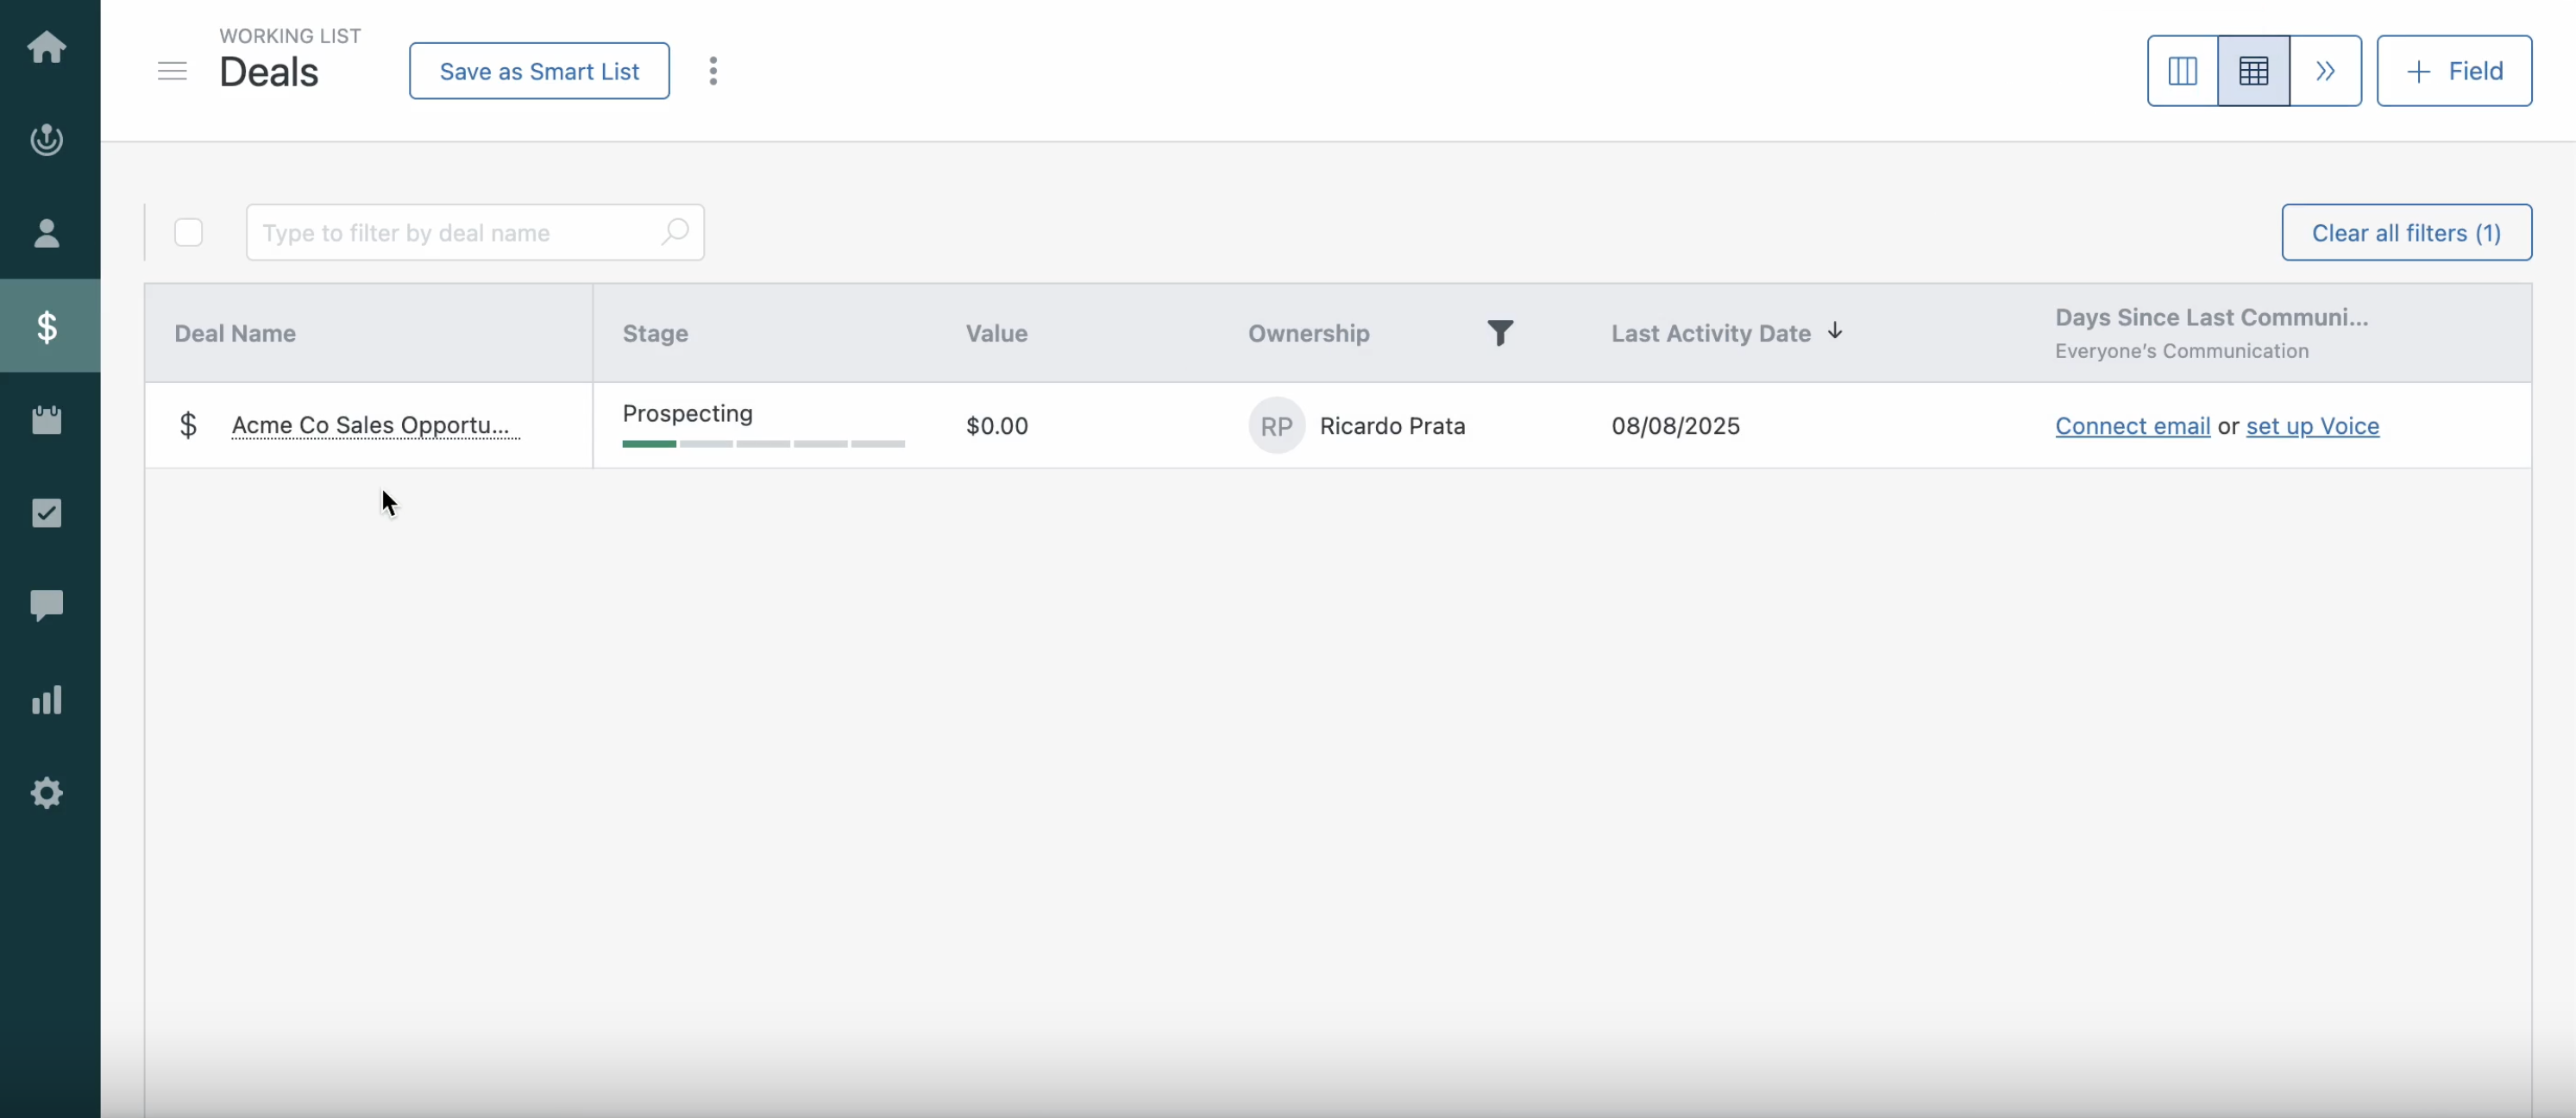
Deals
- Sales opportunities tracked through various stages (e.g., Prospecting > Closed)
- Linked to Contacts and/or Companies
- Can have values, expected close dates, pipelines, and custom fields
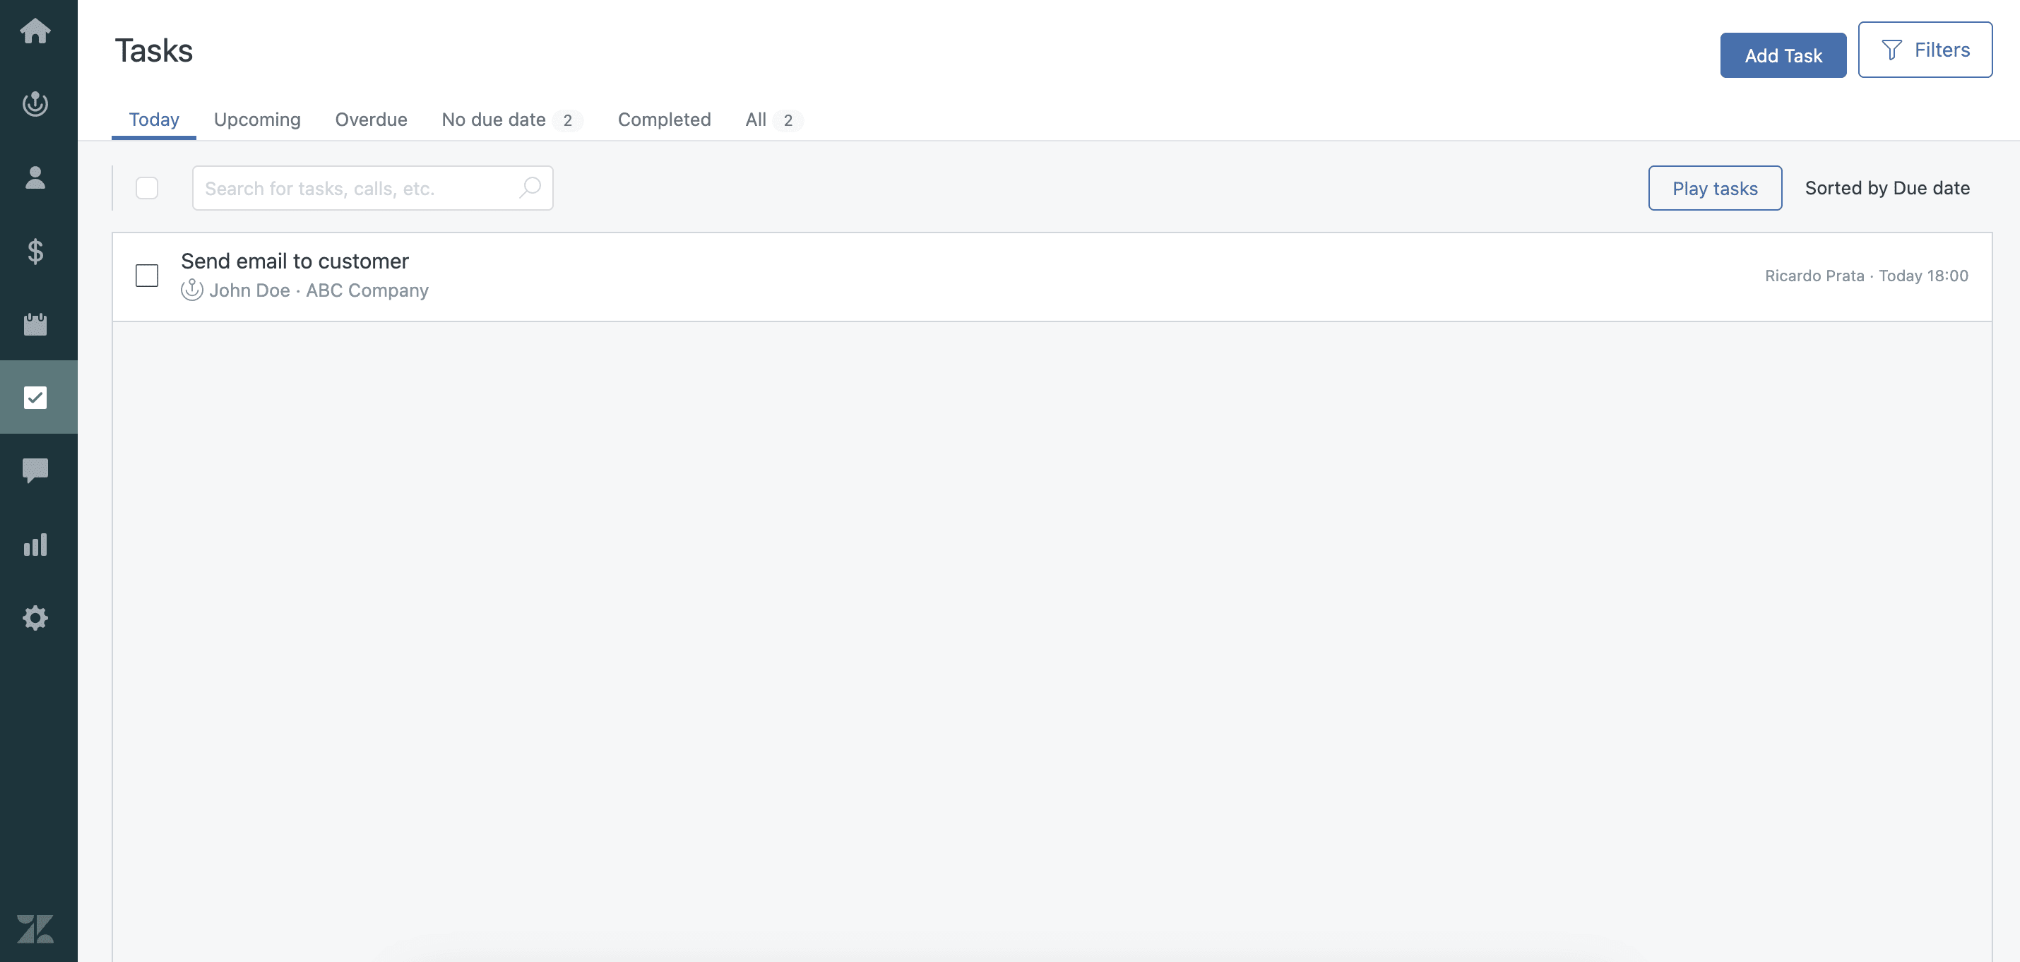
Tasks
- Reminders to take action (e.g., follow-ups, meetings, calls)
- Can be linked to Leads, Contacts, Companies or Deals
- Often used to manage to-dos or next steps in the sales process
- Free-form text added to Leads, Contacts, Companies or Deals
- Used to log insights, meeting summaries, or general updates.
Emails and calls
- Logged communication with Contacts
- Can be automatically synced or manually added
- Provides a timeline of interactions for each record
Custom fields
- User-defined fields added to standard entities to store extra info.
- Can be of various types: text, dropdown, number, date, etc.
Tags
- Keywords or labels used to group or categorize records
- Useful for segmentation and filtering (e.g., “VIP,” “Newsletter,” “Lost Opportunity”)
Smart lists
- Saved filtered views of records based on criteria (e.g., “Leads created last week”).
- Used for reporting, targeting, or exporting specific segments.
Pipedrive fields
Pipedrive is a sales-focused CRM designed to help you track leads, deals and contact relationships across your sales pipeline.
Key data points include:
- People: Contact-level Individual
- Organizations: These are contact-level companies
- Deals: Sales opportunities moving through your pipeline
- Activities: Tasks, meetings, calls and to-dos related to deals or contacts
- Notes: Freeform comments or logs attached to any item (people, organizations, deals or leads)
- Users: Your internal sales team members
- Labels: Color-coded tags for visual categorization (they exist independently for every main data entity in Pipedrive: people, organizations, deals, or leads)
- Custom Fields: Fully customizable fields that you can create for all the main data entities outside of the default Pipedrive data structure
Learn more about custom fields in this article and about Pipedrive terminology in our glossary.
Best practices for mapping your Zendesk data with Pipedrive
To make sure your Zendesk data imports correctly into Pipedrive, follow this data mapping:
- Leads → Leads inbox
Ideal for prospects not yet qualified as deals
- Contacts + Companies → Persons + Organizations
When importing, connect persons to organizations so relationships are preserved
- Deals → Deals
Adjust your pipeline in Pipedrive to match the stages you had in Zendesk Sell
- Tasks → Activities
Match your Zendesk Task types (like “Call” or “Follow-up”) to the equivalent Pipedrive activity types
- Tags → Labels
Convert Zendesk Sell tags into Pipedrive labels for deals, contacts and organization
- Custom Fields → Custom Fields
Create these fields manually in Pipedrive before starting the import
Export your Zendesk Sell data
Start by exporting your Zendesk Sell data in CSV format so it’s ready for import into Pipedrive.
To export:
- Go to your Zendesk Sell account
- Navigate to each data area (leads, contacts, companies, deals, tasks)
- Use the Smart List feature to create custom views with the fields you need
- Click the Export button (found in the upper-right corner)
- Choose CSV format and download
Visit Zendesk’s detailed export guide here.
Repeat the process for the entities you need to export into Pipedrive.
Prepare Pipedrive for importing
Before importing, set up your Pipedrive workspace for a smooth transition.
Create custom fields
- Go to Company settings > Data fields
- Add fields that match your Zendesk Sell custom data and make sure the field types (text, dropdown, date, etc.) are correct
- Use the same field names as in Zendesk so Pipedrive can automatically map them during import
Customize pipelines (for deals)
- Open the pipeline view
- Click “Add new pipeline“ or edit an existing one
- Add stages that replicate your Zendesk deal stages (e.g. “Qualification”, “Demo Scheduled”)
Add missing activity types
- Go to Company settings > Activities and scroll down to “Activity types“
- Add any missing activity types from Zendesk (e.g. “Follow-Up”, “Intro Call”)
Import your data
With your data ready and your workspace set up, you can start importing.
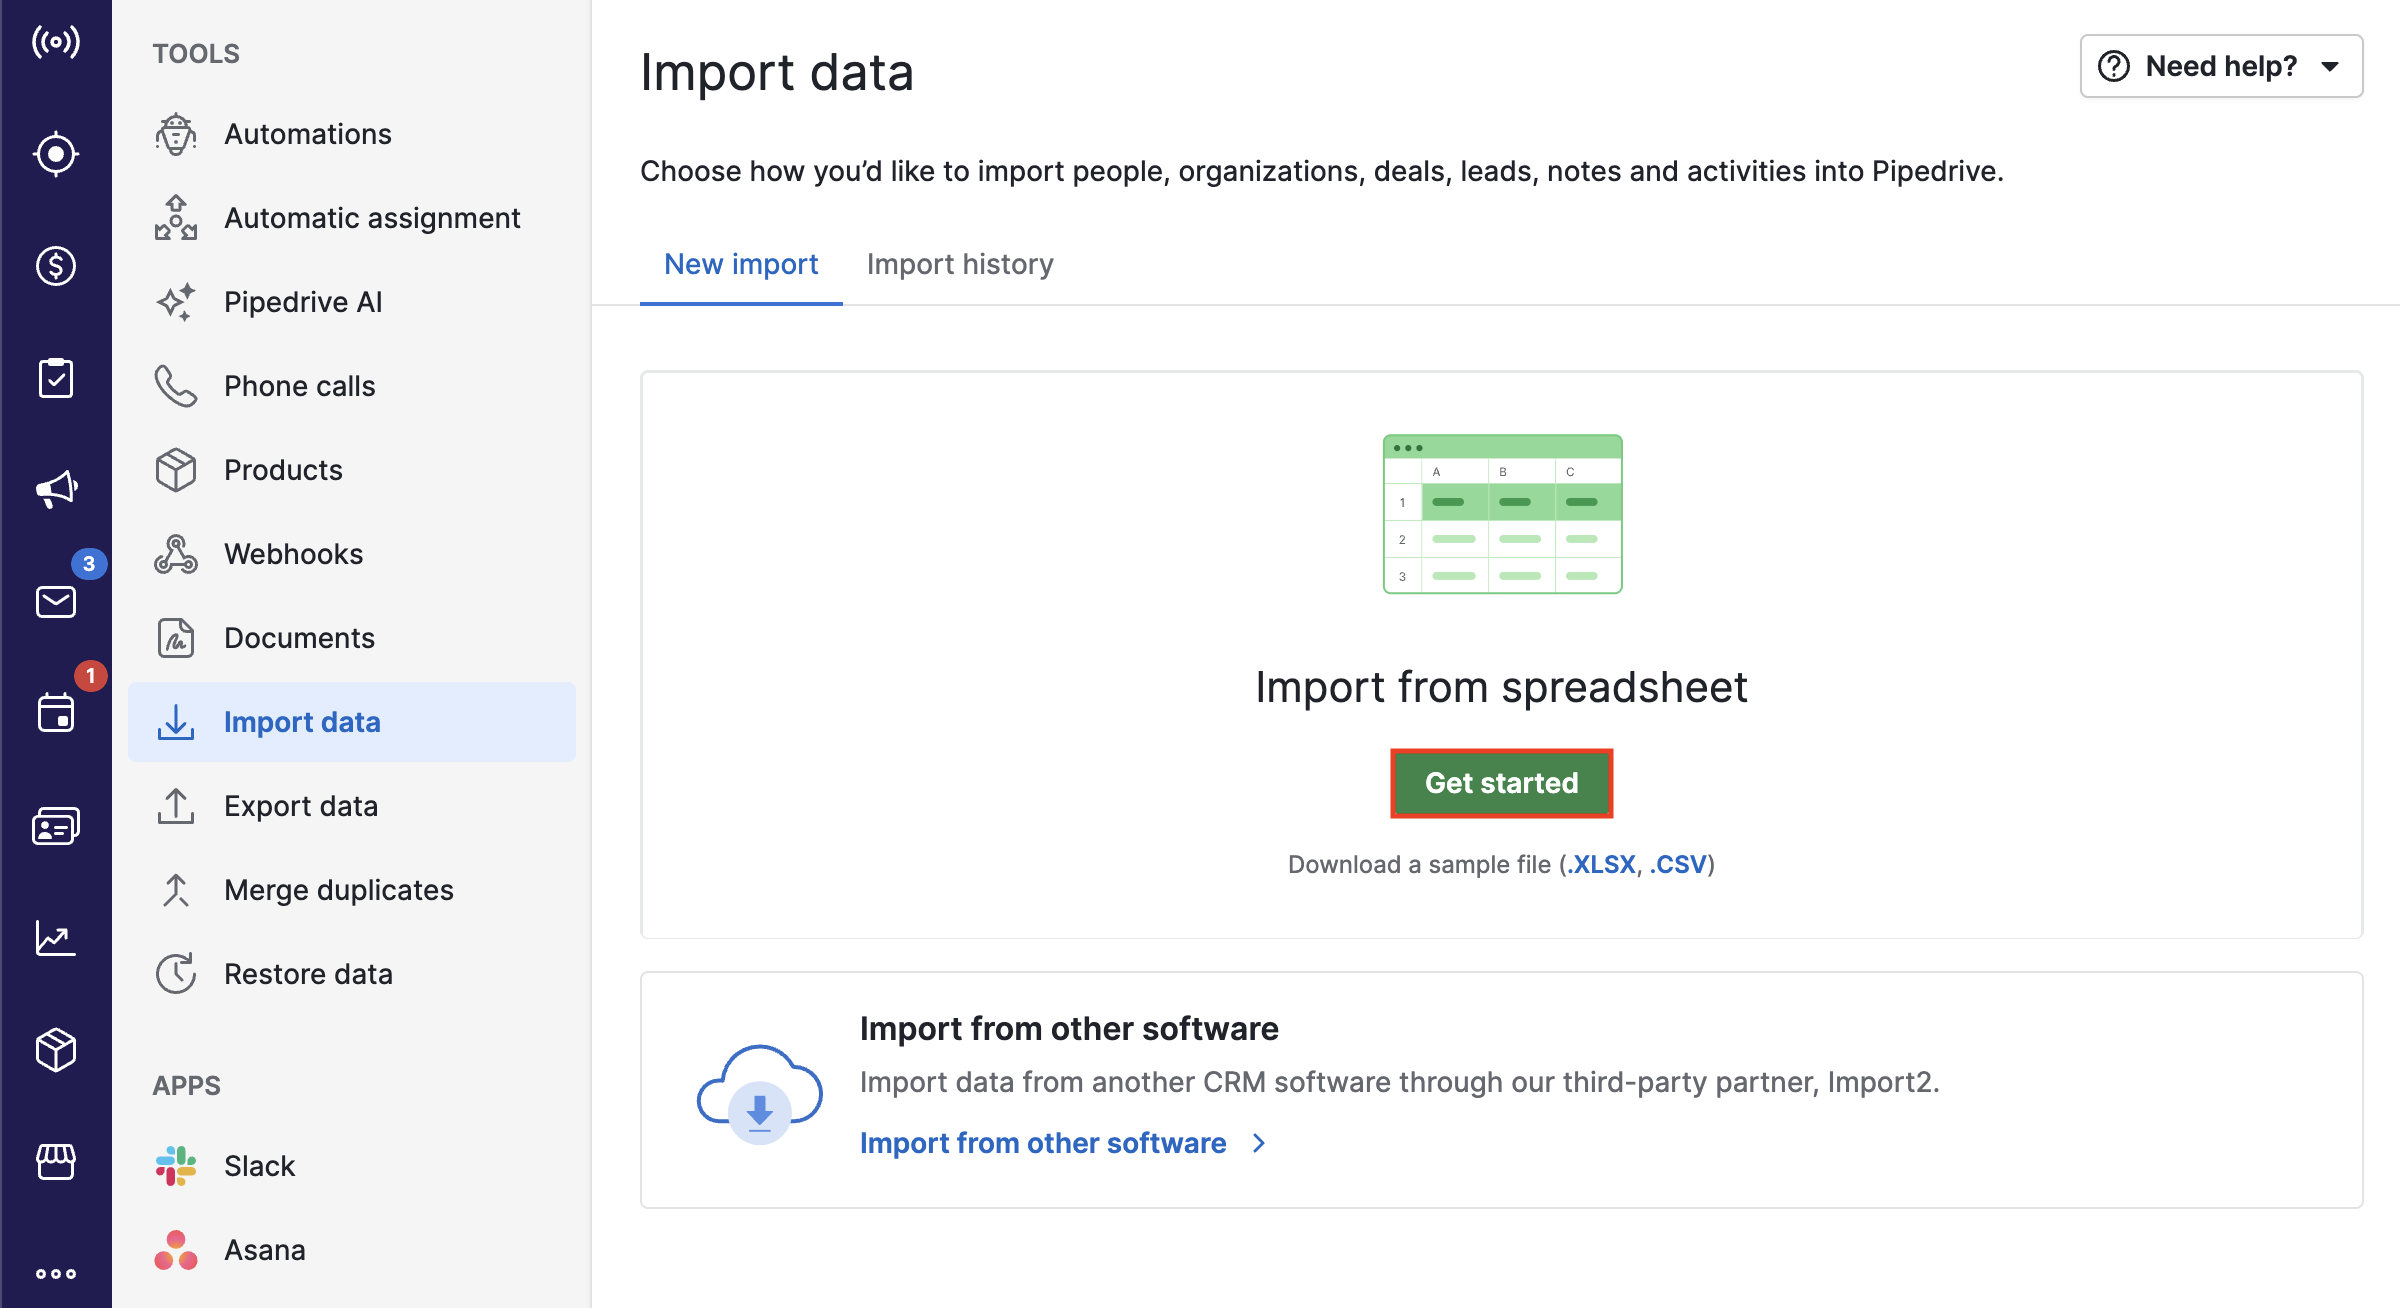
- Navigate to Tools and apps > Import data
- Click ”Get started”
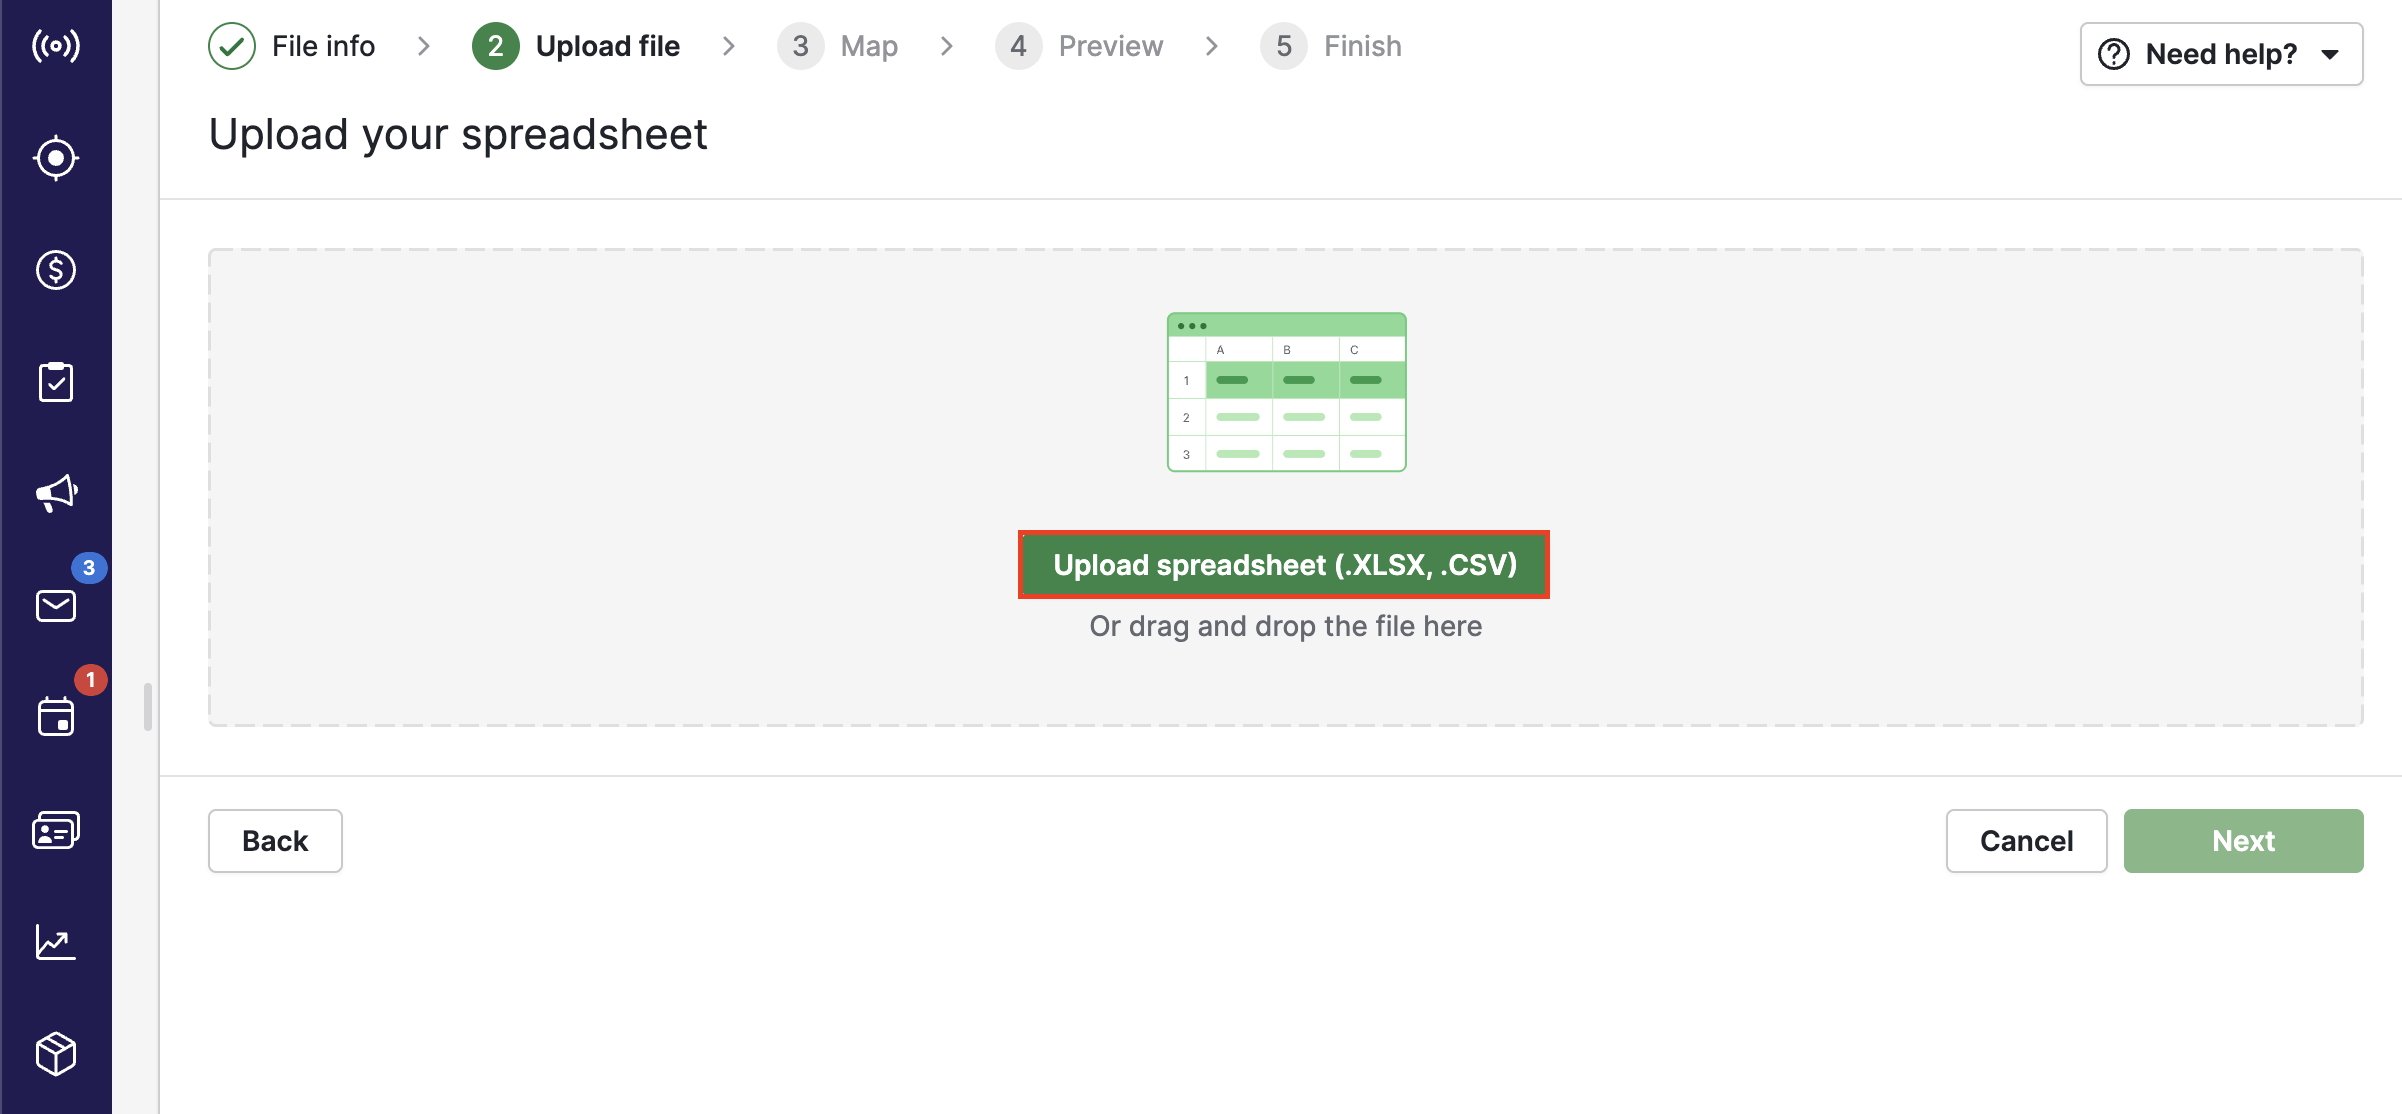
- Upload your CSV file (start with organizations and persons)
-
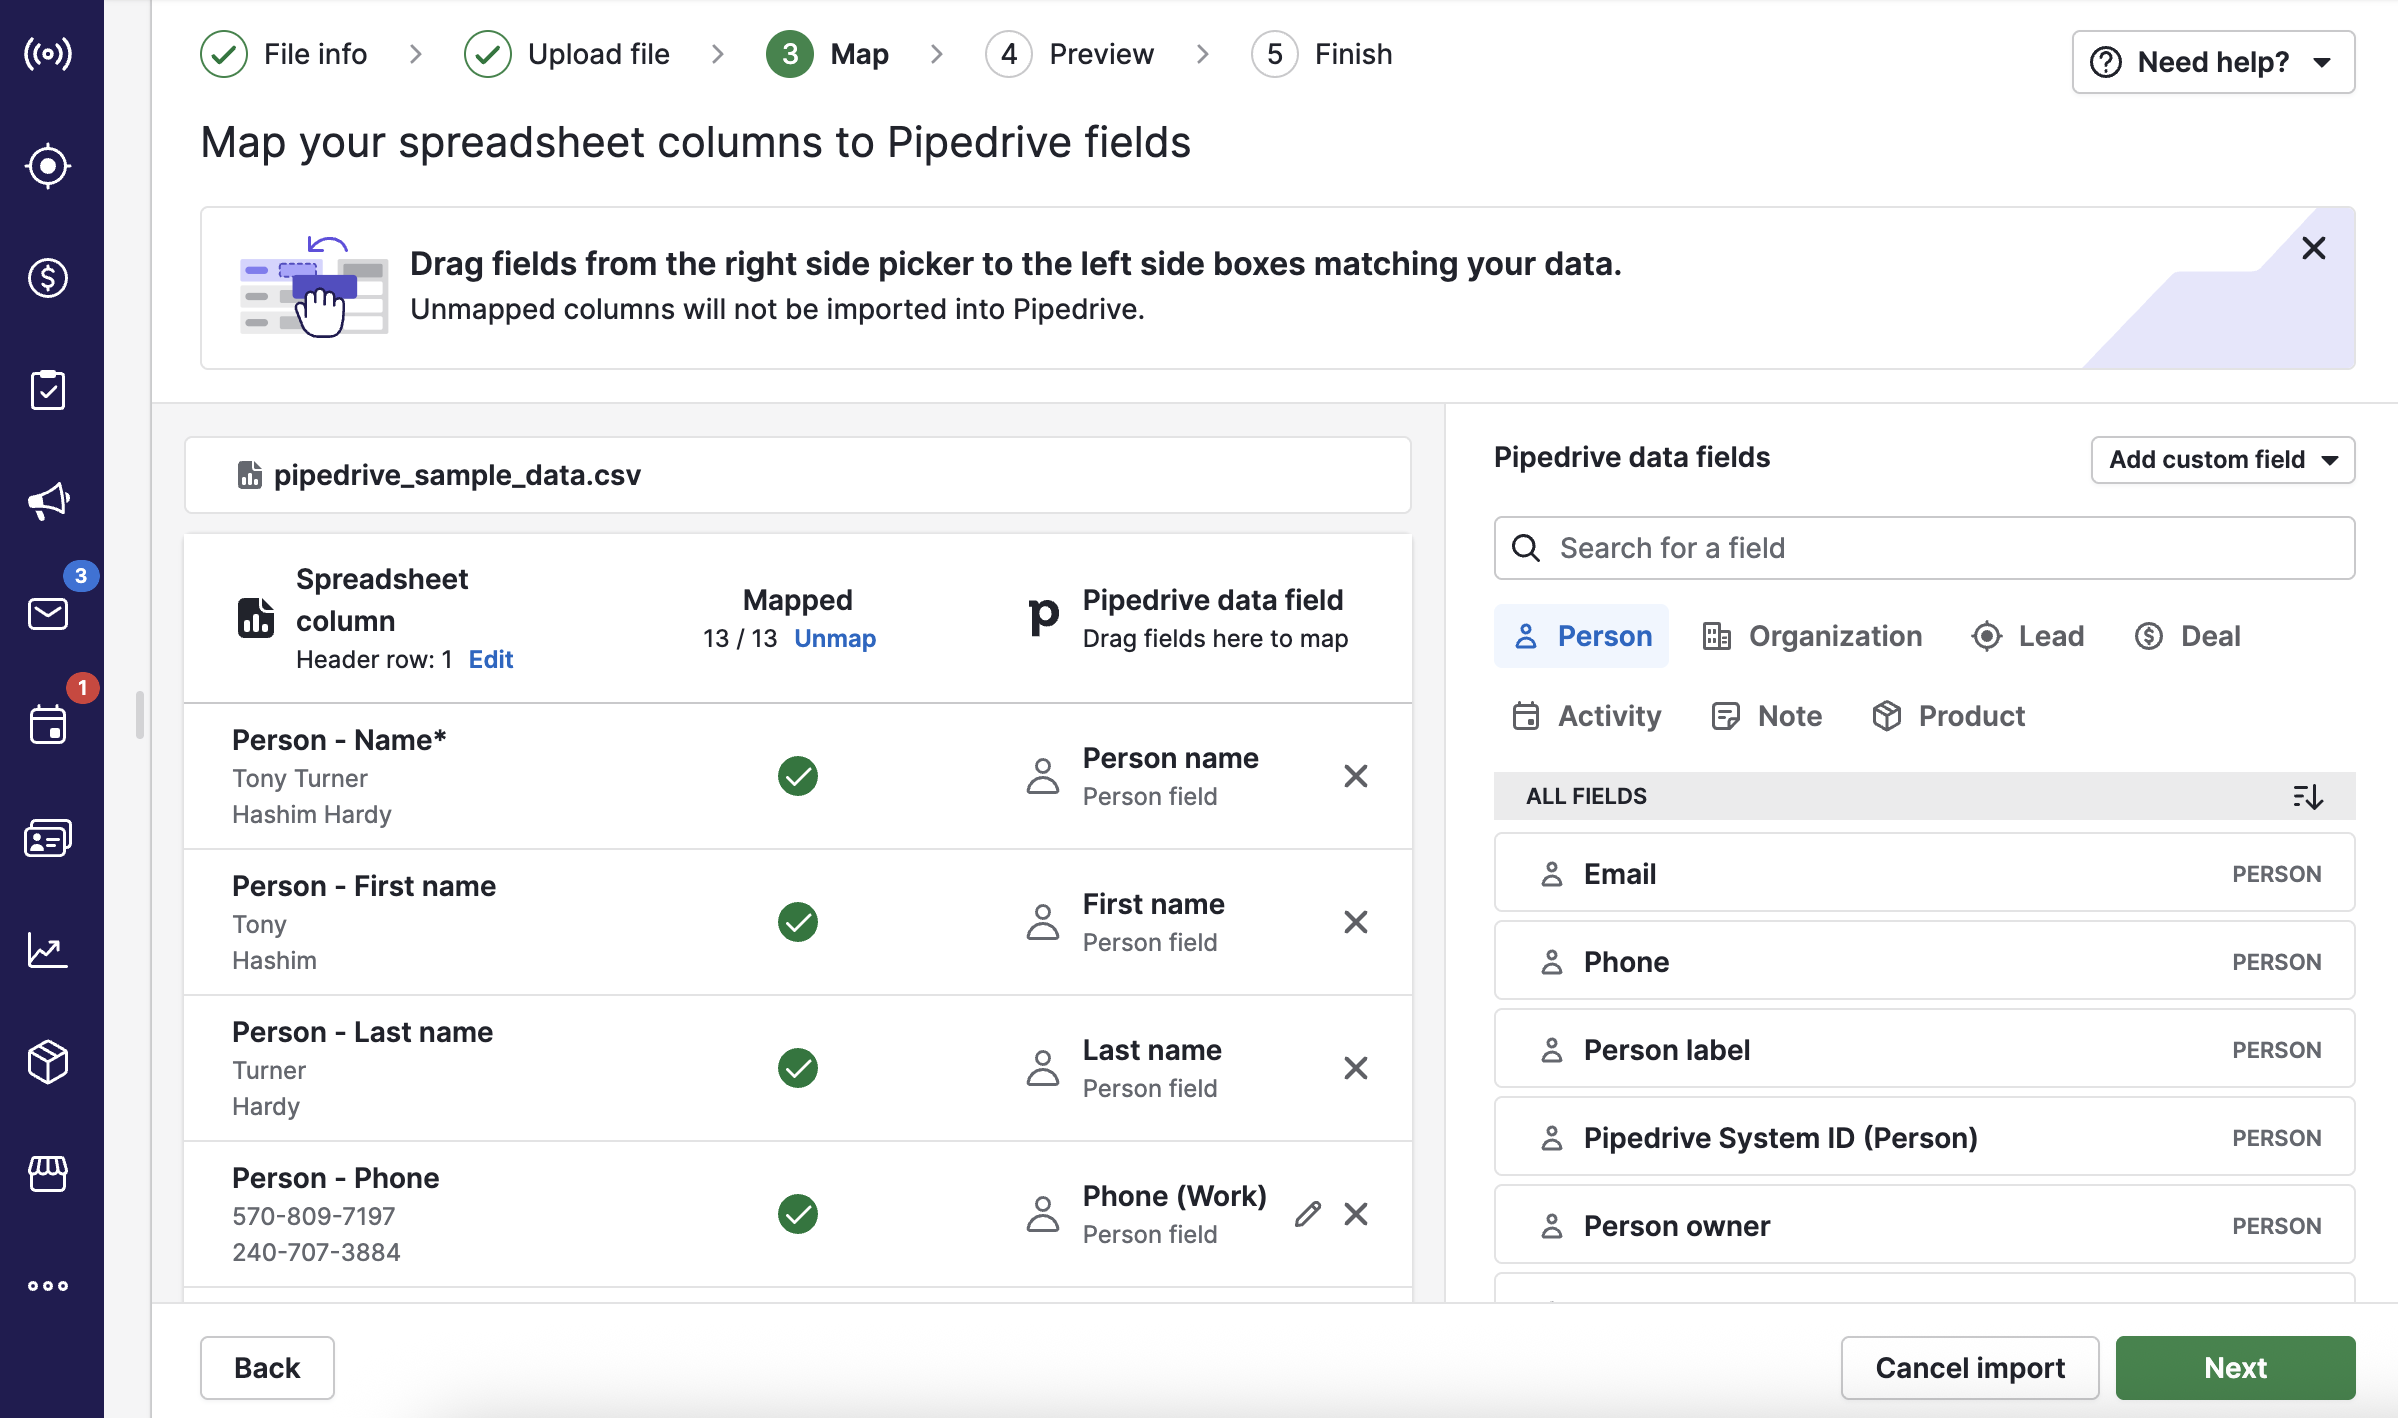
Match each CSV column to a Pipedrive field (system or custom). This is called mapping.
-
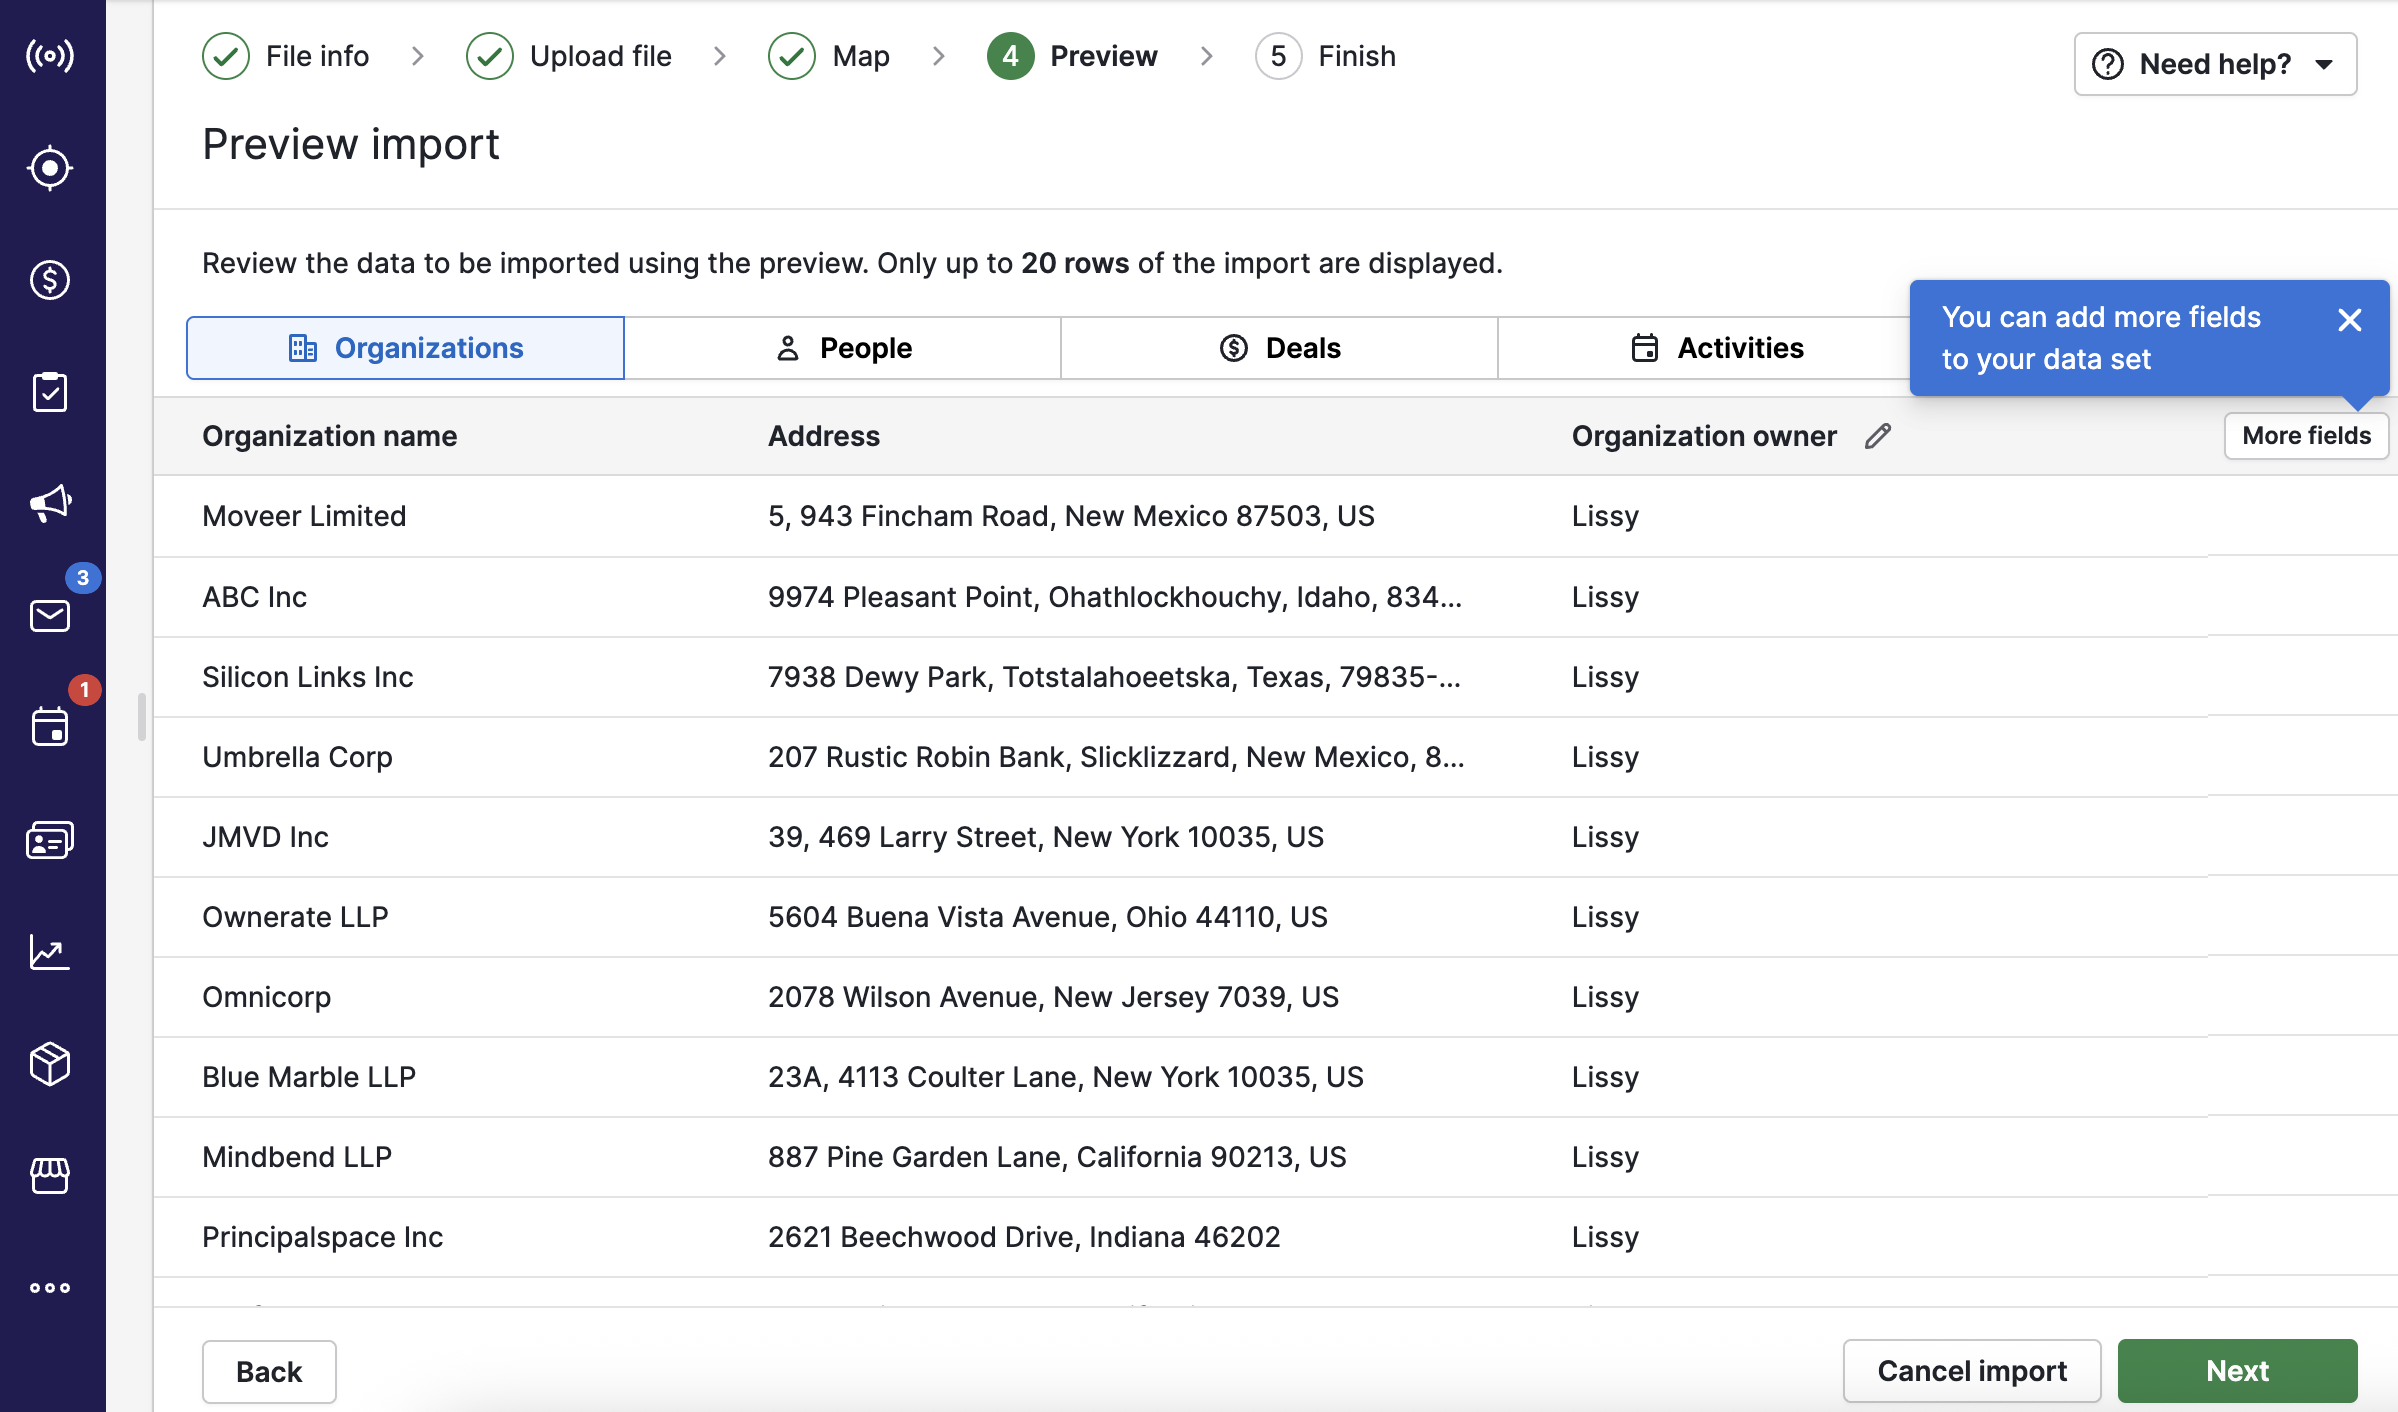
Use the preview to check formatting
-
Use a unique field (like email) to link records between entities (e.g. match persons to organizations)
We recommend you to import your data in this order:
- Organizations (companies)
- Persons (contacts)
- Deals
- Leads
- Activities (tasks)
- Notes (optional)
After each import, you’ll see the summary and the imported records.
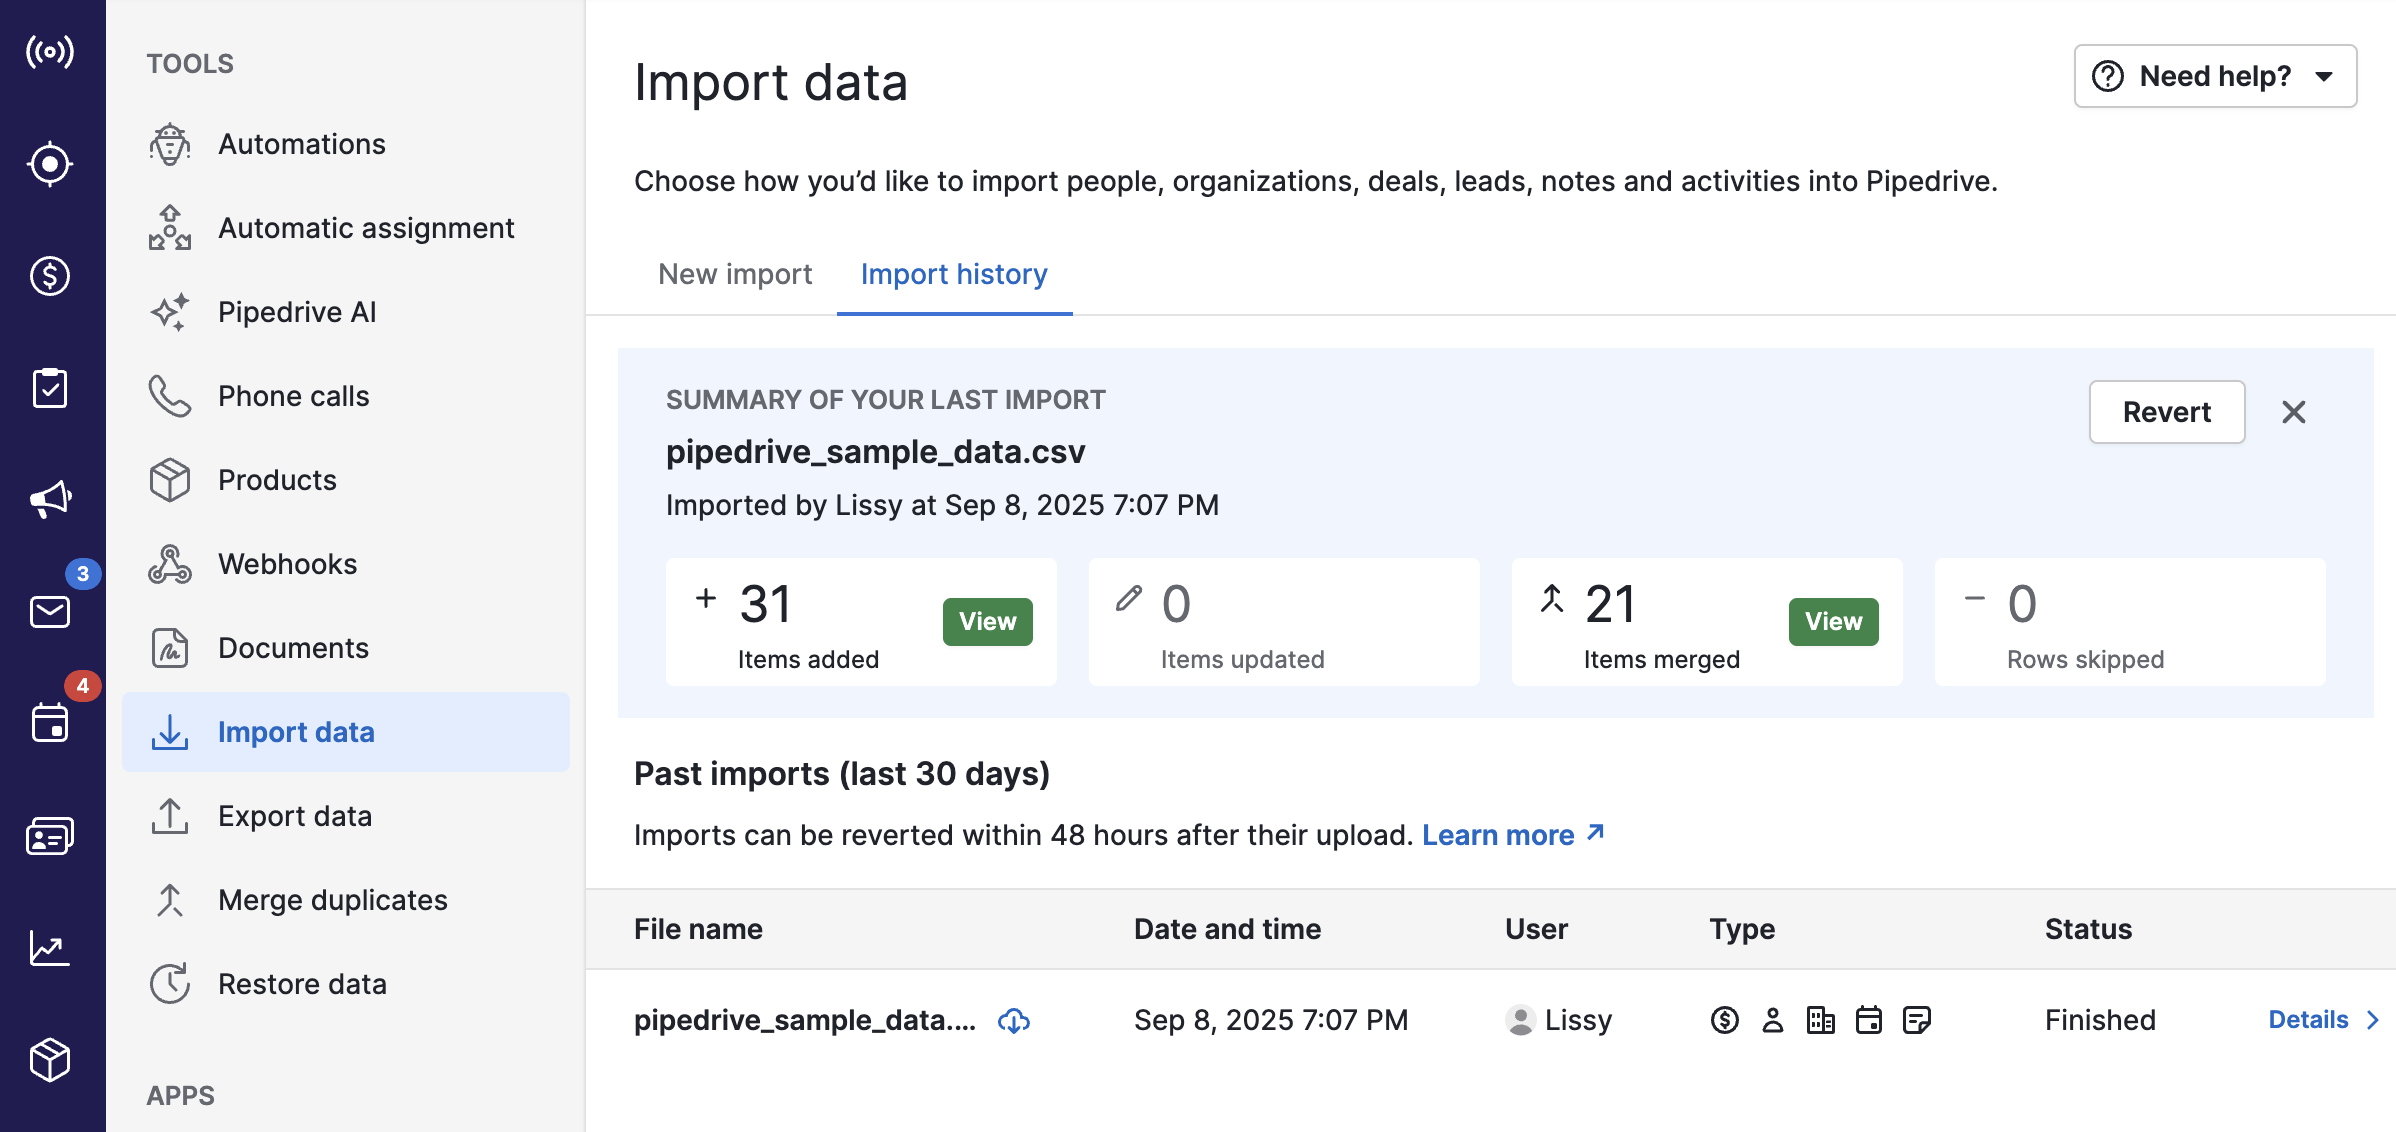
You can open the respective module in Pipedrive to spot-check records.
Use filters to confirm that labels, custom fields and links were mapped correctly.
After the import
- Check your data with filters and spot-check records
- Automate follow-ups with our automations feature
- Save your exported Zendesk files in case you need to review them
- Explore integrations in the Pipedrive marketplace
Need help?
If you need assistance, reach out to our Support team or request help from our Technical Set Up Team for guided migration.
Was this article helpful?
Yes
No