Pipedrive MCP for ChatGPT
You can connect the Pipedrive MCP server to ChatGPT to allow your AI assistant to securely access and interact with your Pipedrive data.
Before you begin
Make sure that you have permission to install apps in your Pipedrive account and that developer mode is enabled in ChatGPT.
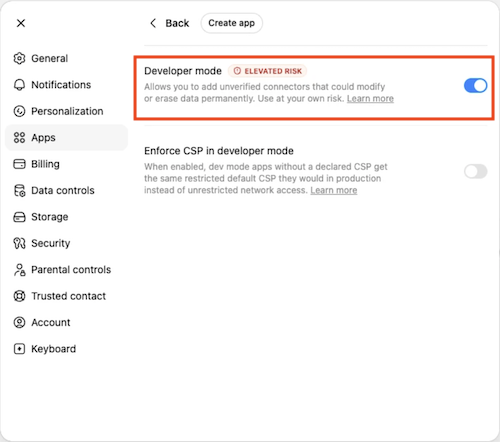
To enable developer mode in ChatGPT, open ”Settings”. Then, go to ”Apps” and select ”Advanced settings”.

Then, enable ”Developer Mode”.
Create the Pipedrive MCP app
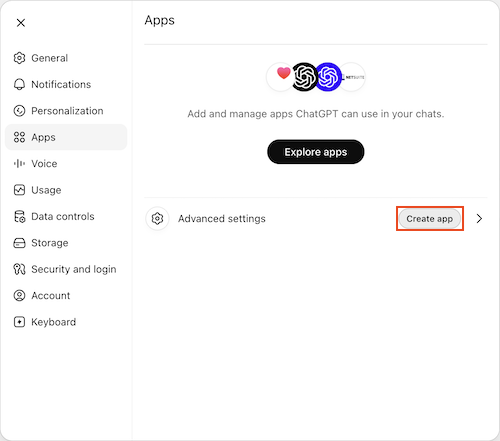
Once developer mode is enabled, in ChatGPT’s settings click ”Create app”.
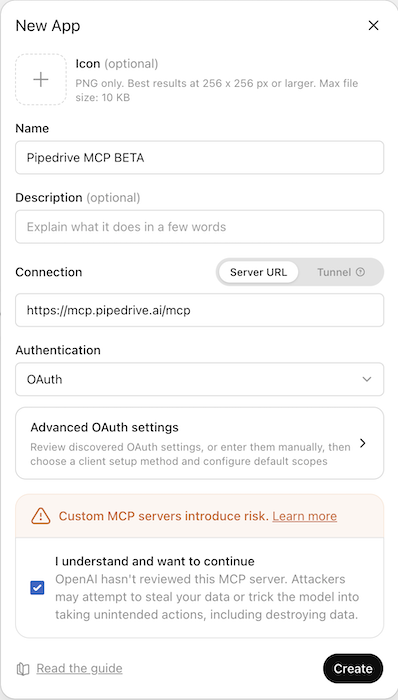
Enter Pipedrive MCP BETA as the app name and in the ”Connection” field enter https://mcp.pipedrive.ai/mcp. Then, click ”Create”.
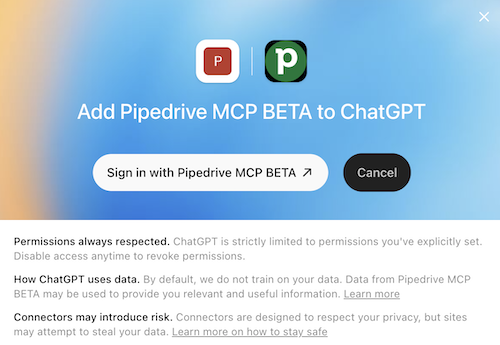
After creating the app, you’ll be redirected to Pipedrive to complete the installation.
Install the Pipedrive MCP app
Review the requested permissions in the Pipedrive pop-up. Click ”Allow and install” to complete the installation process.
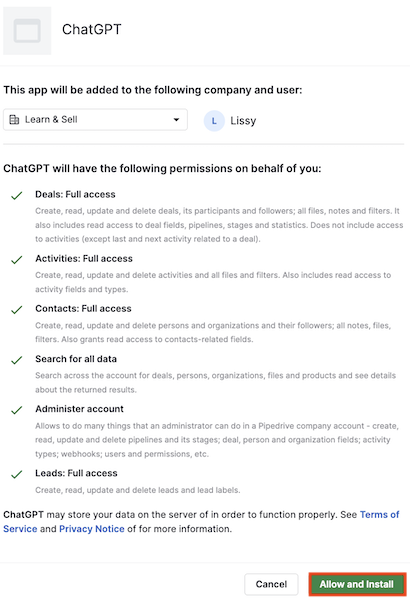
Once the installation is complete, ChatGPT will be authorized to access your Pipedrive account in accordance with your existing user permissions.
Use Pipedrive MCP in ChatGPT
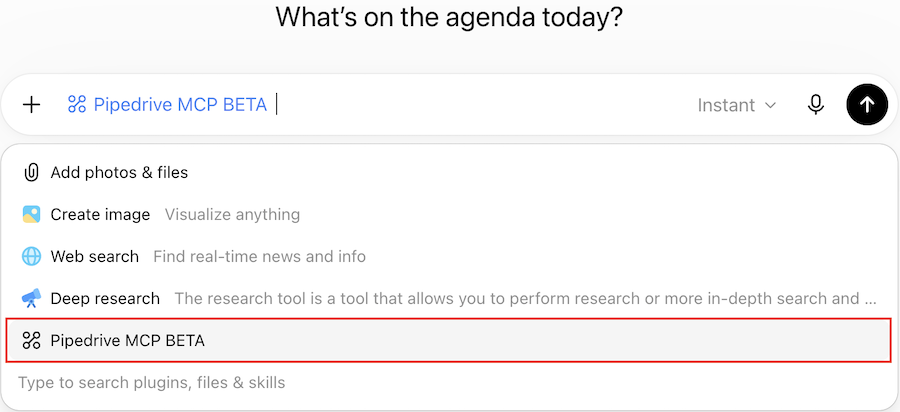
Open a new chat in ChatGPT.
Click ”Tools” or ”Apps” (depending on your ChatGPT version) and verify that ”Pipedrive MCP BETA” is enabled.
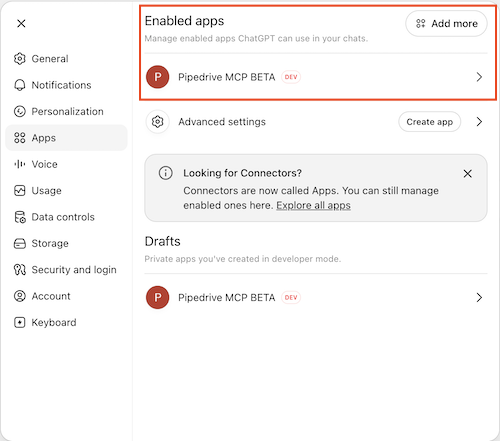
Before starting your conversation, verify that ”Pipedrive MCP BETA” is selected and active.
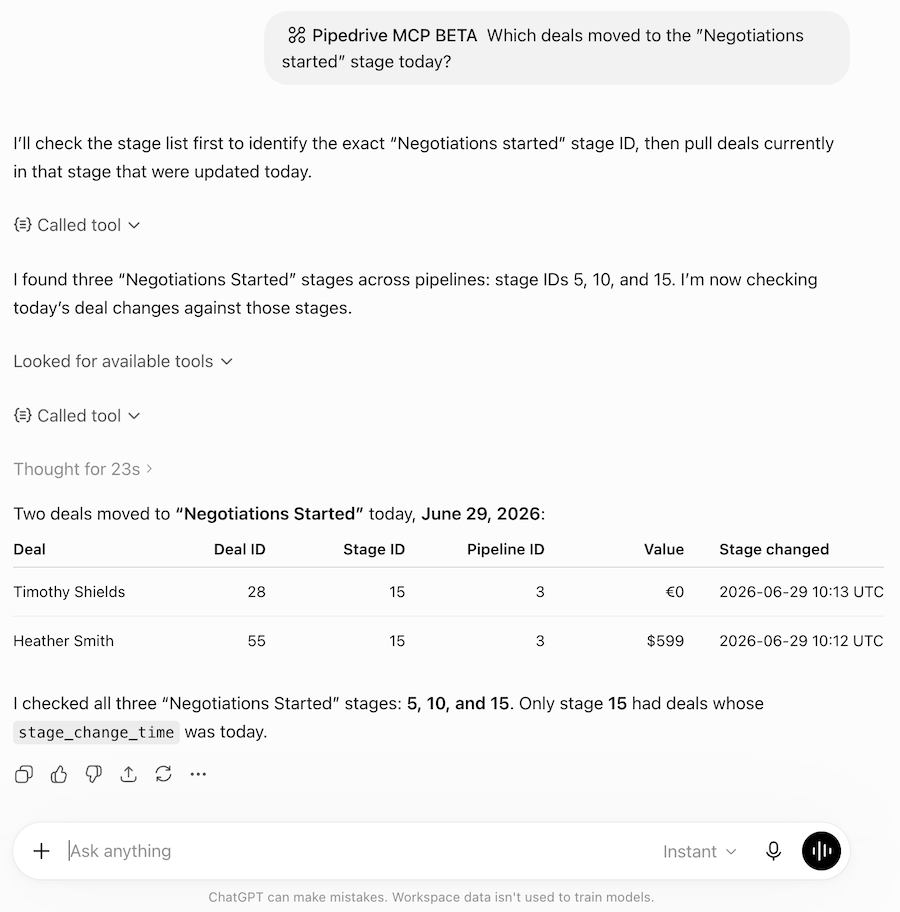
Your AI assistant can now access Pipedrive data and perform supported actions based on the permissions granted to your account.
Was this article helpful?
Yes
No