บทความนี้สร้างขึ้นโดยใช้ซอฟต์แวร์แปลภาษา
ป้ายกำกับลีด
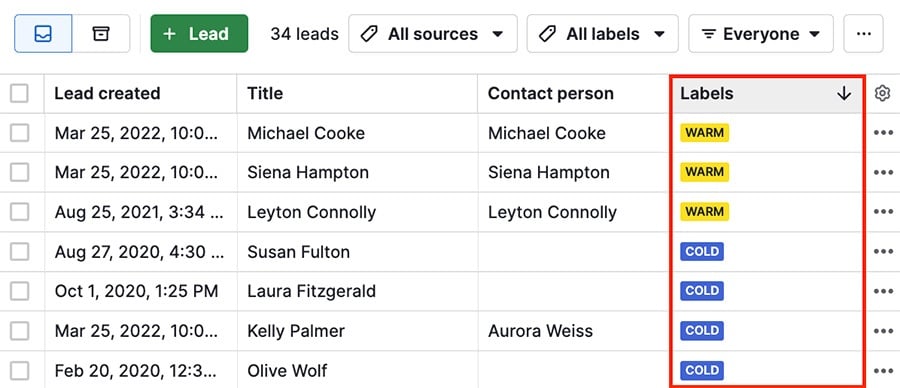
กล่องจดหมายลีดของคุณ อาจเต็มไปด้วยโอกาสการขายต่าง ๆ ดังนั้นการเพิ่ม ป้ายกำกับลีด ที่มีรหัสสีจะช่วยให้คุณสามารถจัดประเภทลีดต่าง ๆ ได้อย่างชัดเจนขณะที่คุณประเมินคุณภาพพวกเขาอยู่
เพิ่มป้ายกำกับให้กับลีด
หากต้องการเพิ่มป้ายกำกับให้กับลีด ให้เลือกลีดจากกล่องจดหมายลีดของคุณแล้วคลิก ”+ เพิ่มป้ายกำกับ“ ในส่วนรายละเอียด
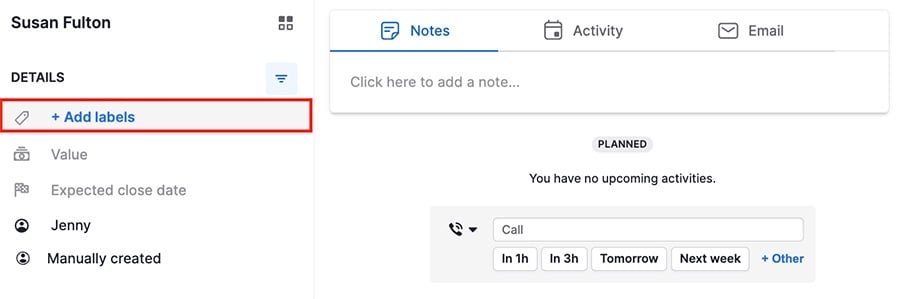
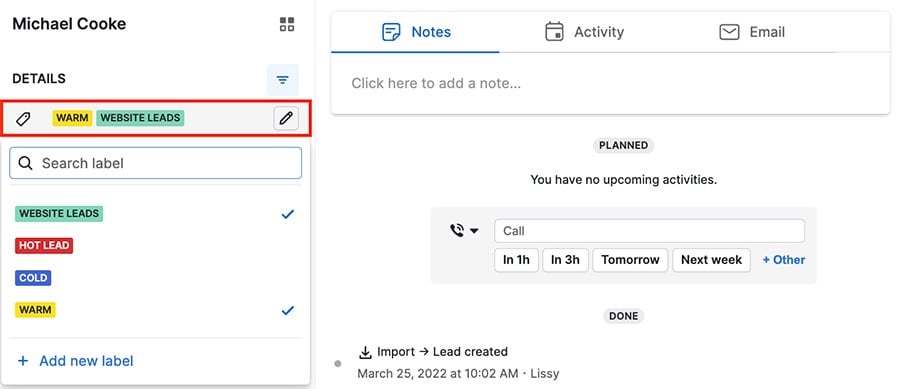
เนื่องจากลีดของคุณอาจไม่อยู่ในหมวดหมู่เดียวเสมอไป คุณจึงสามารถกำหนดป้ายกำกับหลายรายการในคราวเดียวได้
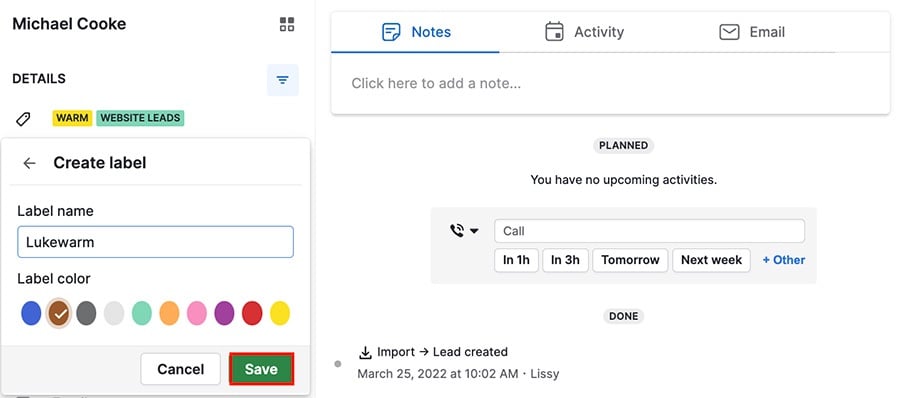
สร้างป้ายกำกับใหม่
หากต้องการสร้างป้ายกำกับลีดใหม่ ให้ไปที่ส่วนป้ายกำกับในรายละเอียดของคุณ แล้วคลิก ”+ เพิ่มป้ายกำกับใหม่“
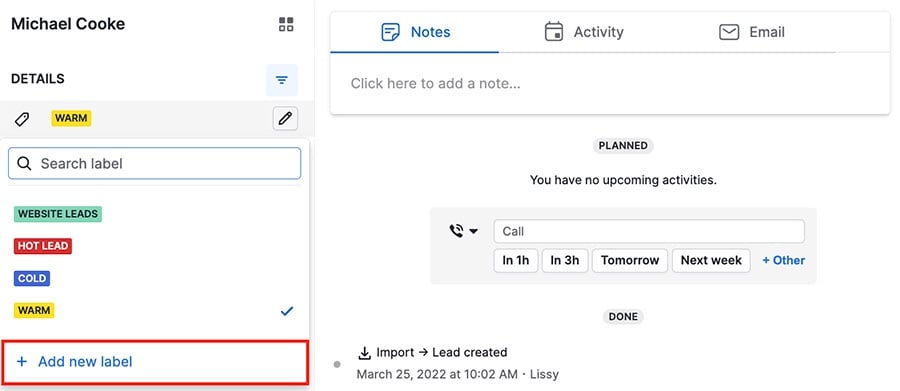
เลือกชื่อและสีสำหรับลีดของคุณ จากนั้นคลิก ”บันทึก“ เพื่อยืนยัน
แก้ไขป้ายกำกับลีด
คุณสามารถแก้ไขป้ายกำกับที่มีอยู่เดิมได้โดยคลิกที่ ไอคอนดินสอ ด้านข้างป้ายกำกับนั้น.
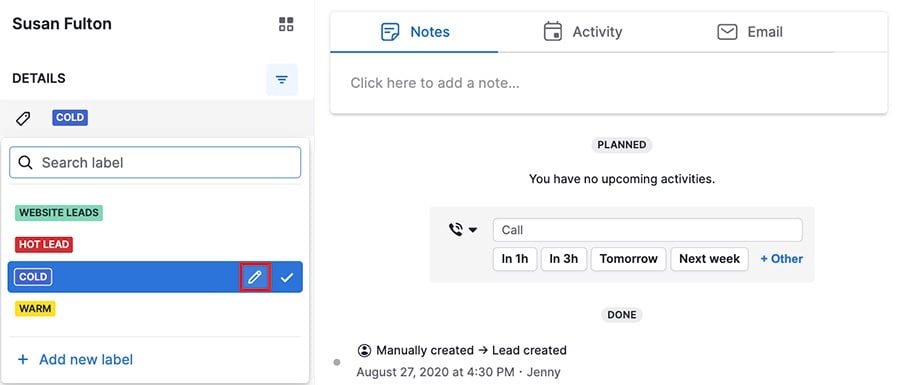
คุณสามารถเปลี่ยนชื่อและสี หรือจะลบป้ายกำกับโดยคลิกที่ ไอคอนถังขยะ.

คลิก ”บันทึก“ เพื่อยืนยันการเปลี่ยนแปลง.
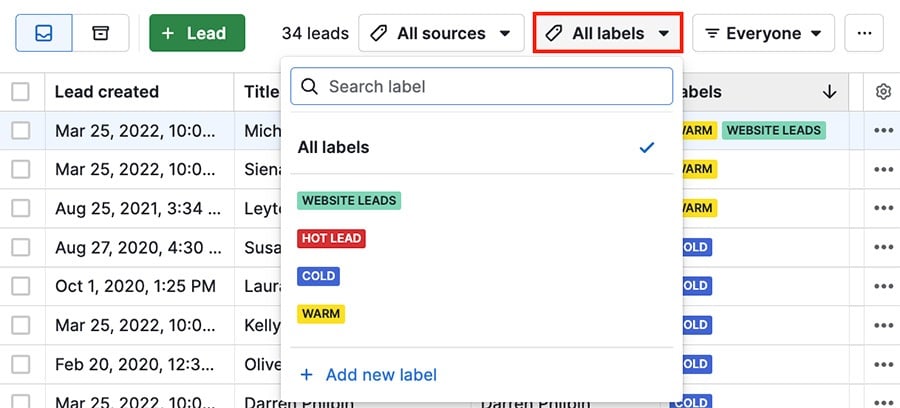
กรองตามป้ายกำกับลีด
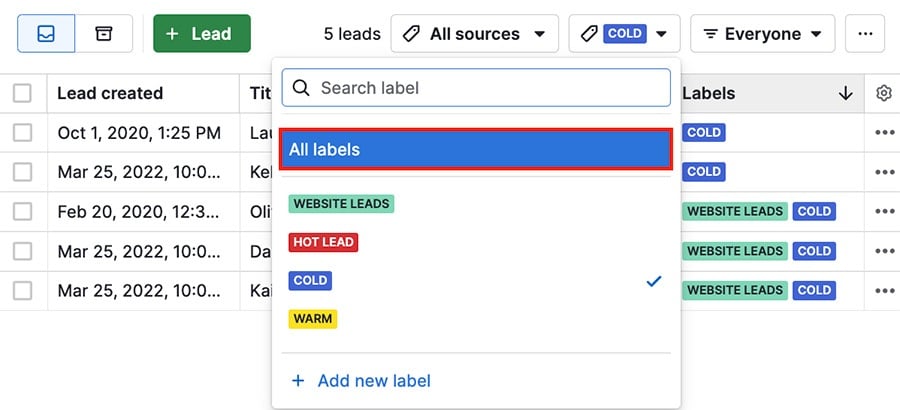
ที่มุมขวาบนของหน้าลีดของคุณ ให้คลิก เมนูแบบเลื่อนลงป้ายกำกับ เพื่อดูป้ายกำกับที่มีอยู่ และเลือกป้ายกำกับหนึ่งรายการหรือหลายรายการเพื่อใช้ในการกรอง.
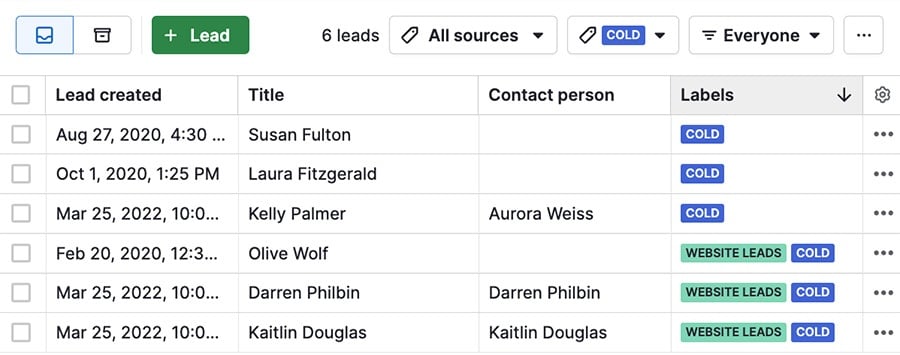
เมื่อคุณกรองโดยป้ายกำกับหนึ่งรายการ คุณจะเห็นลีดที่มีป้ายกำกับนั้น แม้ว่าลีดนั้นจะมีป้ายกำกับเพิ่มเติมอื่น ๆ ด้วยก็ตาม.
คุณสามารถรีเซ็ตตัวกรองได้โดยคลิกที่ ”ป้ายกำกับทั้งหมด“.
แก้ไขป้ายกำกับลีดครั้งละหลายรายการ
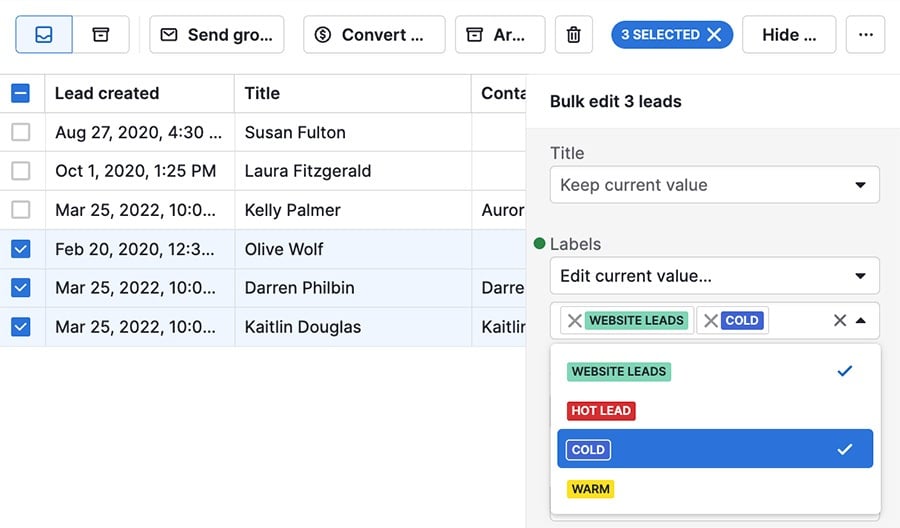
คุณสามารถเพิ่มป้ายกำกับให้กับลีดหลายรายการได้โดยเลือกลีดเหล่านั้นในกล่องจดหมายลีดเพื่อเปิดเมนู แก้ไขจำนวนมาก.
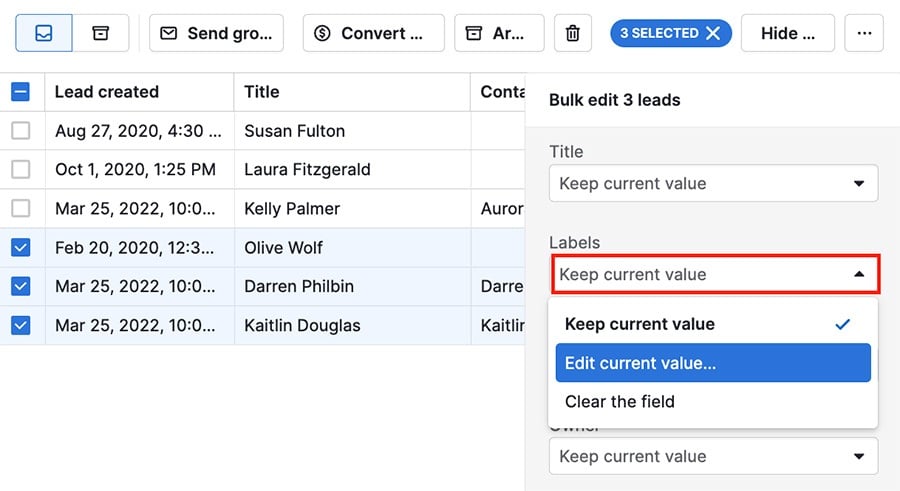
คุณสามารถเลือกป้ายกำกับหนึ่งหรือหลายรายการเพื่อเพิ่ม และคลิก ”อัปเดต“ ที่มุมล่างขวาเพื่อยืนยันการเปลี่ยนแปลง.
คัดลอกป้ายกำกับระหว่างการแปลงลีดและดีล
เมื่อคุณแปลง ลีดเป็นดีล หรือ ดีลเป็นลีด คุณสามารถเลือกให้ระบบคัดลอกป้ายกำกับโดยอัตโนมัติได้.
เมื่อคุณเปิดใช้งาน การคัดลอกป้ายกำกับขณะการแปลง ป้ายกำกับใด ๆ ที่แนบอยู่กับลีดหรือดีลจะปรากฏในกล่องการแปลงโดยอัตโนมัติและถูกถ่ายโอนไปยังข้อมูลลีดหรือดีลใหม่โดยทันที เพื่อให้แน่ใจว่าป้ายกำกับเหล่านั้นจะพร้อมใช้งานในรายการป้ายกำกับลีดหรือดีลทันที.

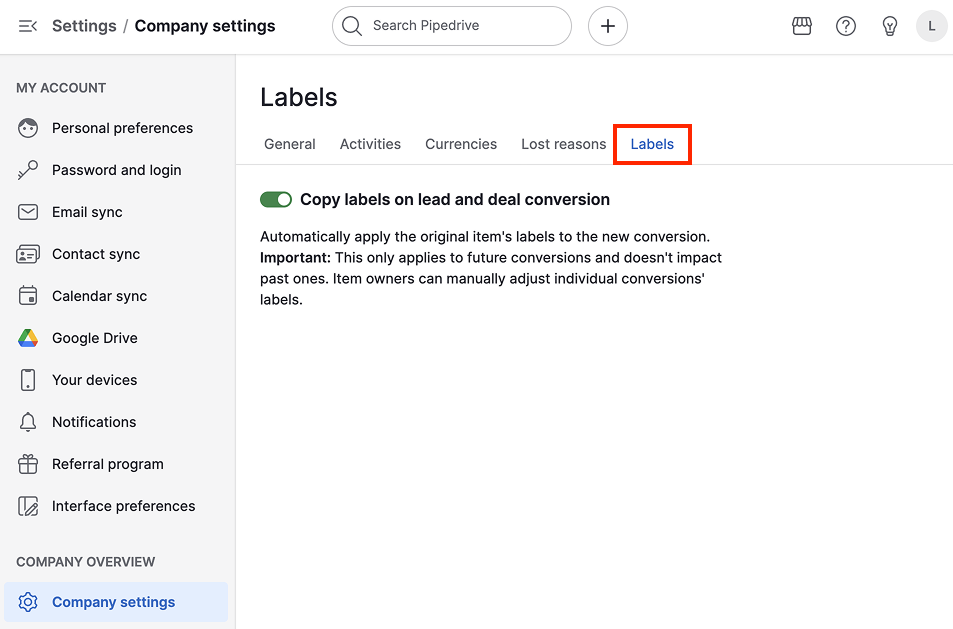
วิธีเปิดใช้งานการคัดลอกป้ายกำกับระหว่างการแปลงลีดและดีล
ไปที่ การตั้งค่า > การตั้งค่าบริษัท > ป้ายกำกับ และสลับตัวเลือกการคัดลอก.
บทความนี้เป็นประโยชน์หรือไม่
ใช่
ไม่