Activities
Activities in Pipedrive represent any action you take to move your deals forward, such as calls, meetings, tasks or emails. You can link activities to people, organizations, leads, deals or projects to keep a clear view of what‘s next.
Where to find it
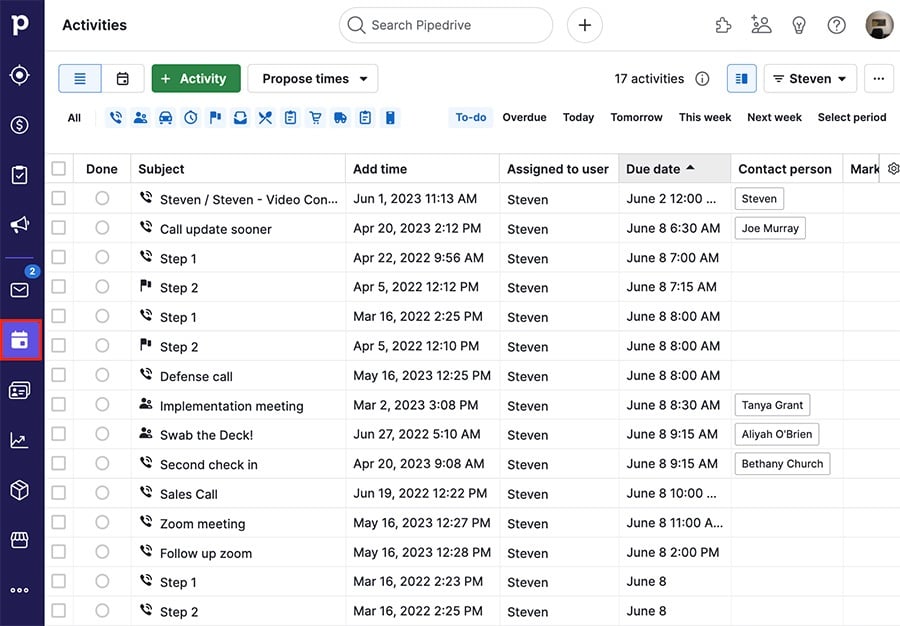
You can find your activities by clicking the activities icon on the left-side navigation menu:
Adding activities
There are several places in Pipedrive where you can create activities in Pipedrive.
Pipeline view (deals tab)
Click the activity icon on a deal card in your pipeline.

Detail views
Open the detail view of a deal, project, person or organization and click the activity tab to link an activity directly to that item.

Leads Inbox
Open a lead from your Leads Inbox and click on the “Activity” tab at the top to create and link an activity to it.

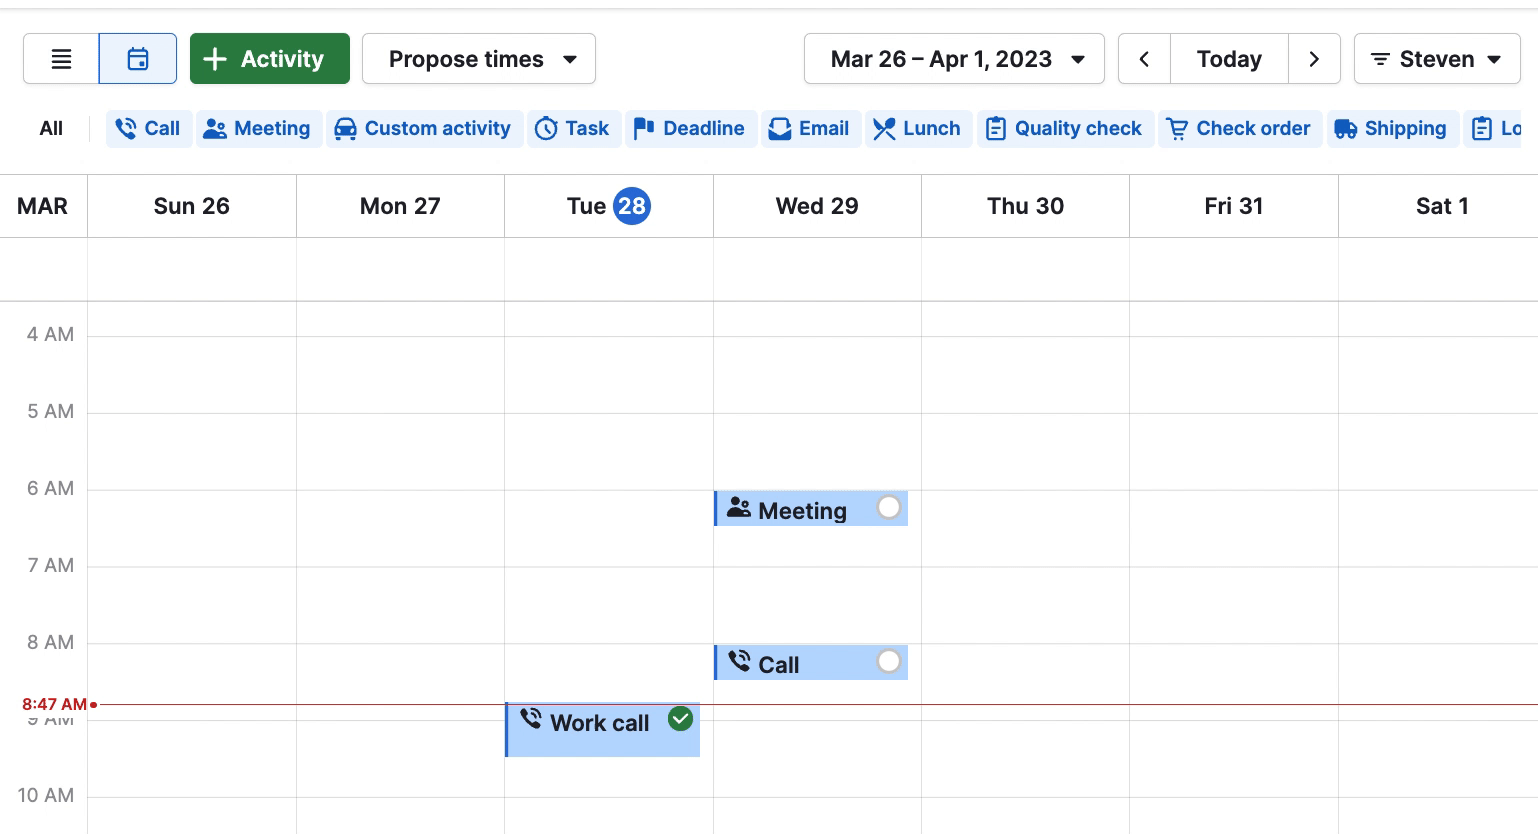
Calendar or activities list view
In the calendar or in the list view of the activities tab, click the “+ Activity” button.

Contacts
In the contacts timeline, click “+” > Add activity on the right side of the screen when hovering over a contact’s timeline.

Mobile app
Click the “+” in the top right of the activities section of your mobile app to add activities.

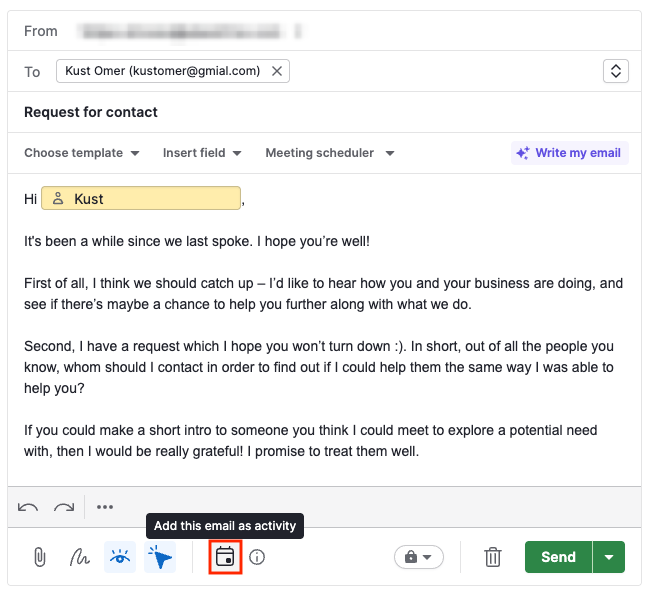
Adding emails as activities
Send emails from the Sales Inbox or detail views and automatically add them as activities.
This helps you reduce reporting gaps and track your team’s effort more accurately in the activities performance report, without creating separate activities manually for each email.
You can enable this option by default in your email sync settings.

You can also adjust it directly in the email composer before sending.
Adding activities in bulk
If you need to create multiple activities at once, use a spreadsheet import or create them directly from supported list views.
Bulk activity creation is available in the list views of the deals, contacts, leads and Sales Inbox (Sent folder) sections.
In each of them, select the items you want to create activities for, then use the bulk option to add multiple activities at once.
For step-by-step instructions for each list view, see our dedicated article How can I create activities in bulk?
Scheduling an activity
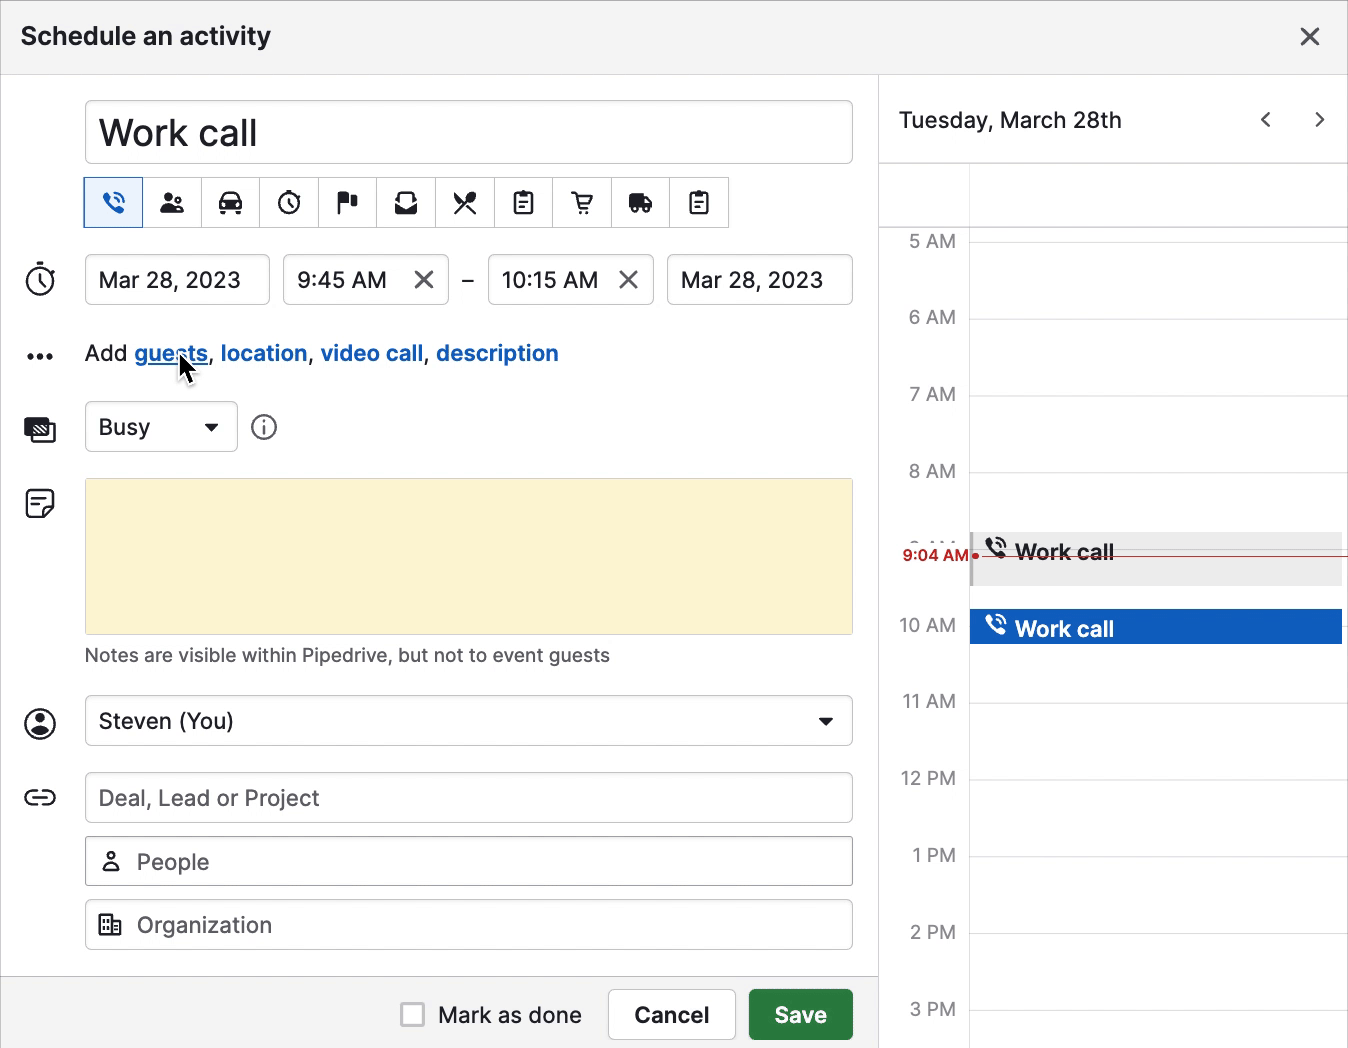
The Schedule an activity window displays your schedule for the selected day on the right and the activity fields on the left.
This helps you schedule your activities efficiently, prevents double-booking and you can reschedule your existing activities as needed.
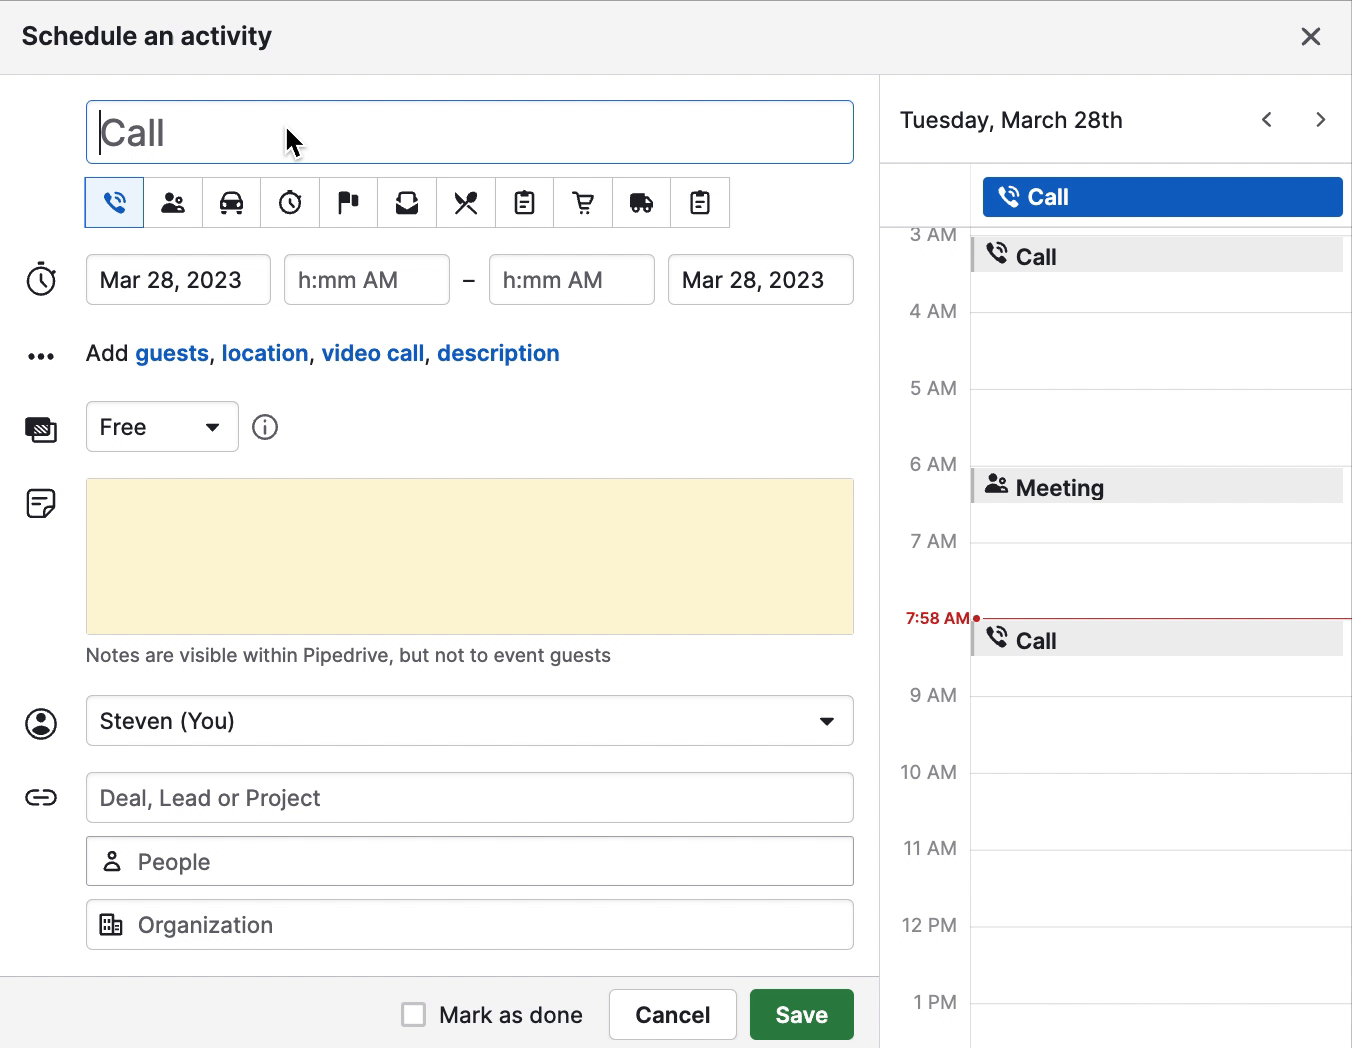
In the Schedule an activity prompt, you can fill in the following activity details:
- Title – Name of your activity
- Type – Default or custom activity type
- Time, date and duration – When and how long the activity is
- Busy/Free – Activities are set to "Free" by default. If an activity is set to “Busy,” your customers can’t book that time slot through any Scheduler links.
- Note – A description of your activity. This is private and only visible within your Pipedrive account.
A few other notable activity fields:
- Last activity date – shows the date of the last activity that was marked as done
- Next activity date – shows the date of the next activity you scheduled that isn’t marked as done yet
- Update time – The date of the last update made on an item (a new activity created, a field updated, moving stages etc.)
To add guests, a location, or a description to your activity, expand the section under the time, date and duration section of the activity window.
-
Guests – The people you want to invite to the activity. This can be either your existing Pipedrive contacts or an external email address.
- Invite guests – Adding email addresses or Pipedrive contact people to the guests’ section sends out email activity invitations to them.
- Location – The address of your activity. Pipedrive automatically checks if the location matches a geo-location on Google Maps. In the activities list view, you can click on the location and see it on Google Maps.

- Description – Additional details about the activity that will be synced to your external calendar. Unlike the note added to your activity, the description is publicly visible to any guests added to the activity.
Linking deals and contacts
In the Schedule an activity window, you can select the owner and link the activity to a deal, organization or person.
When an activity is linked to an item, it appears on the item’s detail page.
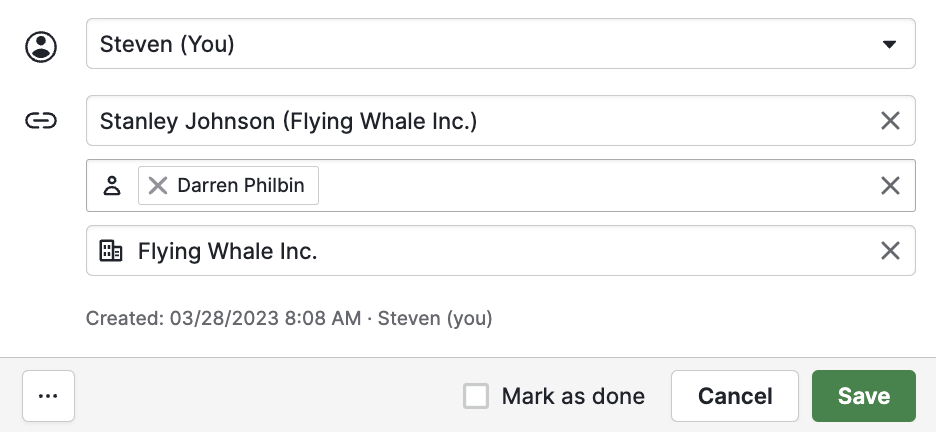
- Linked deal – An activity linked to only a deal is automatically linked to the contact person and organization linked to that deal.
- Linked person – An activity linked to a person contact is automatically linked to that person’s organization.
- Linked organization – An activity linked to an organization isn’t automatically linked to its deals or people contacts, since there can be multiple deals and people contacts linked to each organization.
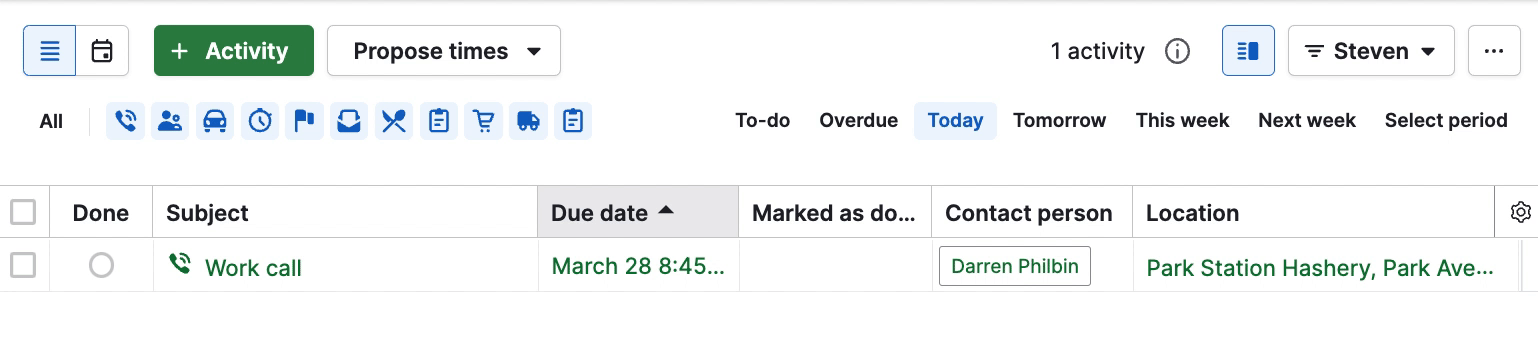
Completing activities
Here are a few things to know about completing activities:
- You can mark activities as done from the list view, calendar view, linked items detail pages or the contacts timeline view.
- An activity’s marked as done time field is updated when the activity is marked as done.
- The due date field will always show the time and date the activity was originally scheduled for.
- While you can manually edit the due date field of an activity – even retroactively – the marked as done field always reflects the time that the activity was marked as done.
You can read more about the logic for the activity marked as done in this article.
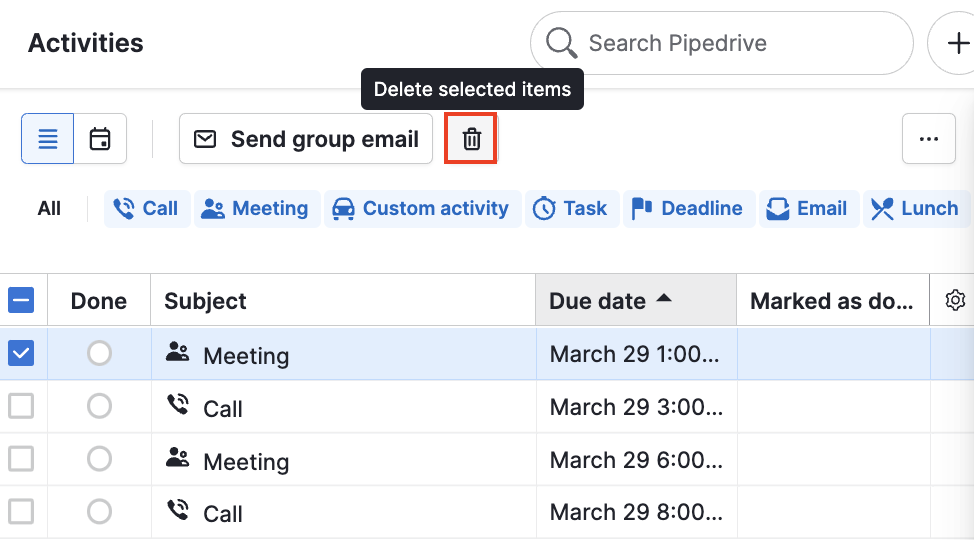
Deleting activities
Activities can be deleted from both your calendar and list view.
To delete an activity from your list view, select one or multiple activities from the left side margin, then click the trash can icon:
To delete an activity from your calendar view, select the activity and click the trash can icon:
Was this article helpful?
Yes
No