Meeting scheduler
Pipedrive’s meeting scheduler tool is a great way to keep in touch with clients when it’s convenient for you both, and you can use it right alongside the email sync feature.
Where to find the meeting scheduler
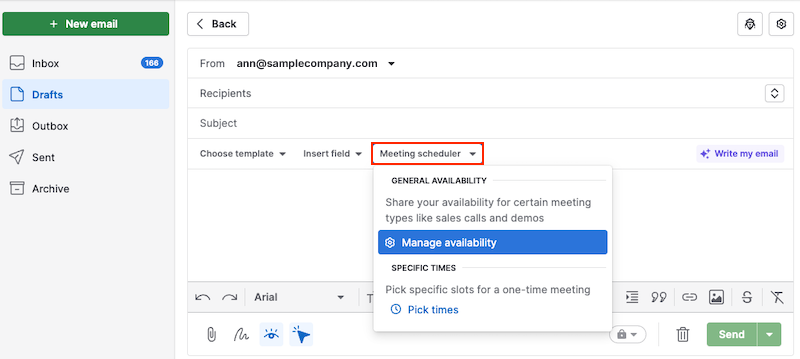
You can create or copy a meeting scheduler link from several locations in Pipedrive:
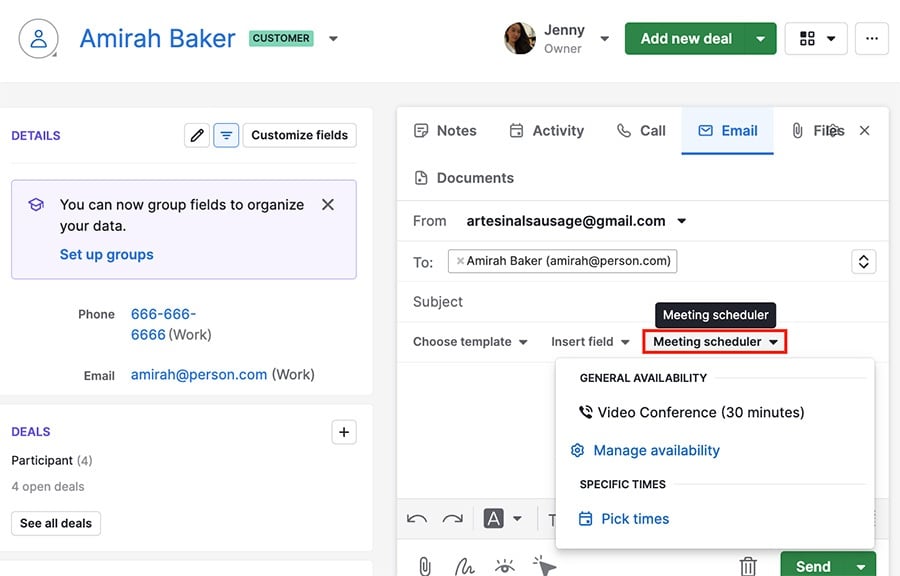
- If you’ve enabled email sync, you can click “Meeting scheduler” in the email composer window
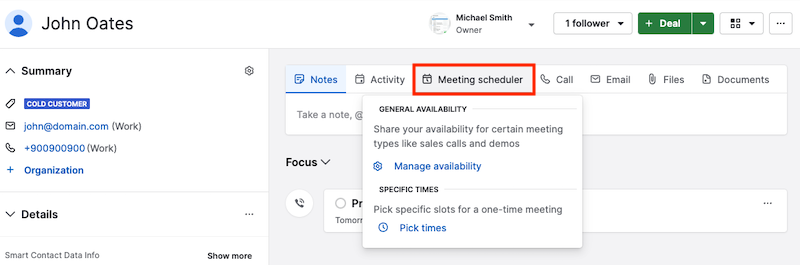
- If email sync isn’t enabled, you can open the detail view and click on “Meeting scheduler”
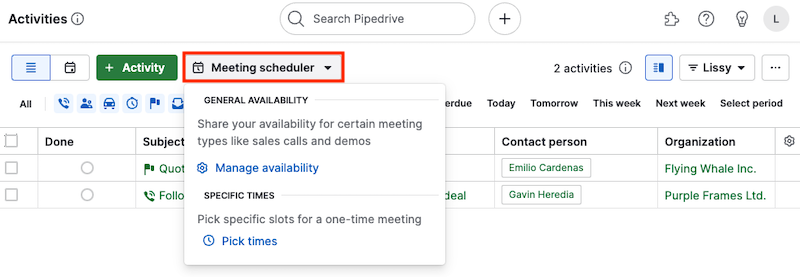
- In the activities tab, you can click ”Meeting scheduler“ in the top left corner of the screen
Types of links
There are two types of meeting links in Pipedrive. General availability lets our customers choose from a broad set of available times, while specific time links allow you to propose exact time slots for one-time meetings.
General availability
General availability means you’re selecting broader timeframes designed for larger windows that customers can book.
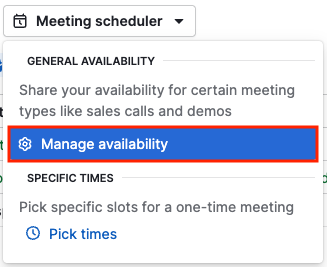
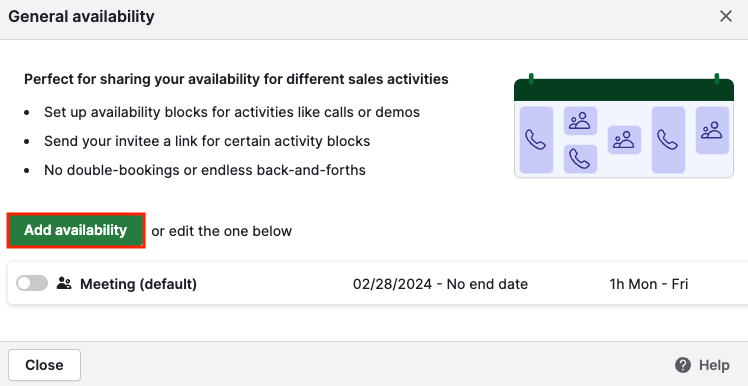
To create a link to offer your availability, select Manage availability > Add availability, or edit the default one.
Specific times
Scheduling for specific times means you’re creating slots for one-time engagements with customers. This is designed for non-recurring appointments like lunch meetings or scheduled phone calls.
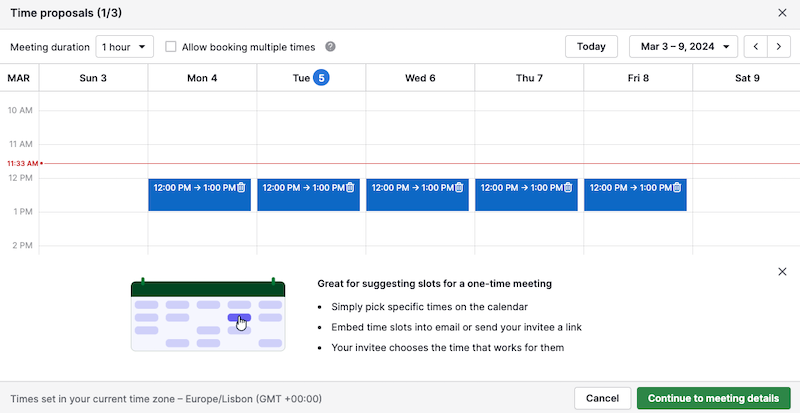
Select “Pick times” to choose any free spots on your calendar you want to offer your customer.

Managing proposed times
You can adjust your available times, both general and specific, even after you’ve generated your meeting scheduler links.
General availability
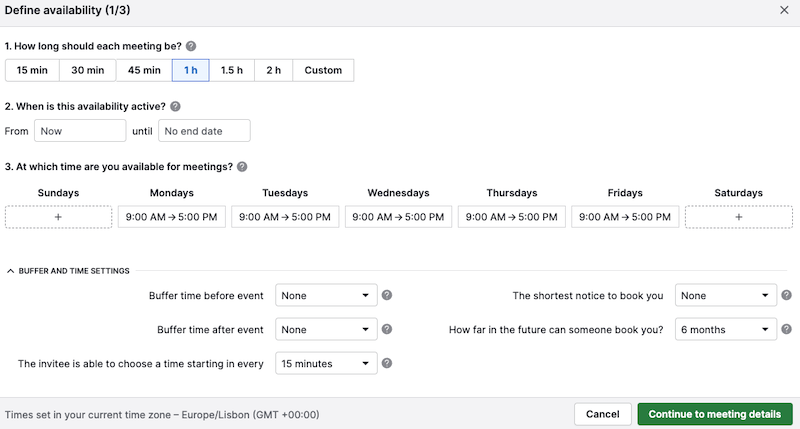
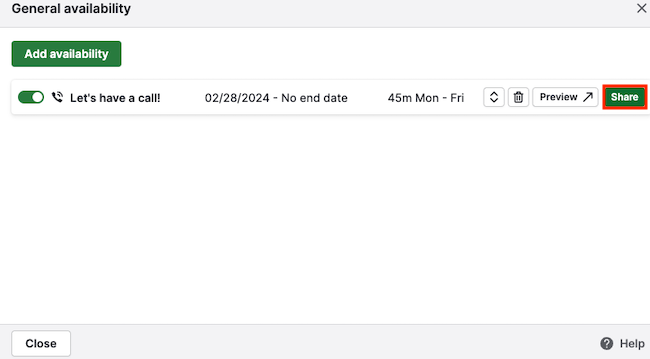
Go to Activities > Meeting scheduler > Manage availability, then select “Add availability” for a new link, or click on one of your existing links to edit it.
In this section, you need to define the meeting duration, the dates for the availability to be active and the timeframes. You can also edit buffer and time settings if needed.
In the general availability window, you can preview, share or click the trash can icon to delete it.
- Expand
See the time slots available in the meeting scheduler link specified - Trash can icon
Delete the meeting scheduler link - Preview icon
Preview what the recipients of the link will see - Share
Create a shareable meeting scheduler link
Specific time slots
Go to Meeting scheduler > Pick times and select the day and time for your appointment using the calendar view.
You can edit your existing single-time appointment links by hovering your cursor over Pick times and clicking the gear icon.
Booking a time slot
Once you’ve created a meeting scheduler availability, you can share the link in the following ways.
Manually
Go to Activities > Meeting scheduler and hover over the availability to copy your invite link.

Embed your meeting scheduler link directly in the body of any email composed in Pipedrive.
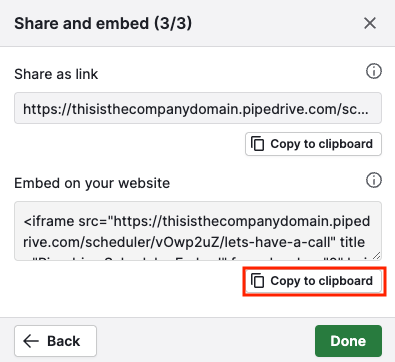
Embed on your website
Go to Activities > Meeting scheduler > Manage availability. Then, click “Share” on the right-hand side of the screen.
Copy the snippet to embed the meeting link and paste it on your website.
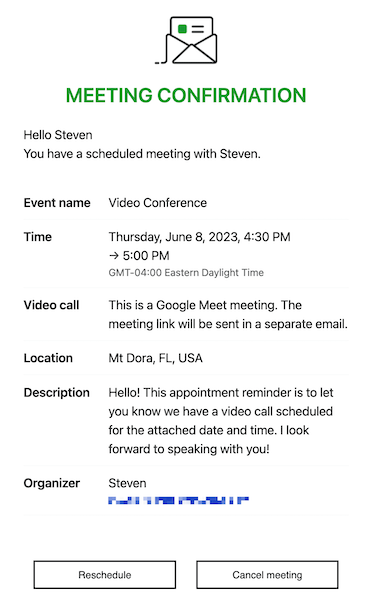
When a customer selects a time slot to create an appointment, they’ll receive a confirmation email:
Booking an appointment also creates an activity in your Pipedrive activities calendar:
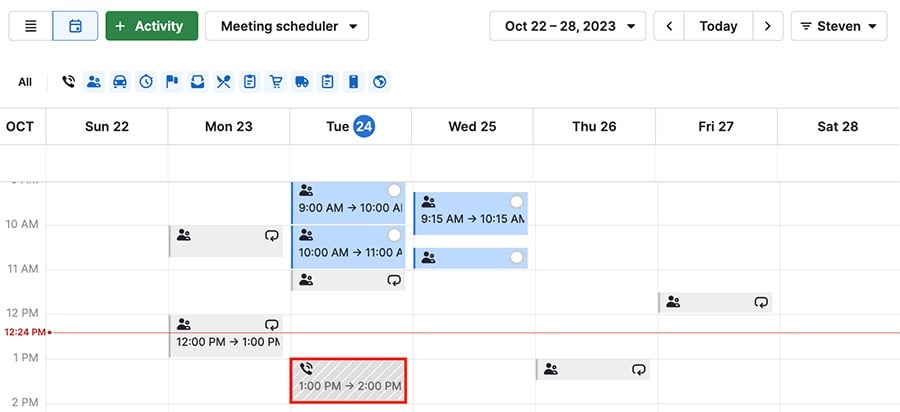
Clicking on an appointment from this view will redirect you to the Scheduler calendar view, where you can edit or delete your appointment.
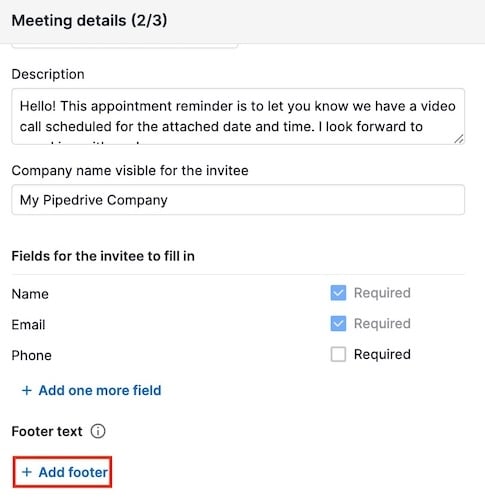
Adding footer text to the Scheduler form
To add footer text to your meeting scheduler form, go to the meeting details window and click “+ Add footer” at the bottom of the screen.
The link recipient will see the footer text when they submit their contact information:

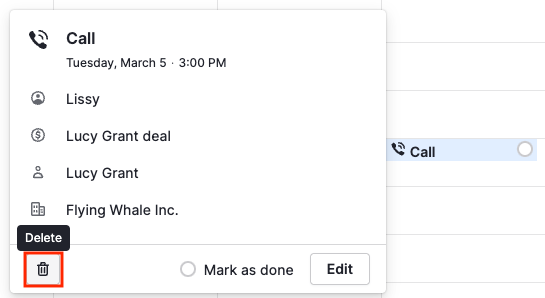
Deleting appointments
Go to your activities calendar view and click on the appointment you want to delete.
You’ll be redirected to the meeting scheduler calendar, where you can select the meeting time and the trash can icon.
Was this article helpful?
Yes
No