Automation triggers based on updates
Make your event-based automations more precise by choosing which updates should activate them.
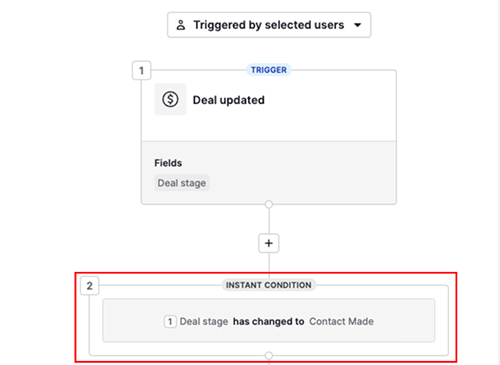
When using an item update as a trigger event, you can select specific fields to monitor. The automation runs when a selected field is updated and the update matches your automation conditions.
How to set up an update trigger
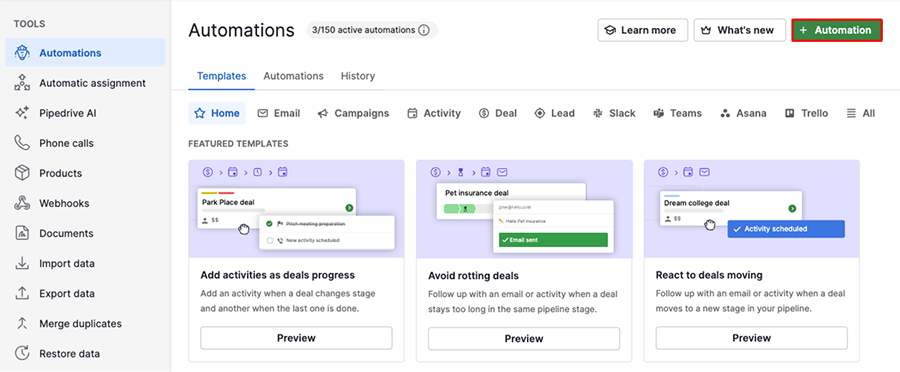
Open the account menu in the top-right corner, go to Tools and apps > Automations and click “+ Automation”.
Select “Event trigger” and choose which item activates your automation. You can select activity, deal, lead, organization, person or project.
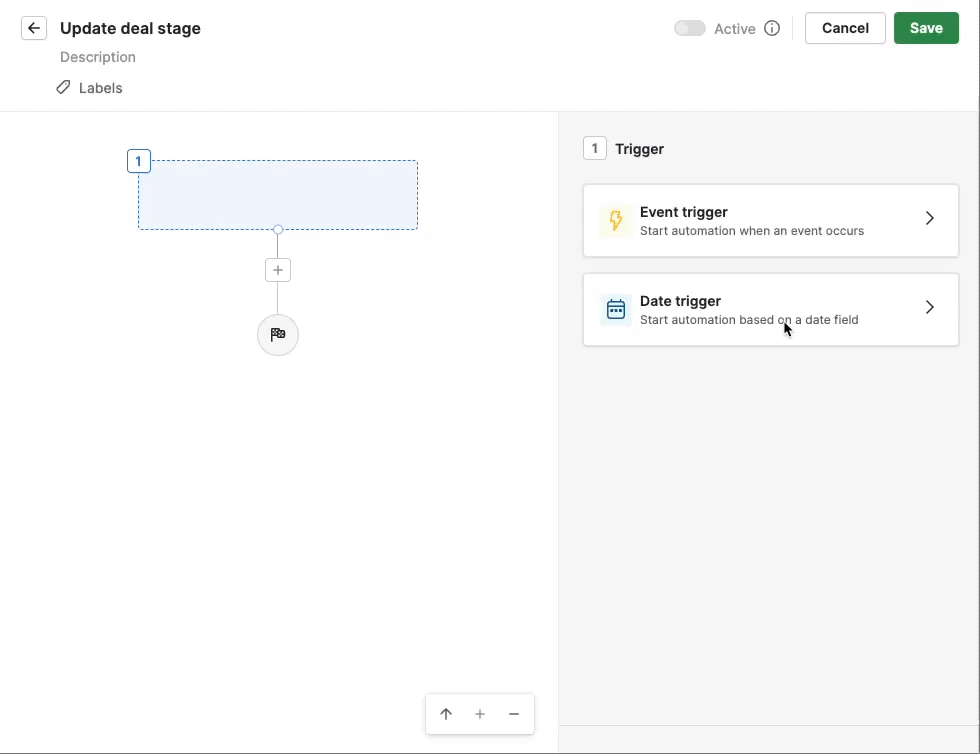
Set the trigger event as “Updated”.
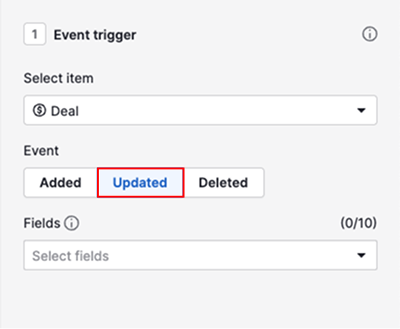
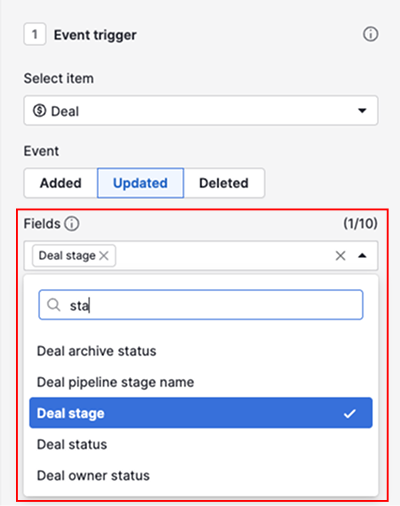
Then select the field you want to monitor for changes. You can choose up to 10 fields.
Click “Apply trigger”.
If you don’t want the automation to run on every field update, add conditions after the trigger to define what must be true. For example, if you monitor the deal stage field, add a condition specifying the deal stage name.
Once you save and set it to active, the automation is ready to use.
After execution
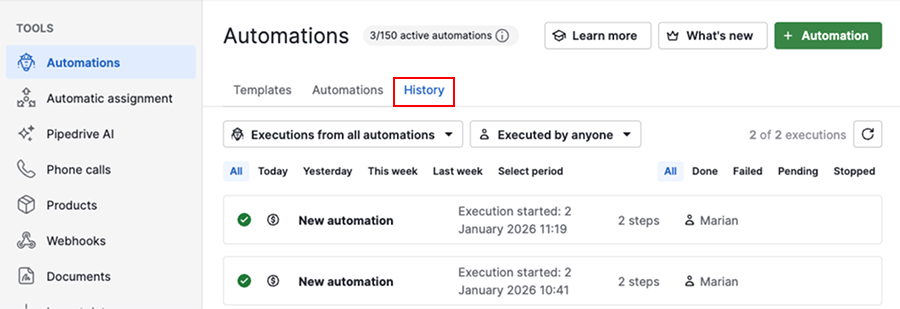
To see which field triggered an automation, open the history tab and select an automation from the list.
Click on the first trigger step.
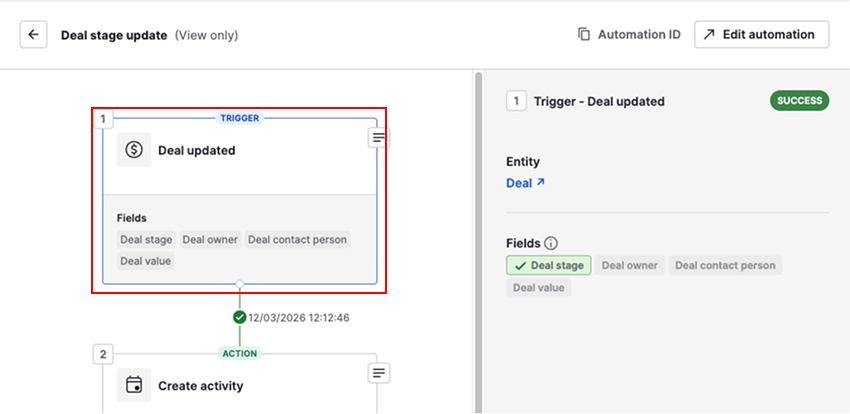
The fields highlighted in green triggered the automation.
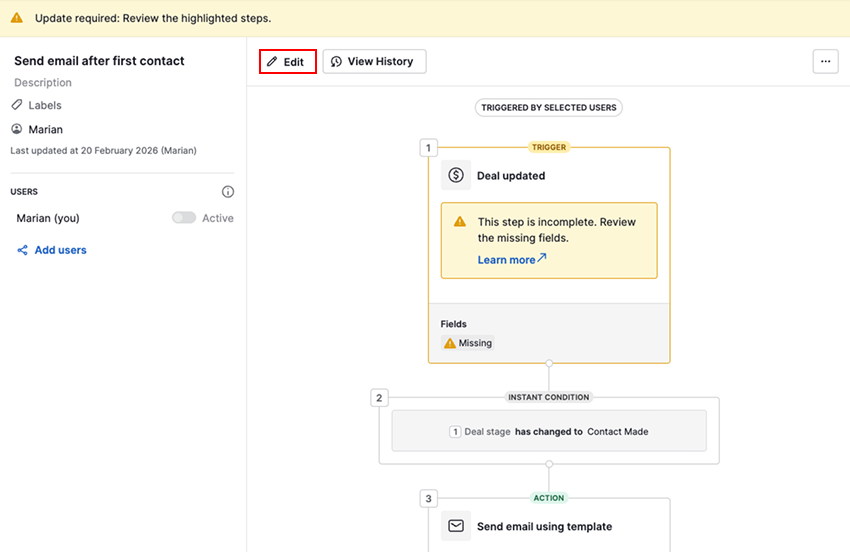
Update existing automations
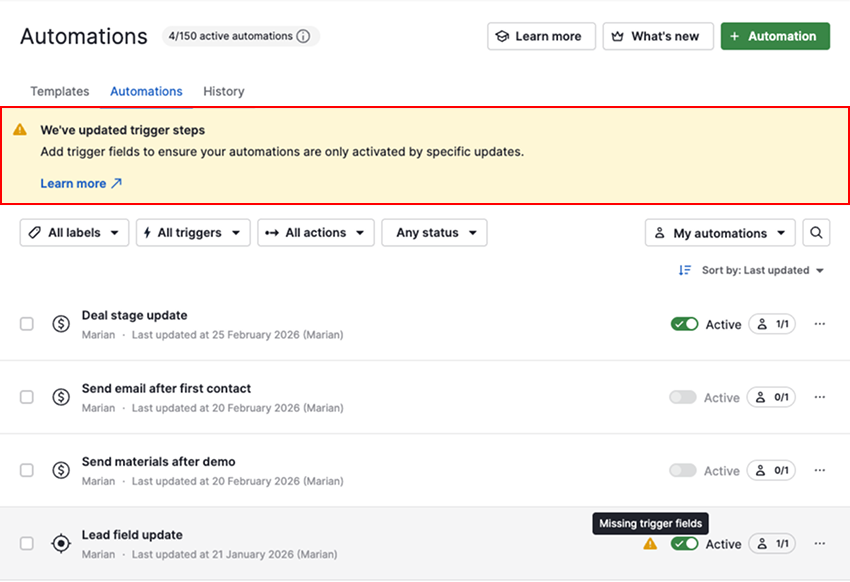
Go to Tools and apps > Automations and open the automations tab.
If your trigger uses the update event without selected fields, you’ll see a warning to update it.
How to update the trigger setup
Select an automation that needs updating from the list and click “Edit”.
Click on the first trigger step to see the event trigger details.
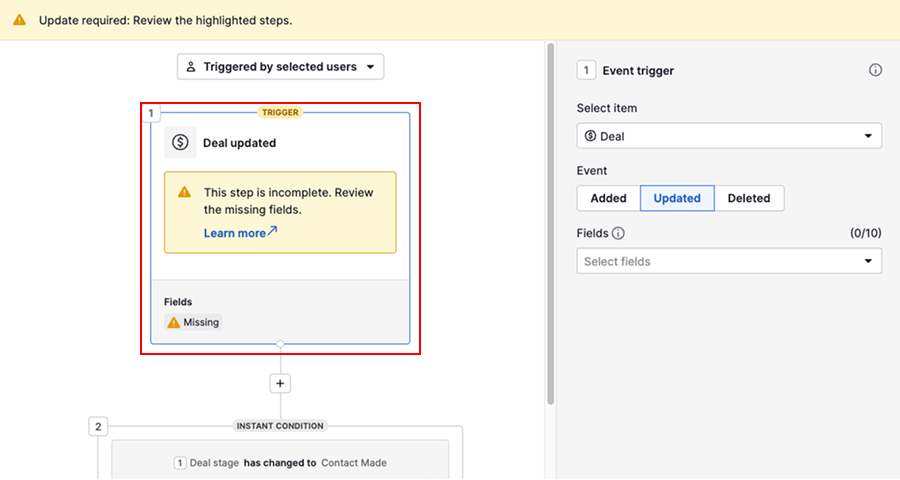
Under the fields section, select the fields you want to monitor for changes.
Apply the trigger and review any existing conditions that follow to ensure the logic is correct.
The warning disappears once you save the automation.
Was this article helpful?
Yes
No