Projects by Pipedrive
The project management software in Pipedrive lets you easily transition to the project and delivery phase of your workflow after a deal is won without needing workarounds in Pipedrive or third-party tools.
You can also create projects linked to open deals, or you can decide not to link your project to any deals, people or organizations.
Adding a project
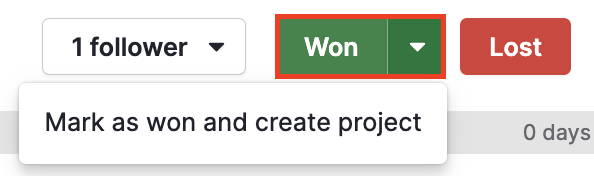
To help with a smooth transition from sales into after-sales, you can mark a deal as won and create a project directly from the won deal dropdown.
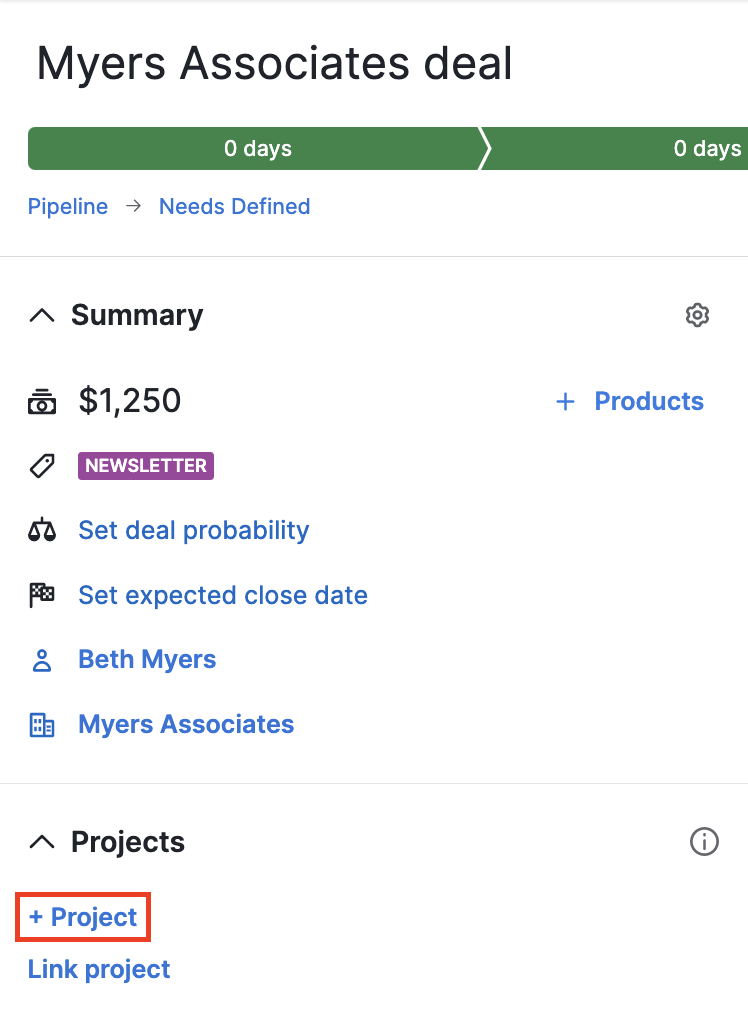
If you want to connect or create projects from a deal that should remain open or is already won, you can also use the side panel for projects on your deal detail page.
To create a project from the deal pipeline, drag a deal downwards in your pipeline to Move/convert and select "Save to... Projects". You will see the option to create a project and mark the deal as won or create a project and keep the deal open.

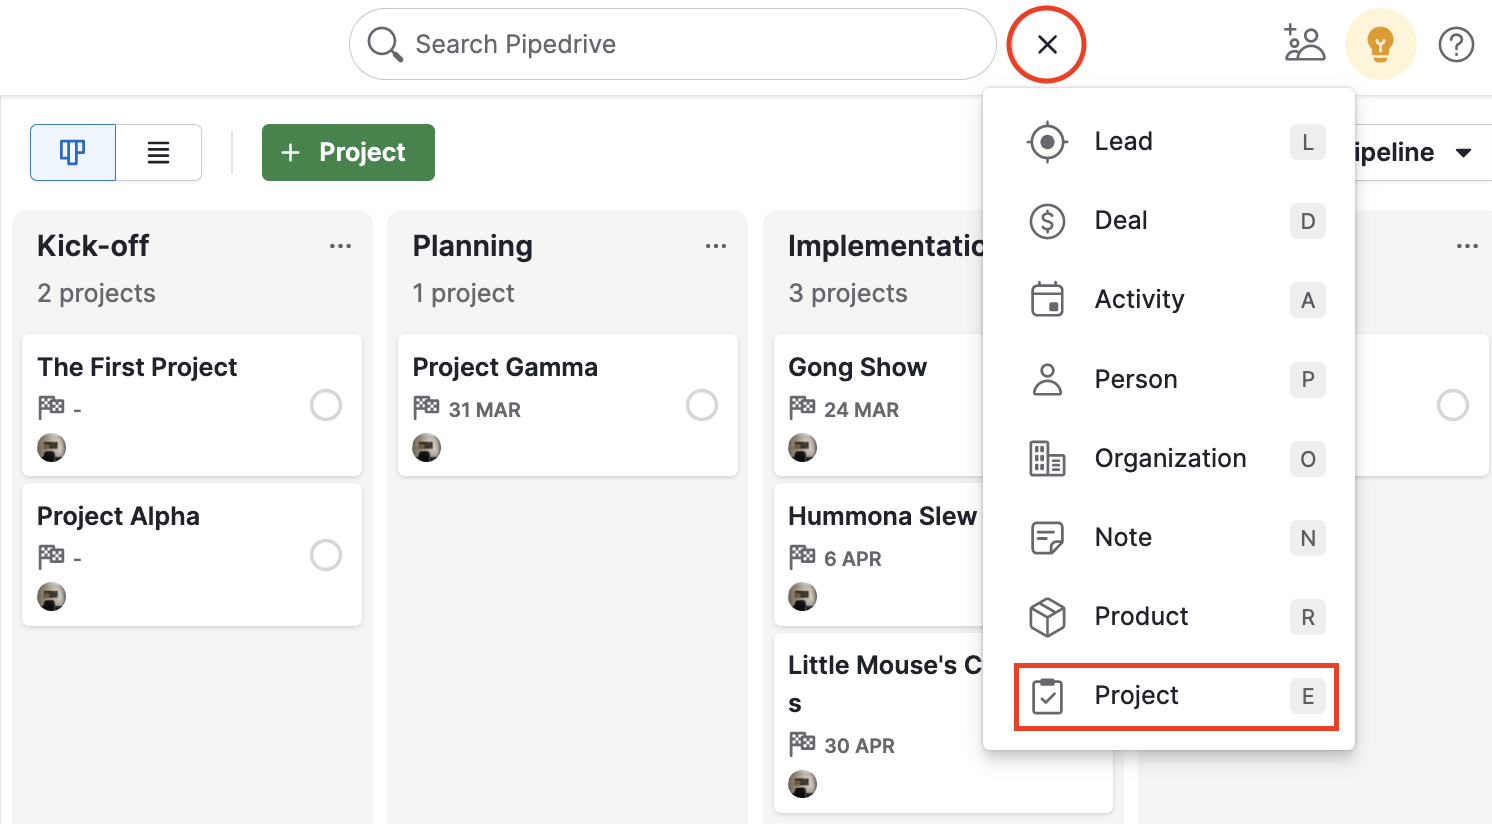
You can also add a project from the main Projects page by clicking on the “+ Project” green button or the “Quick add” button at the top of the page, next to the search bar.
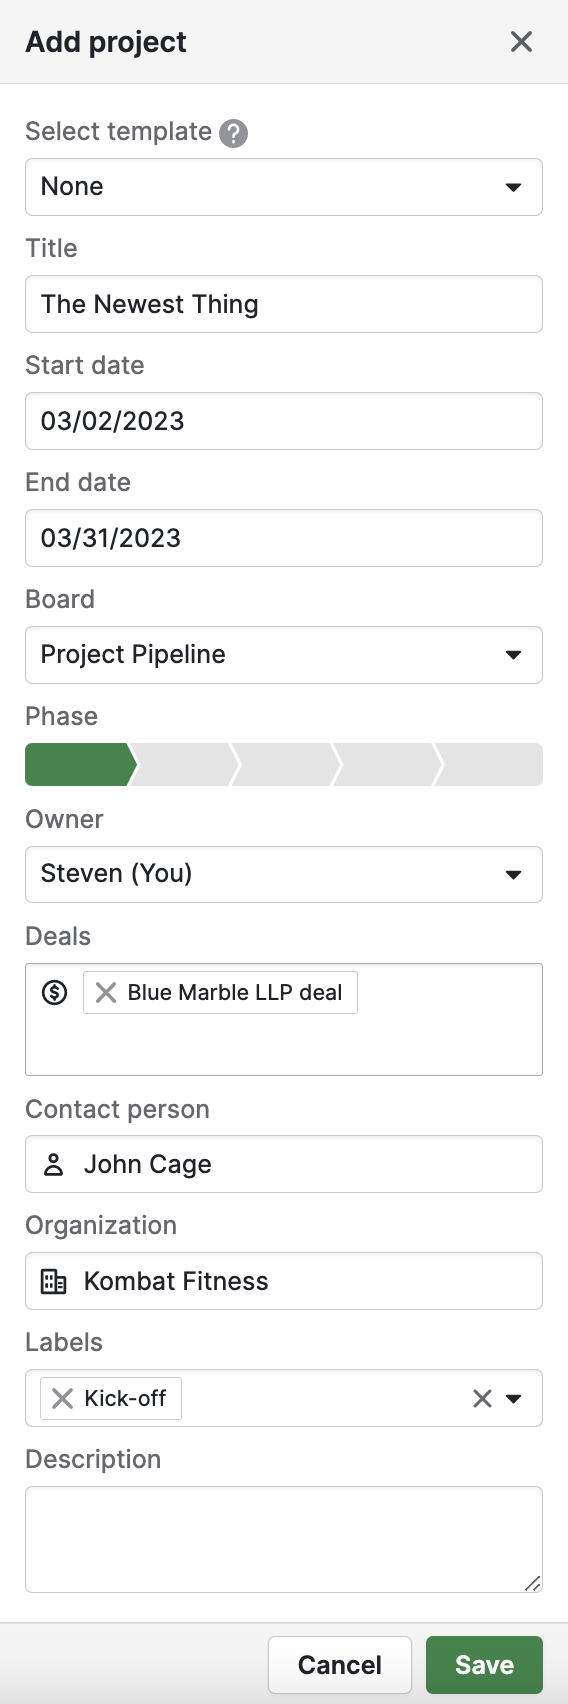
In the Add project dialog, you’ll see the following options:
- Select template – choose a premade project framework
- Title – The title of your project
- Start and end date – The start and end dates of your project
- Board – The group of projects this will be added to
- Phase – The stage within the selected board
- Owner – The Pipedrive user who owns the project
- Deal, person, organization – The deal, person and organization linked to the project
- Labels – Labels applied to your project
- Description – A short description of your project
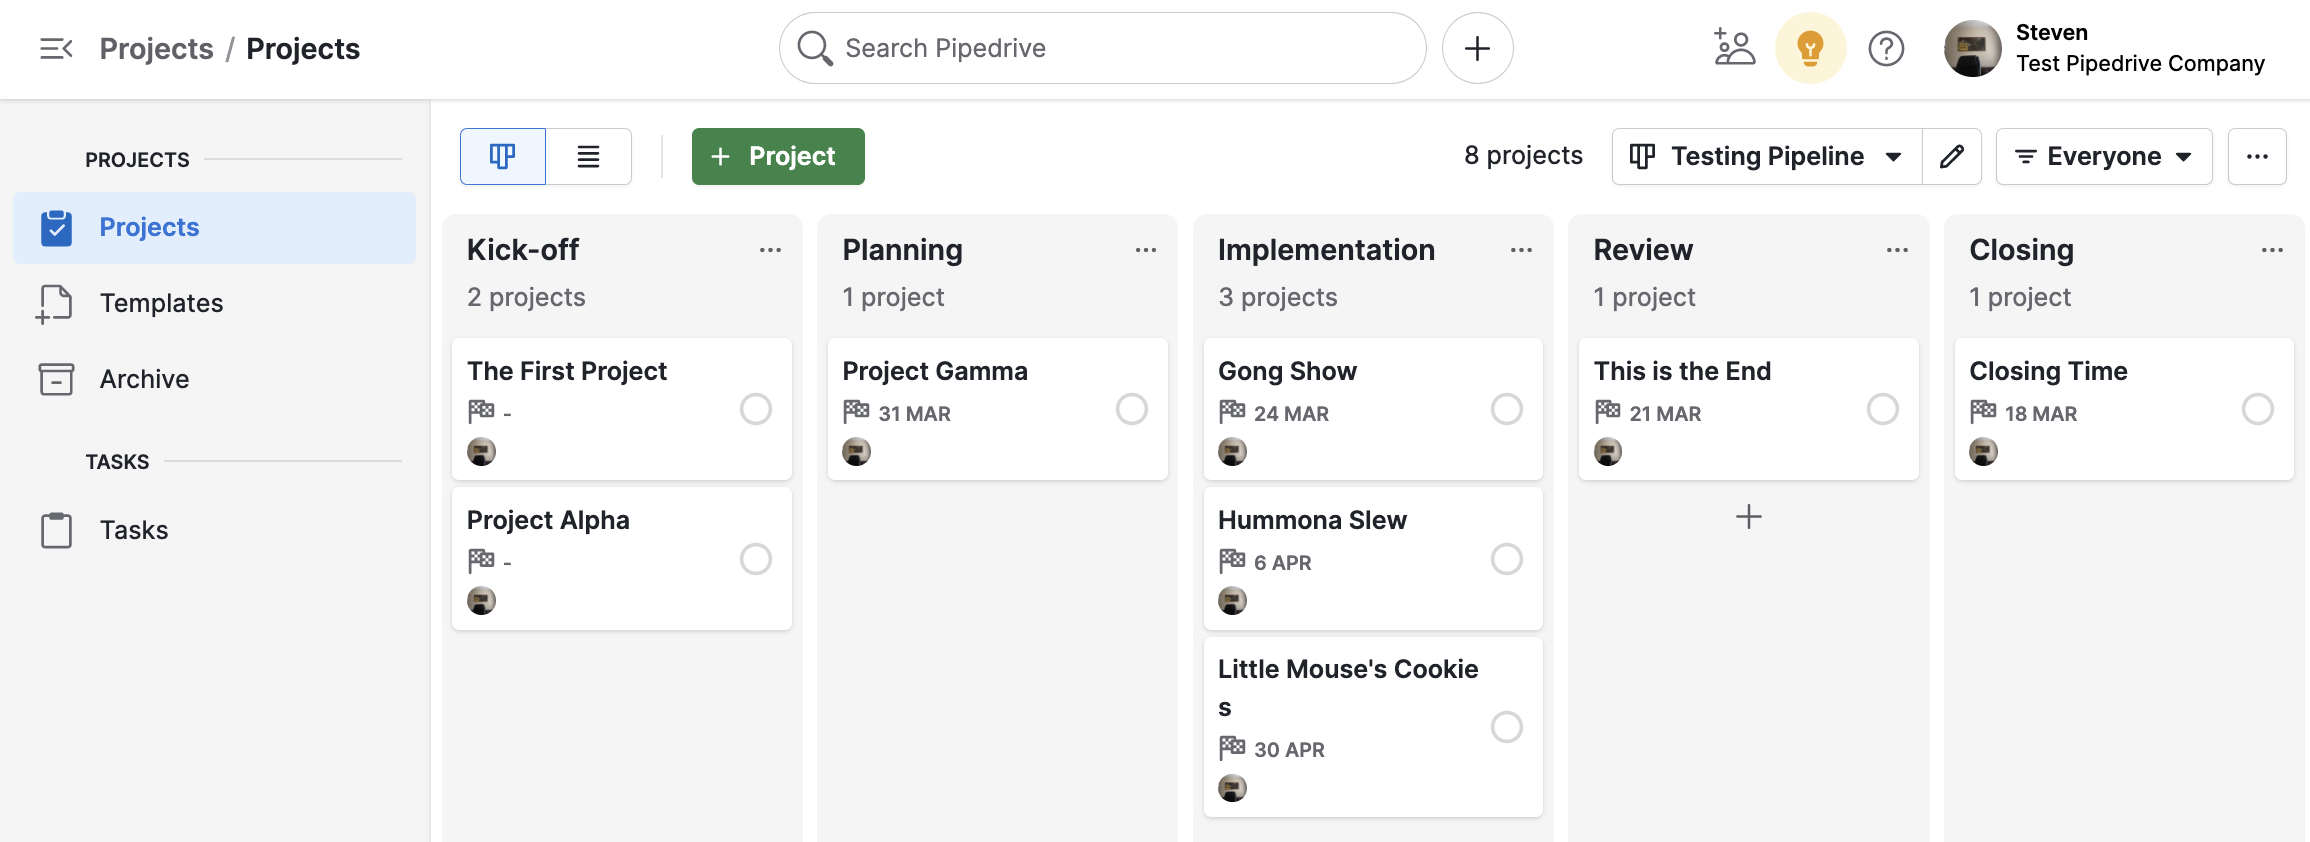
Project board view
If you navigate to your Projects tab, you'll see all of your projects in the Board view. Similar to deals, you can create pipelines and phases.
Customizing the board cards
If you need to see specific information on your board cards, you can select the fields to be displayed by clicking on “...” > Customize project cards.
Here, you can see the list of fields and select the ones you want to keep visible. The changes will be applied to all cards.
Customizing the board view
Like the pipeline view for your deals, click the pencil icon to the right of the board name.

From here, you can edit any phase attributes and add, delete, or reorder phases.
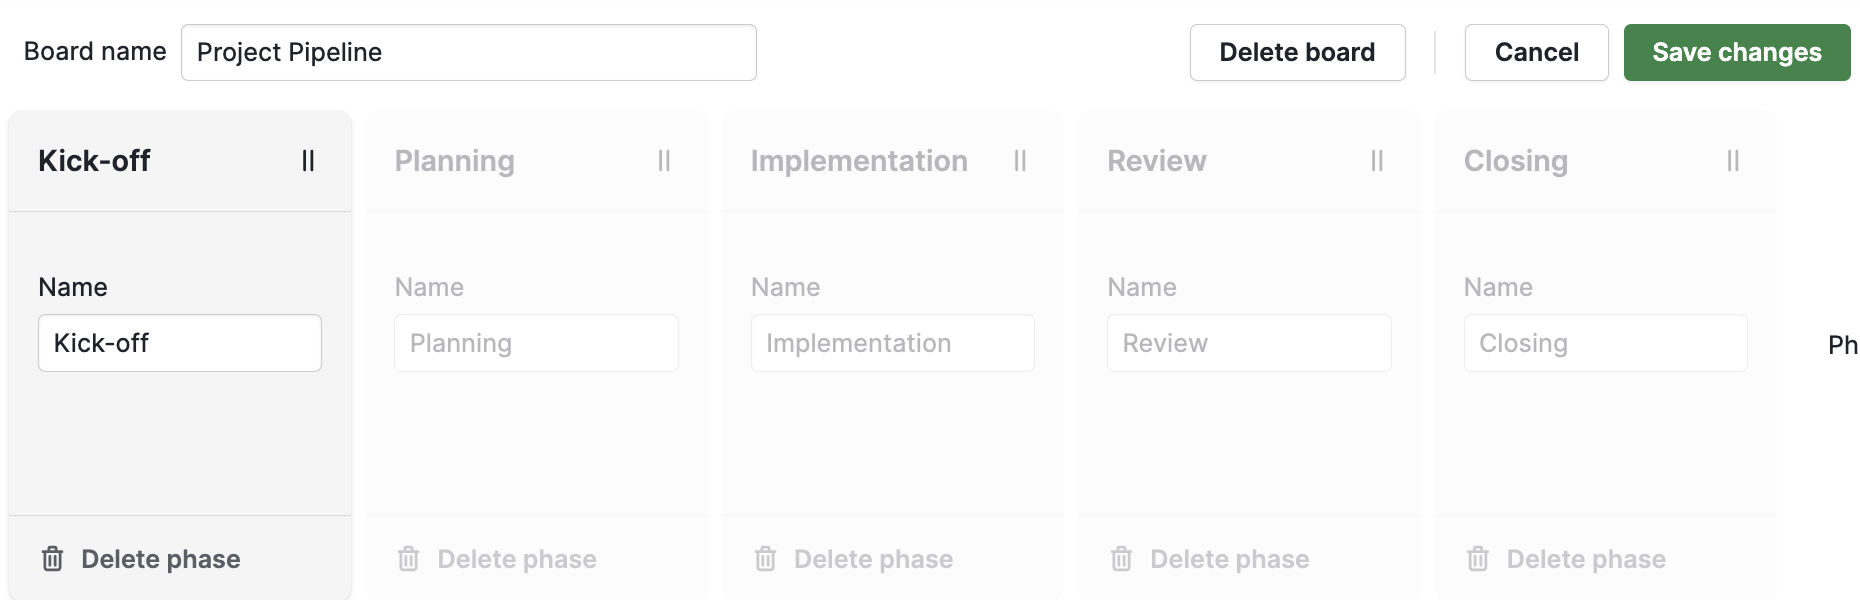
You can create as many boards as you need. Learn more about customizing your boards in this article.
Project list view
You can change views to see all of your projects in the list view, along with their details. Click on a row to go to that project’s detail page.
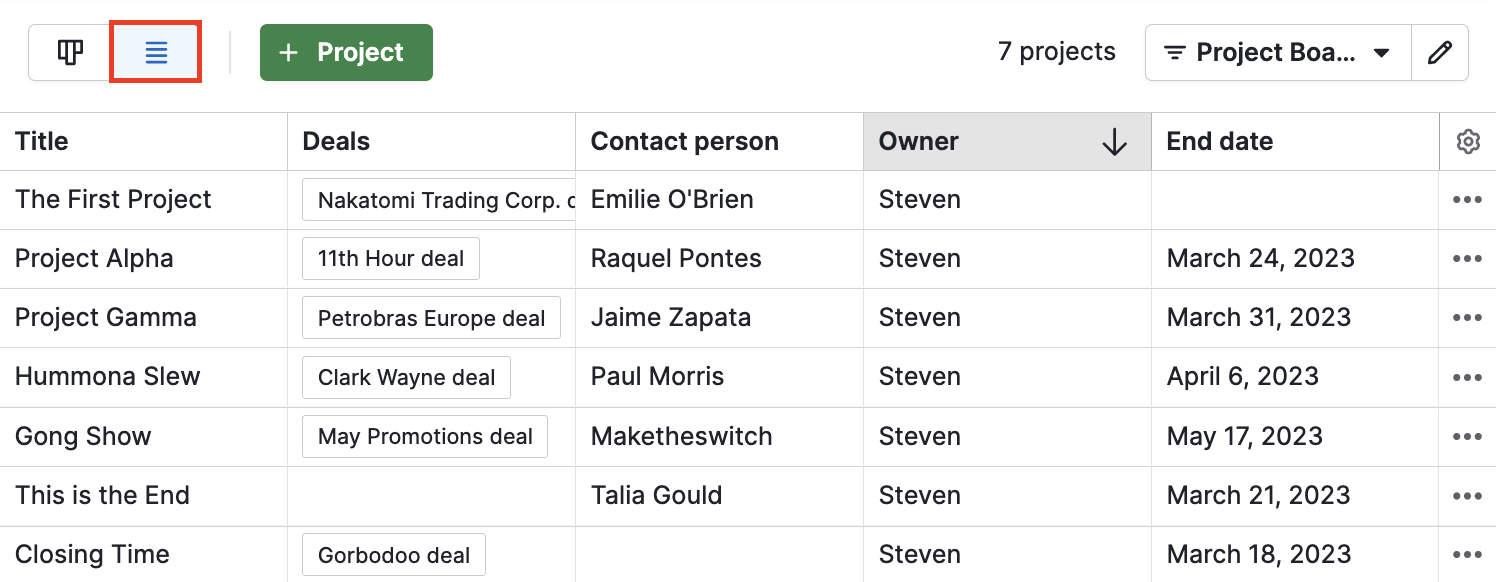
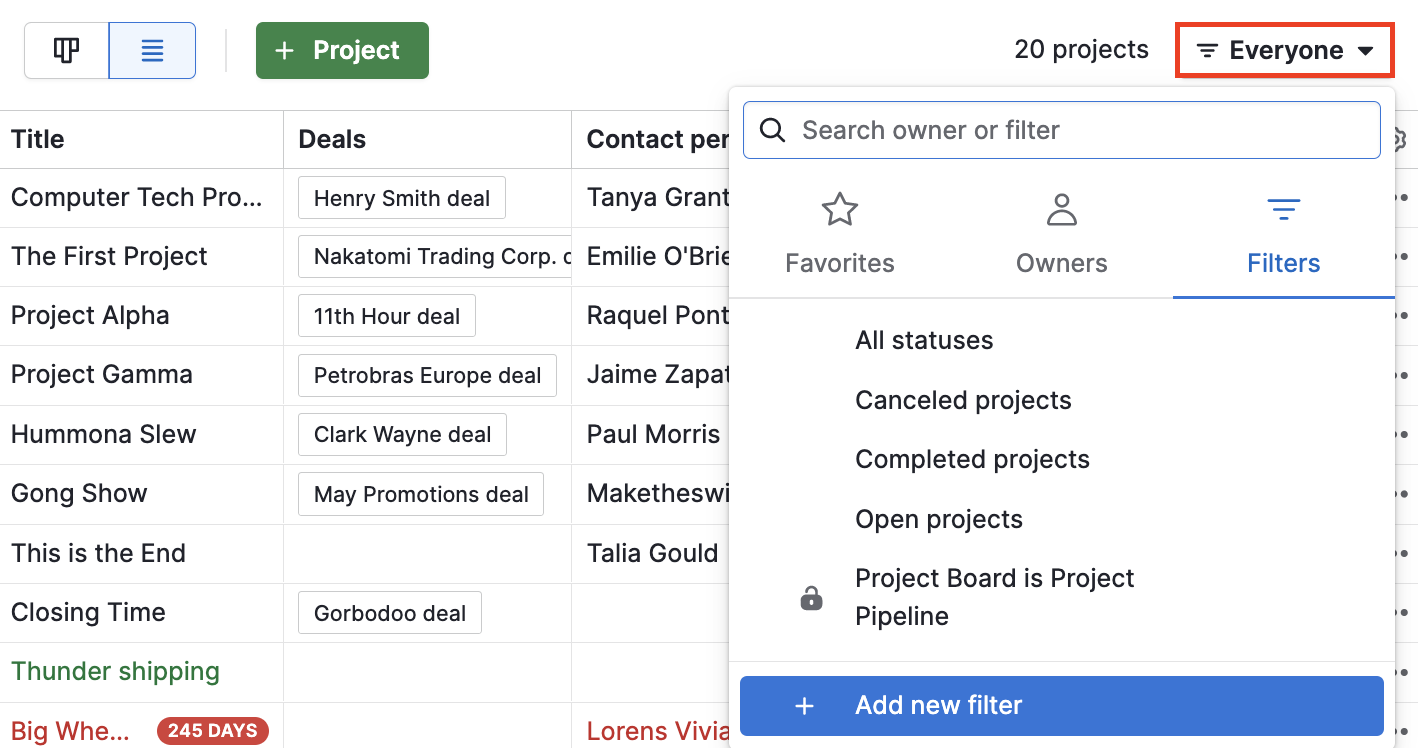
In the top right corner, you can create new filters or apply existing ones:
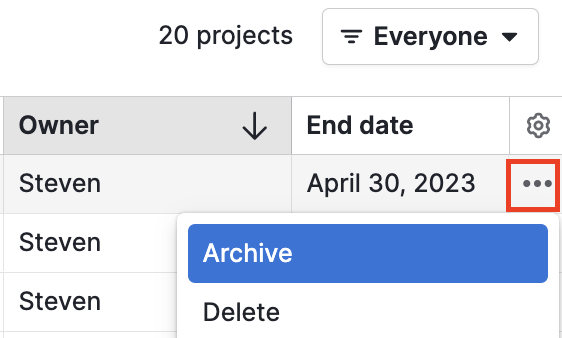
Click the “...” button at the end of each row to archive or delete a project.
Project statuses in the list view:
- Canceled projects will appear with a
strikethrough - Overdue projects will appear in red
- Completed projects will appear in green
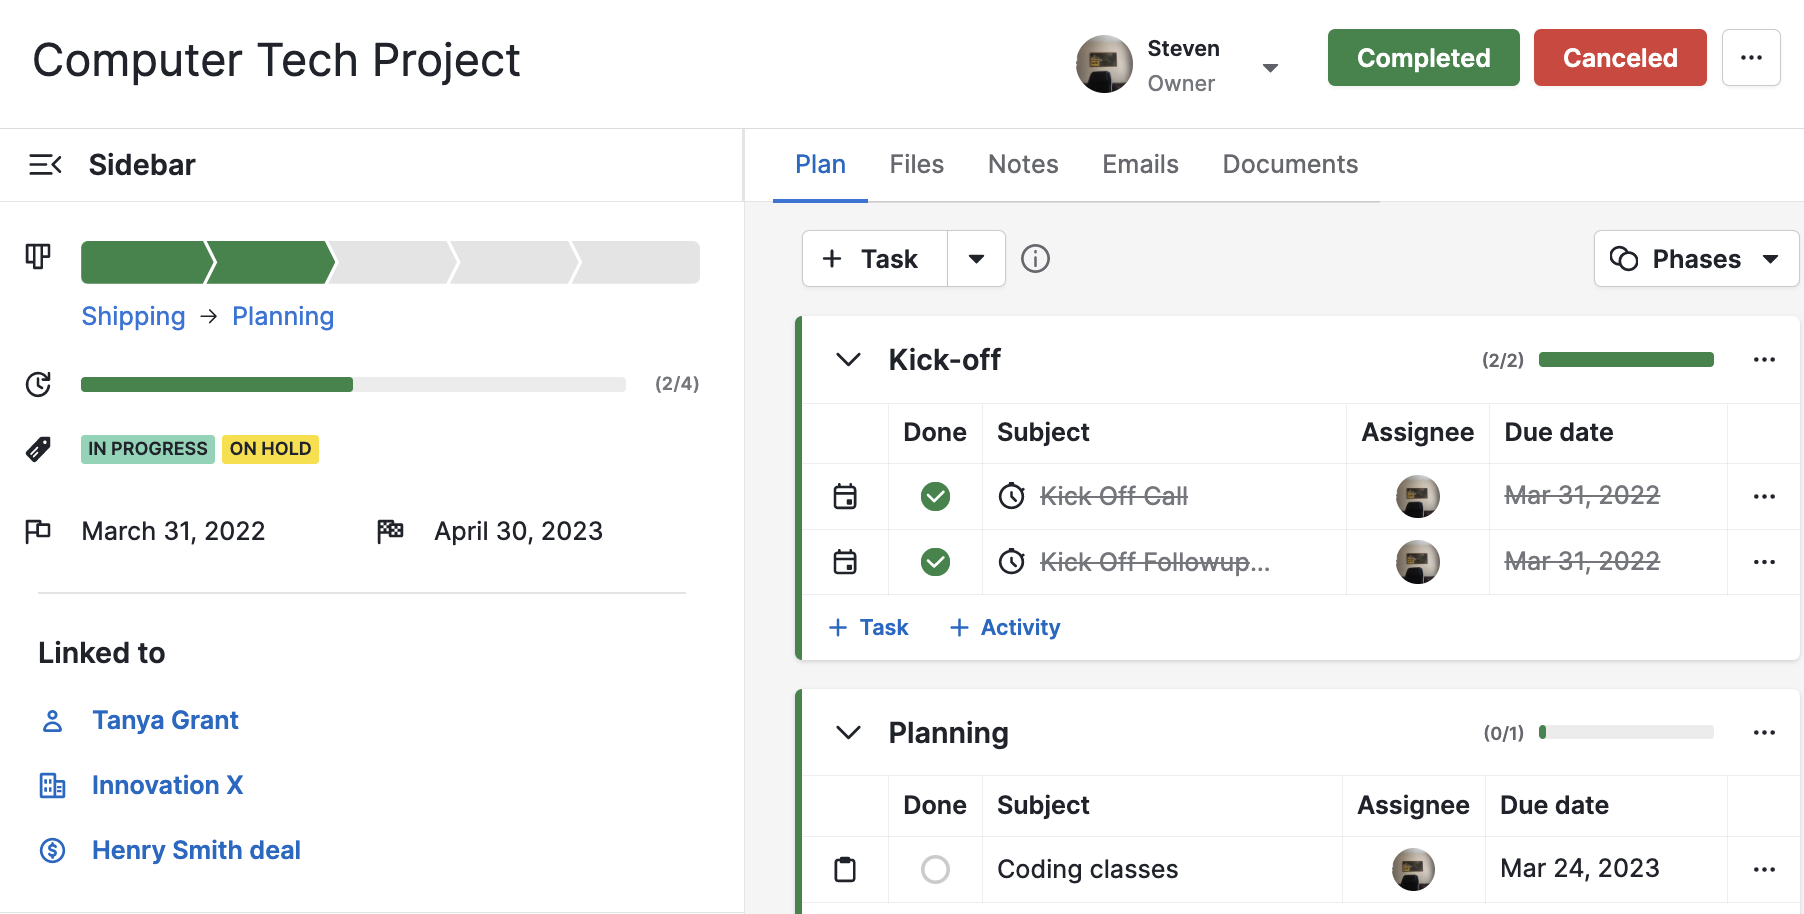
Project detail view
The project detail view lets you see and update information such as progress, labels, start and end dates, linked items, planned activities and uploaded files.
You can add the description and other project information within the Details section. You’ll also be able to view and add project-specific custom fields by clicking “...” > Customize fields.
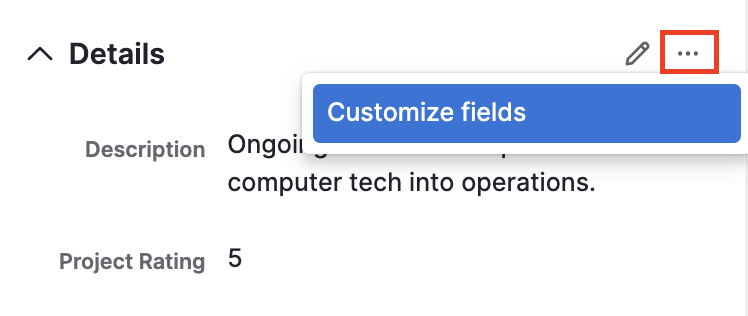
You’ll be redirected to the main data fields page, where you can add project custom fields, which will be viewable in the details section upon creation. Learn more about custom fields in this article.
Under Plan, you can create and manage tasks, subtasks and activities created for your project. Activities created will default to meeting type but can be changed to any default or custom activity type in your account. The progress bar will reflect your item completion as you mark them as done.
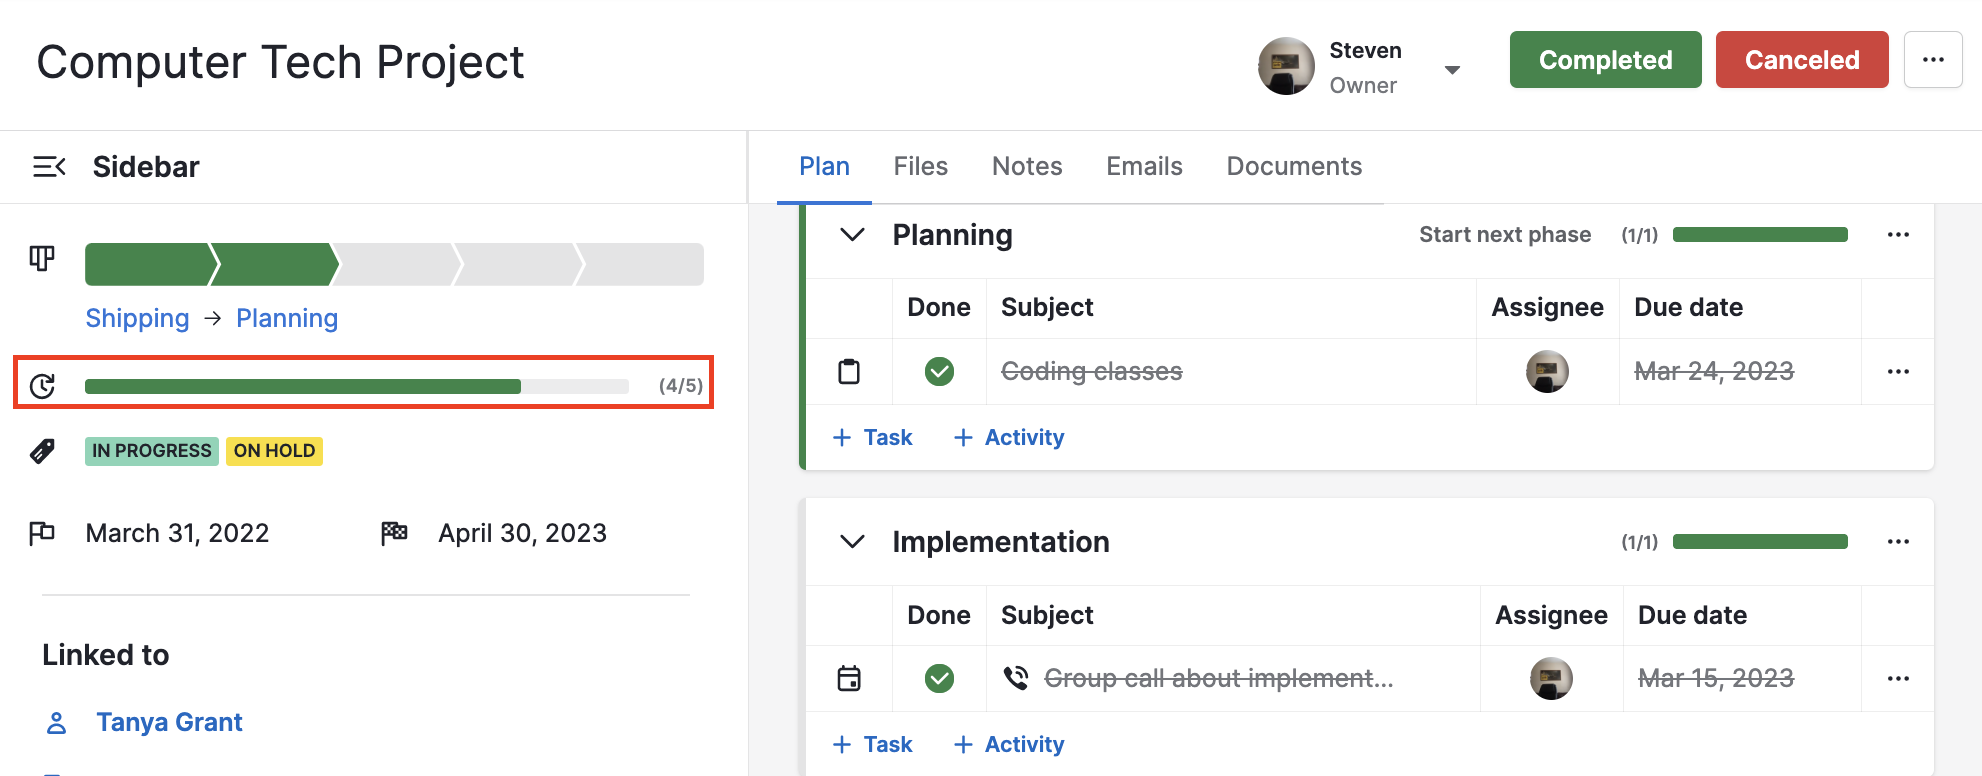
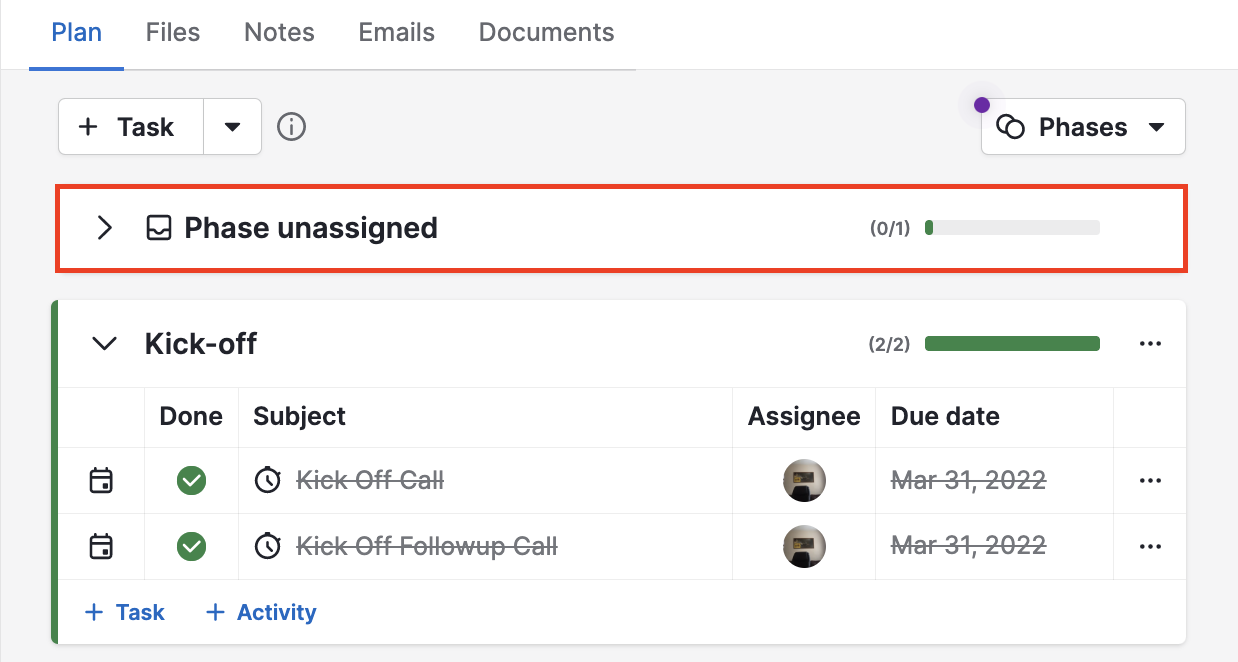
The progress bar on the left-hand side of the detail view will show the number of tasks, subtasks and activities scheduled for the whole project and will display the ones that were already completed.
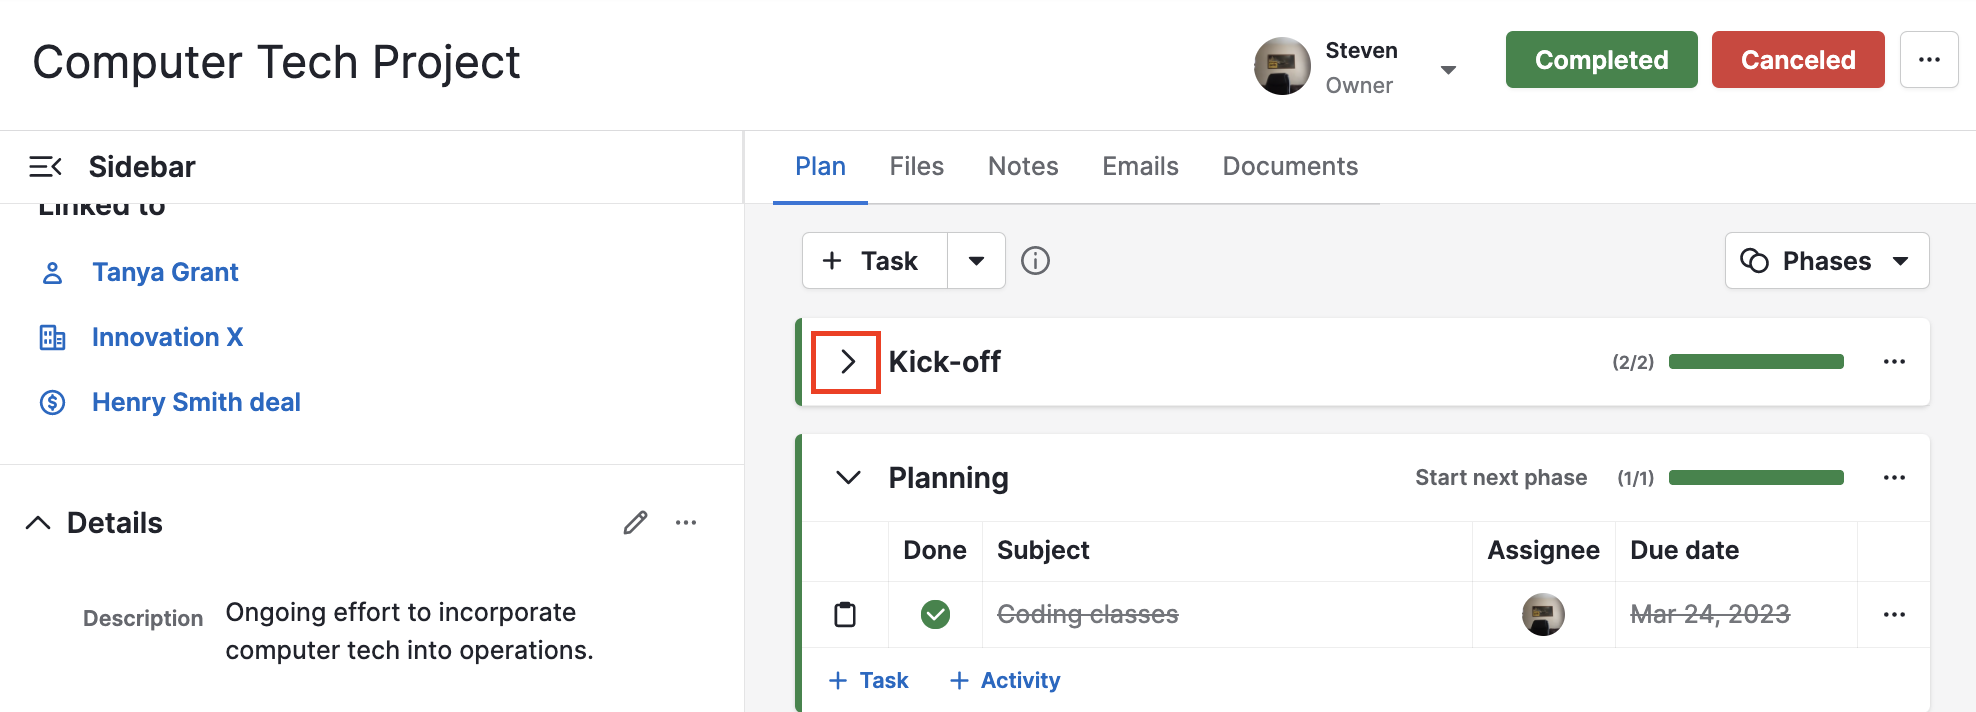
Click on the ”>” icon to expand the phase and see the activities scheduled. You can add, delete, mark your activities as done or drag-and-drop them into different phases.
For to-dos that you aren’t sure of yet, there is a phase unassigned group. You can drag-and-drop those items to the phases they belong to later on.
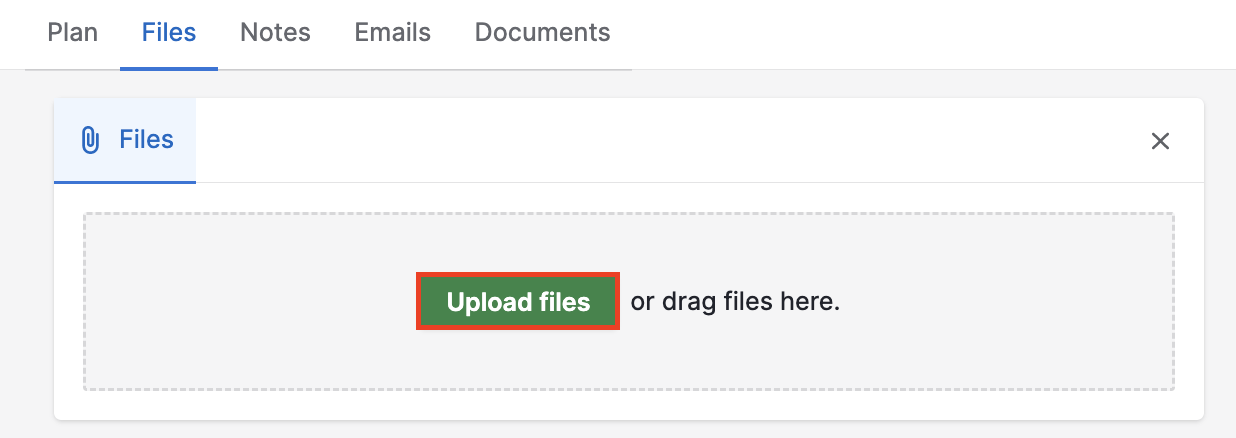
You can also upload files to your project under the Files tab.
To add a note, click the notes icon in the tabs section. You can create a text-type note and format or unformat it as needed, as well as use mentions to notify your colleagues and collaborate.
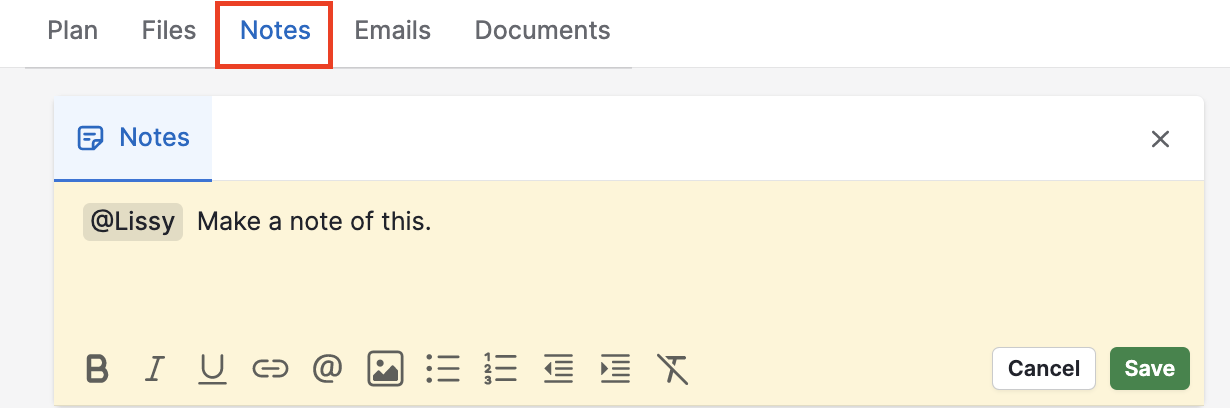
Once the note is saved, you’ll see all the notes within the Notes tab, ordered from most recent to oldest.
Viewing linked deal details
When a project and deal are linked, the deal detail view can be accessed directly from the Project view.
From within your project, you’ll see all of the linked deals in your sidebar, and clicking on one will open the contextual detail view of the deal:
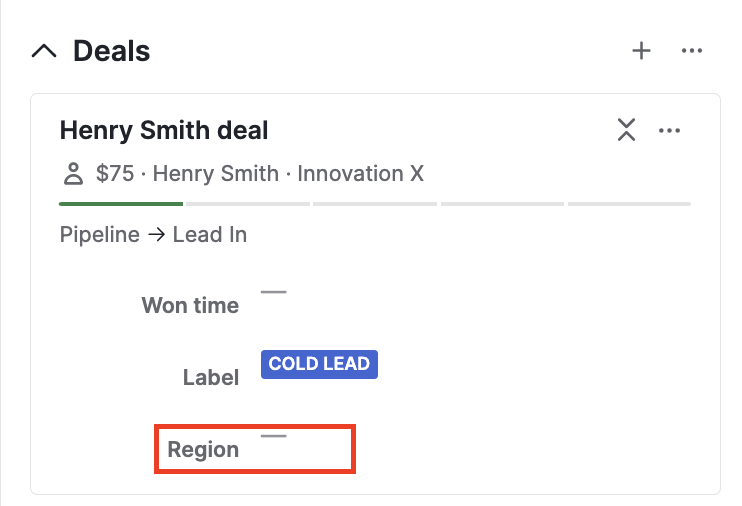
You can also edit which custom fields are visible in your project’s linked deals right from your Project:
And once you have made the changes, you will see that field in your Project view under each Deal:
Activities
When adding activities to your projects, you will need to select which project you want to link it to using the project phase dropdown menu in the contextual view:
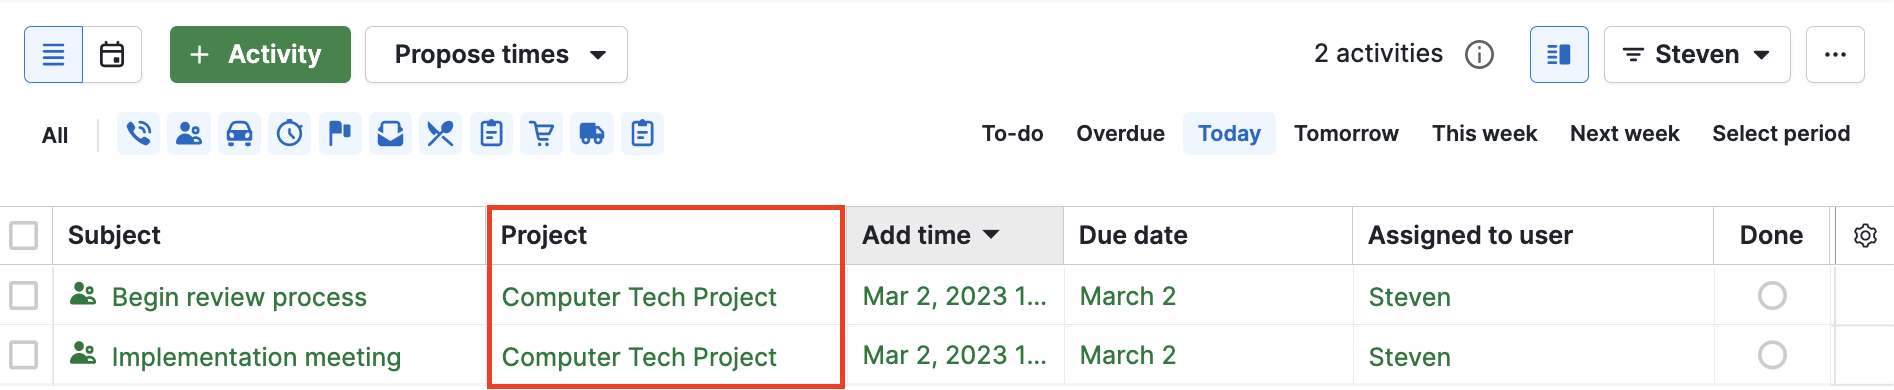
Your project activities will appear in the Activities tab in your Pipedrive account, where you can show your activity-related projects in a column. You can sync these activities from your Pipedrive calendar to your provider calendar through our calendar sync feature.
Project templates
To create a project template, go to the Projects tab on the left side menu and select the Templates tab. You’ll see your existing templates, as well as the green + Template button in the top right corner:

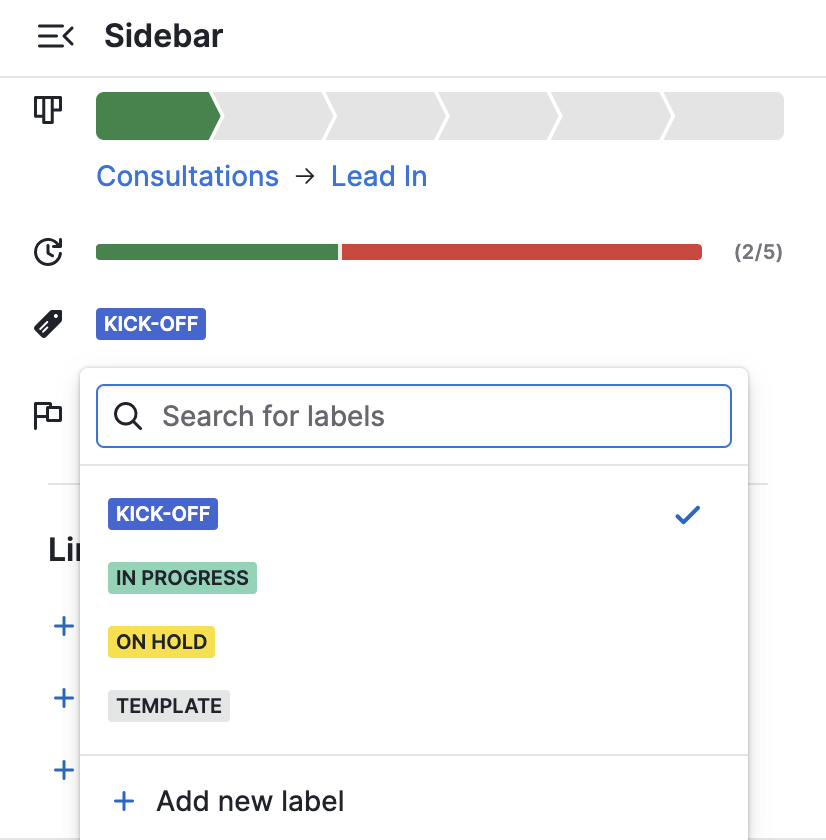
Project labels
Project statuses are reflected in the following default labels:
- Kick-off – Status when first starting a new project
- In progress – The project is being worked on but is not complete
- On Hold – The project is not being worked on currently
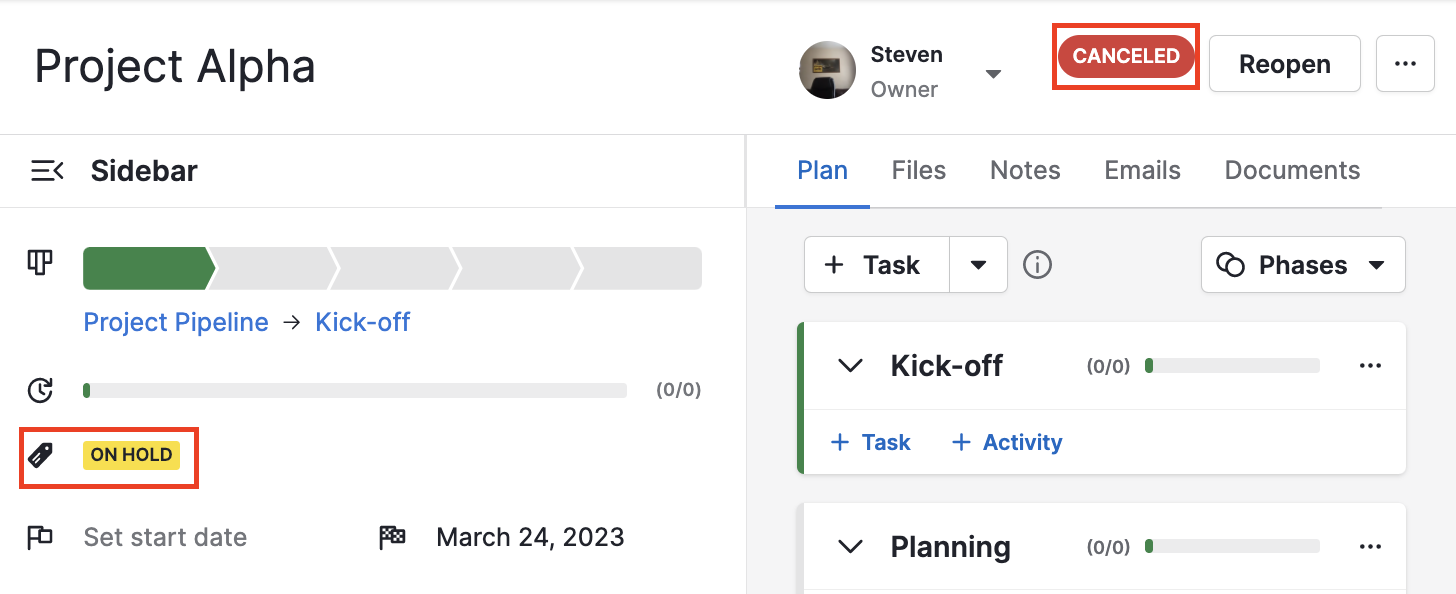
You can also use the boxes in the top right corner to mark a project as Completed or Canceled.
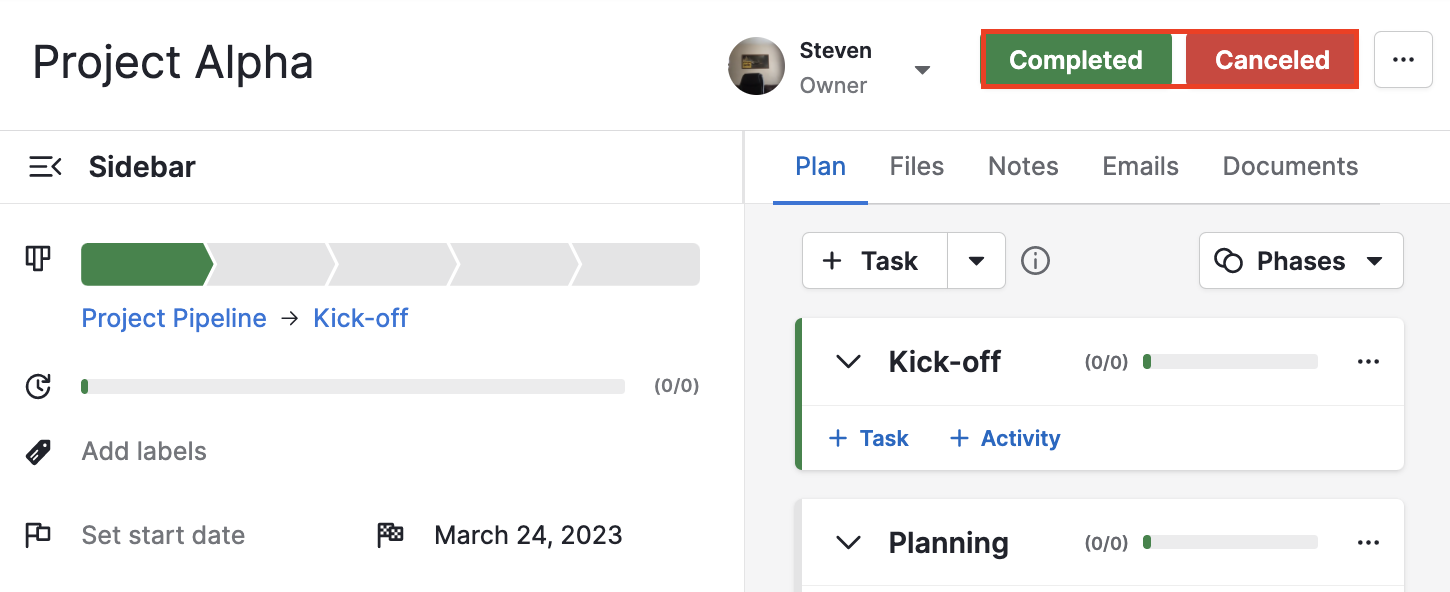
Any label or status will be visible in the detail view.
Was this article helpful?
Yes
No